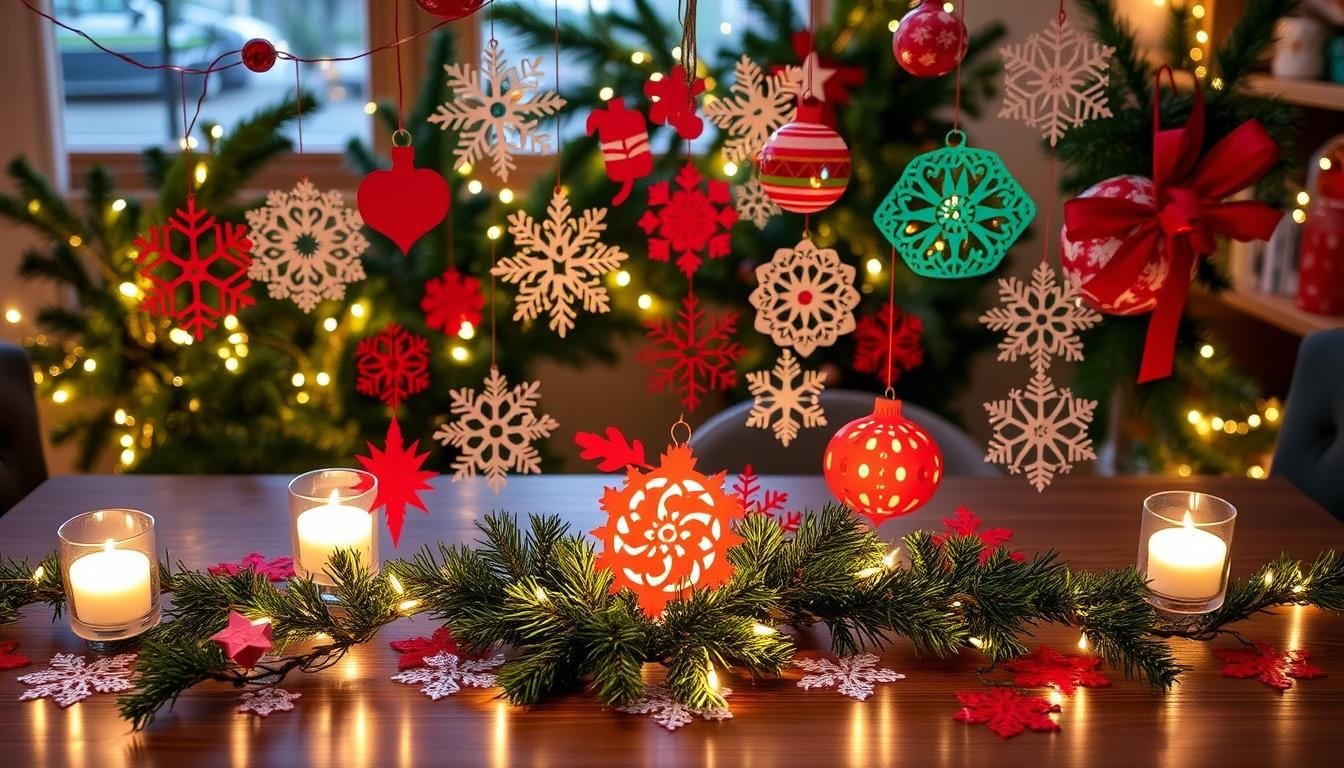
7 Cricut Easter Crafts You Can Make in Under 30 Minutes
Want to make your Easter decor pop without spending hours? You can create beautiful holiday designs faster than a sitcom episode.
Easter is a time for new beginnings and creativity. With a Cricut machine, you can quickly make your seasonal decor stand out. These quick crafts will let you create personalized Easter decorations that will wow your loved ones.
Our list of 7 Cricut Easter crafts you can make in under 30 minutes will unleash your creativity. Each project is easy, fun, and perfect for crafters of all levels.
Key Takeaways
- Create amazing Easter crafts in under 30 minutes
- Customize seasonal decor with minimal time investment
- Use your Cricut machine to design unique holiday projects
- Discover crafts suitable for all skill levels
- Explore versatile Easter decoration ideas
Essential Materials and Tools for Quick Easter Crafts
Are you ready for your Cricut Easter crafting adventure? You’ll need some planning and the right supplies. Whether you’re experienced or new to your Cricut machine, the right materials make crafting fun and easy.
To make magical Easter crafts with your Cricut, you need the right tools and materials. Here’s what you’ll need to create amazing holiday crafts.
Basic Cricut Supplies Needed
- StandardGrip Machine Mat (12″ x 12″)
- Brayer for smooth material application
- Scraper for precise material handling
- Weeding tool for intricate vinyl designs
- Craft glue and hot glue gun
- Adhesive foam squares
- Tweezers for delicate work
Additional Crafting Materials
| Material | Recommended Type | Quantity |
|---|---|---|
| Cardstock | 8.5″ x 11″ or 12″ x 12″, 65 lb. | Multiple colors |
| Paper | Heavyweight Matte Photo Paper | 1-2 packs |
| Paint | Acrylic craft paint | Pastel Easter colors |
Recommended Machine Settings
When crafting in Cricut design space for Easter, focus on your machine settings. Pro tip: Always test cut on scrap material for precise cuts on your designs.
- Adjust blade depth according to material thickness
- Use appropriate cutting pressure
- Select the right blade for your specific material
- Calibrate machine for optimal performance
With these supplies and settings, you’ll be set to make stunning Easter crafts. They’ll surely impress your family and friends!
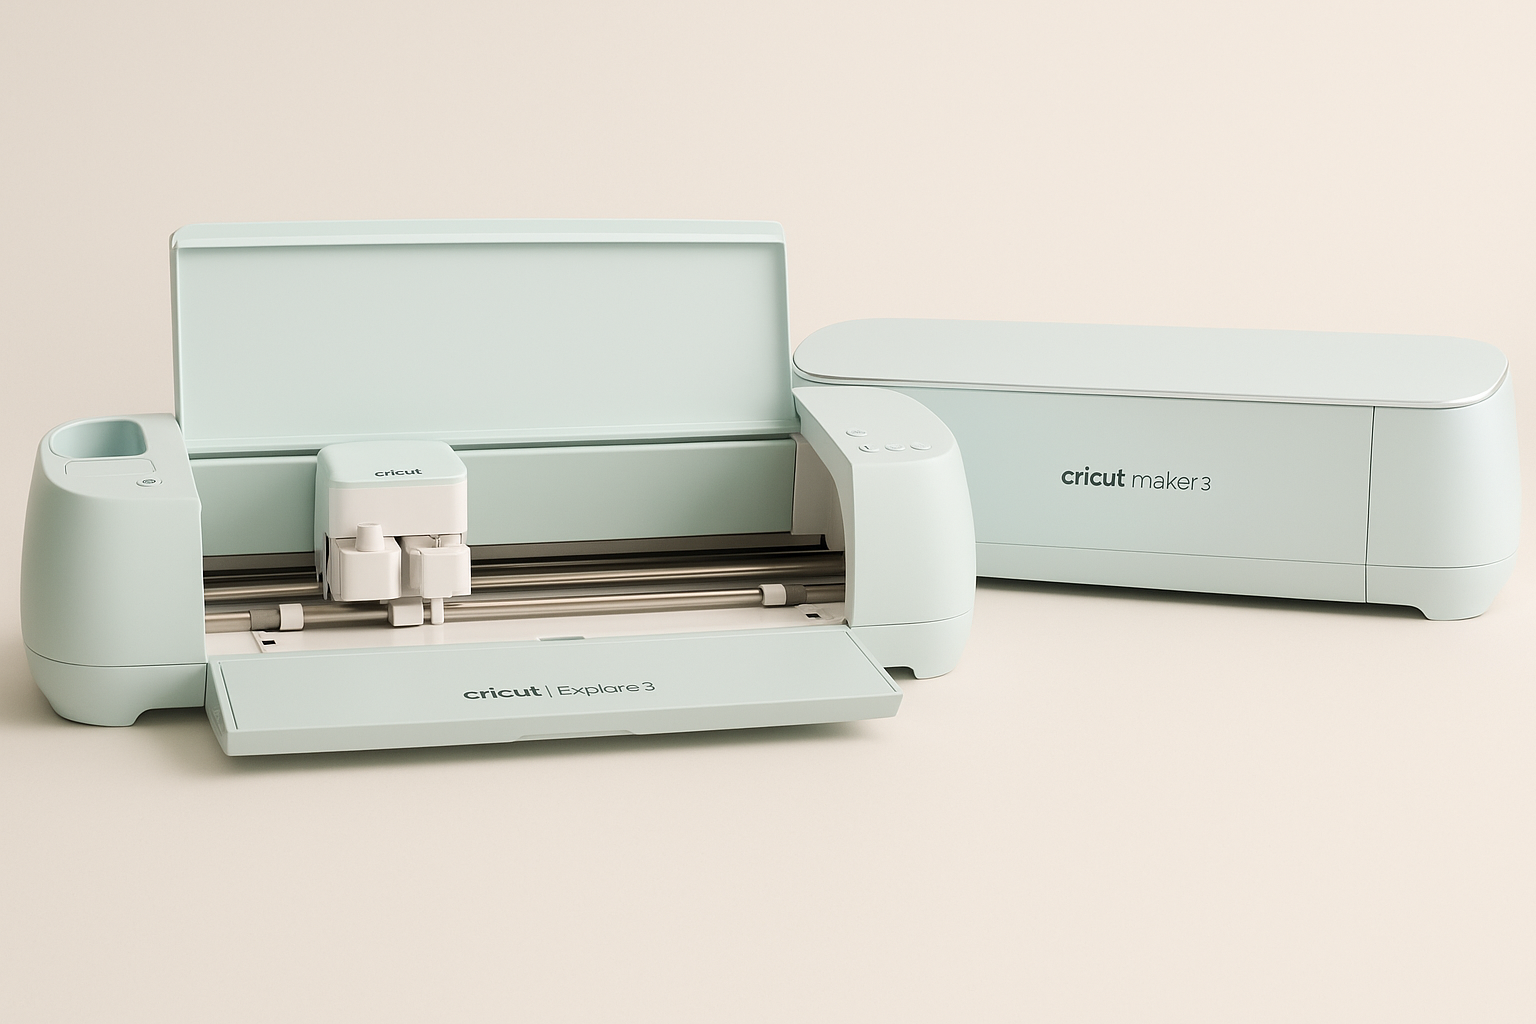
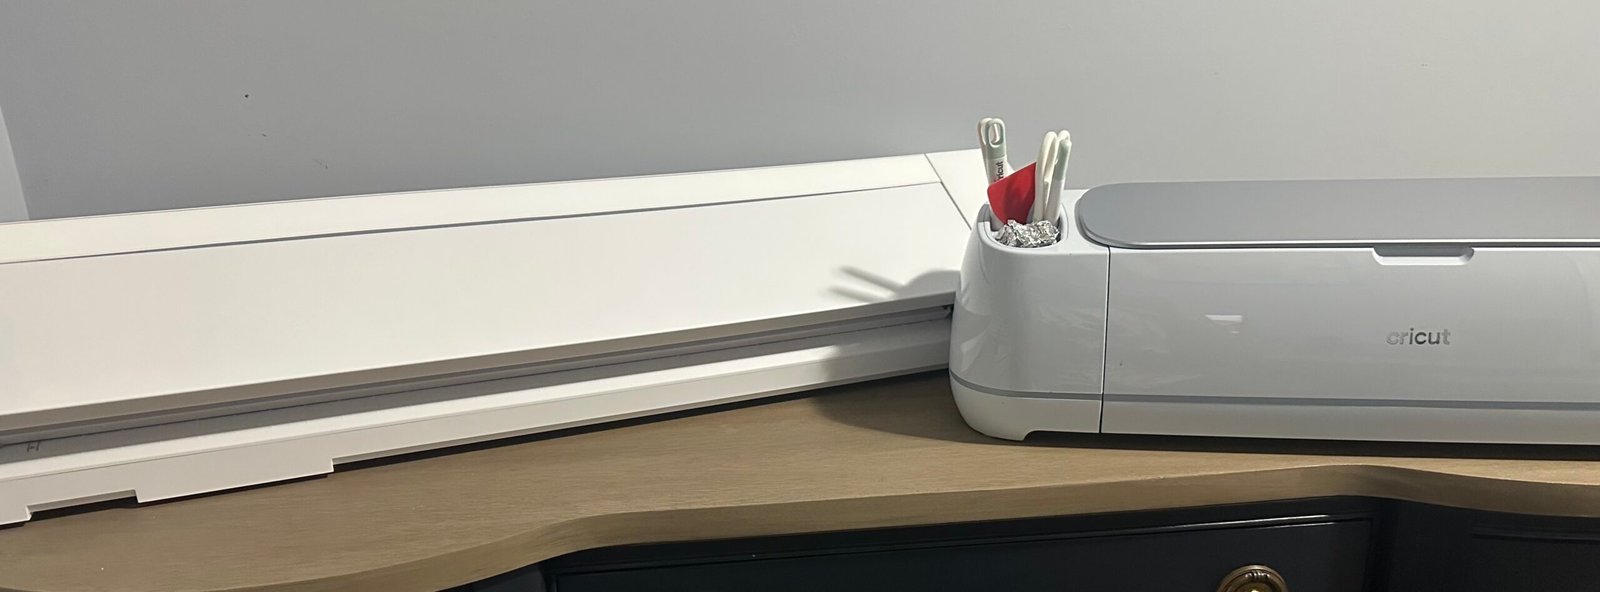
Getting Your Cricut Machine Ready for Easter Projects
Getting your Cricut machine ready for Easter crafts is an exciting adventure. It turns simple materials into festive masterpieces. With over 100 Easter project ideas, your Cricut machine is a creative powerhouse.
Before starting your crafting journey, make sure your Cricut Design Space is ready. Follow these essential steps:
- Update your Cricut Design Space software to the latest version
- Check your machine’s calibration and cutting settings
- Select the appropriate cutting mat for your project materials
- Ensure you have sharp blades for clean cuts
Different Cricut models offer unique capabilities for Easter crafting. Whether you’re using a Cricut Maker, Cricut Explore Air 2, or Cricut Joy, each machine has powerful tools for stunning holiday designs.
The key to successful Easter crafting is preparation. Organize your materials, review your design files, and set up your workspace for maximum efficiency. With the right setup, you’ll create beautiful Easter projects in under 30 minutes!
Pro Tip: Always do a test cut on scrap material to ensure perfect settings for your specific project.
Ready to transform your crafting experience? Your Cricut machine is about to become your secret weapon. It will help you create memorable Easter decorations and gifts that will impress family and friends.
7 Cricut Easter Crafts You Can Make in Under 30 Minutes
Get ready to transform your home decorations with quick and creative Easter crafts. These projects will spark joy and excitement! With your Cricut machine, you can make stunning projects in less than 30 minutes.
We’ve curated a collection of 7 cricut easter crafts you can make in under 30 minutes. These projects will elevate your holiday decor and impress your family and friends. They are perfect for crafters of all skill levels.
Personalized Easter Baskets
Create magical Easter egg designs by personalizing plain baskets. Use vinyl names, cute bunny silhouettes, or festive patterns. Your Cricut machine makes customization easy:
- Choose lightweight canvas or woven baskets
- Select pastel or bright vinyl colors
- Use transfer tape for precise application
Quick Easter Egg Vinyl Decals
Transform ordinary plastic or wooden eggs into stunning home decorations with intricate vinyl decals. Pro tip: Mix metallic and matte vinyl for a sophisticated look.
Simple Bunny Door Signs
Welcome spring with charming bunny-themed door signs. They showcase your crafting creativity. Use outdoor-rated vinyl to ensure durability and weather resistance.
Crafting tip: Always measure your surface before cutting to ensure a perfect fit!
Creating Custom Easter T-Shirts with Cricut
Make your Easter decor stand out with personalized t-shirts. Cricut projects let you create unique apparel in under 30 minutes. It’s a fun way to show off your holiday spirit.
Get excited for some easy Easter crafts that will brighten up your wardrobe. Your Cricut machine is about to become your go-to for making custom holiday designs.
Essential Materials for Your Easter T-Shirt Project
- Heat Transfer Vinyl in multiple colors
- Cutting mat (12X12 or 12X24 inches)
- EasyPress machine
- Weeding tool
- T-shirt in your preferred color
When picking your design, think about these popular Easter themes:
| Design Type | Difficulty Level | Estimated Time |
|---|---|---|
| Bunny Silhouette | Beginner | 20 minutes |
| Easter Egg Pattern | Intermediate | 25 minutes |
| “Hoppy Easter” Script | Advanced | 30 minutes |
Pro tip: Always place your vinyl shiny side down on the cutting mat for perfect heat transfer designs! With over 90,000 images in Cricut Design Space, you’ll always find something new.
Pro Crafting Advice: Set your EasyPress to 330 degrees Fahrenheit and press for 30 seconds with light to medium pressure for optimal vinyl adhesion.
These custom t-shirts are perfect for both kids and adults. They’ll be the best part of your Easter celebrations. Cricut makes it easy to create special memories on ordinary shirts.
Easy Easter Paper Crafts for Quick Decoration
Make your home decorations pop with these quick crafts. They turn simple paper into beautiful Easter decorations. Your Cricut machine makes it easy to create stunning projects in under 30 minutes.
Paper crafts are a fun and affordable way to celebrate Easter. These easy crafts let you personalize your home. They create decorations that everyone will love.
Paper Easter Bunny Garland
Bring a whimsical touch to your Easter with a bunny garland. Your Cricut machine cuts out intricate bunny shapes easily. This makes the craft quick and fun.
- Cut multiple bunny shapes from different colored cardstock
- String bunnies together using thin ribbon
- Add cute details like googly eyes or small accents
Simple Easter Card Designs
Make your Easter greetings special with handmade cards. Cricut’s precision cutting lets you create intricate designs. You can add delicate embellishments too.
| Card Type | Estimated Time | Difficulty Level |
|---|---|---|
| Watercolor Spring Card | 20 minutes | Easy |
| Pop-up Bunny Card | 25 minutes | Intermediate |
| Layered Egg Design Card | 15 minutes | Easy |
Quick Easter Place Cards
Enhance your Easter table with personalized place cards. These quick crafts add a special touch. They can be made in minutes, making your dining experience more memorable.
- Select spring-themed cardstock
- Use Cricut to cut intricate name designs
- Add delicate embellishments like small flowers or eggs
Pro tip: Coordinate your place cards with your table decor for a cohesive holiday look!
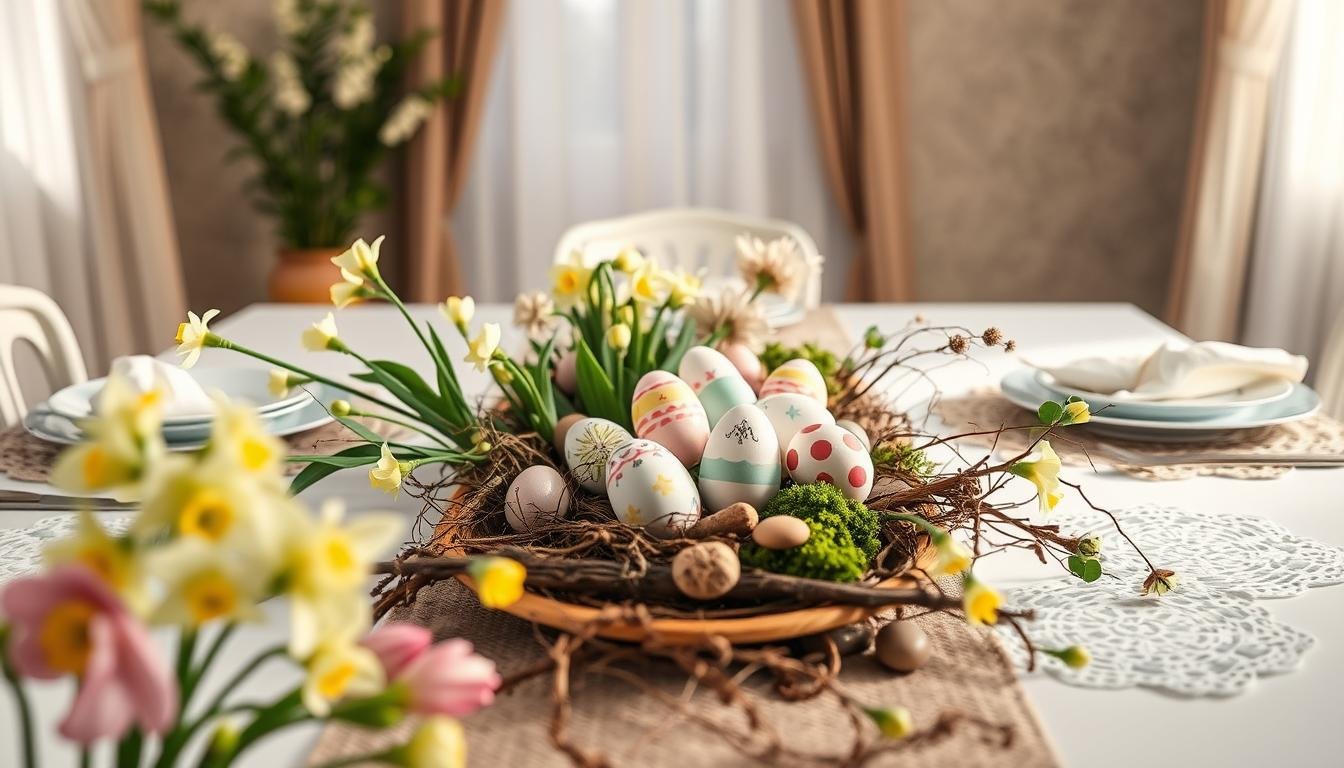
Fast and Simple Easter Egg Designs
Transforming ordinary Easter eggs into stunning decorative pieces is easy with Cricut projects. Our quick crafts will help you create eye-catching easter egg designs in under 30 minutes. They will impress your family and friends.

Let’s explore some creative techniques to elevate your Easter egg decoration game:
- Glitter Vinyl Eggs: Apply adhesive glitter vinyl for a sparkling effect
- Chalkboard Eggs: Paint with chalkboard paint and add white vinyl decals
- Gold Foil Eggs: Create luxurious designs using Cricut gold foil
Each design offers a unique approach to personalizing your Easter eggs. The chalkboard eggs provide an interactive element. You can write messages or draw designs that can be easily changed.
| Egg Design | Materials Needed | Estimated Time |
|---|---|---|
| Glitter Vinyl Eggs | Glitter vinyl, Cricut machine | 15-20 minutes |
| Chalkboard Eggs | Chalkboard paint, white vinyl | 25-30 minutes |
| Gold Foil Eggs | Gold foil, transfer tape | 20-25 minutes |
Pro tip: When working with vinyl for easter egg designs, ensure your surface is clean and smooth for the best application. Precision is key in these quick crafts!
Turn ordinary plastic eggs into extraordinary decorations with just a few simple Cricut techniques.
Your Cricut machine is the secret weapon for creating professional-looking Easter egg designs. You won’t spend hours on intricate painting. These methods work perfectly for plastic eggs, which measure approximately 8 inches from end to end and cost around $1 at Dollar Tree.
Quick Easter Table Decor Ideas
Turn your Easter table into a festive wonderland with these easy Easter crafts. They’ll make your seasonal decor pop in just 30 minutes. Your Cricut machine is the perfect tool for creating stunning decorations that will impress your guests.
Get ready to craft unique table settings that show off your creativity and holiday spirit. We’ll cover three key areas to make your Easter table unforgettable:
Charming Napkin Ring Holders
Create delightful napkin ring holders that add personality to your table. With your Cricut machine, you can make:
- Bunny ear-shaped rings
- Personalized wooden rings
- Intricate laser-cut designs
Eye-Catching Centerpiece Elements
Your Easter centerpiece sets the tone for the table. Craft stunning elements like:
- 3D paper egg sculptures
- Personalized wooden egg stands
- Floral-inspired geometric centerpieces
Personalized Place Setting Decorations
Add a special touch to each guest’s place setting with custom Cricut creations:
- Laser-cut name cards
- Unique coaster designs
- Decorative egg-shaped place markers
With these quick and easy Easter crafts, you’ll create a table that’s both beautiful and memorable. Your Cricut machine makes it simple to design professional-looking decorations that will wow your family and friends.
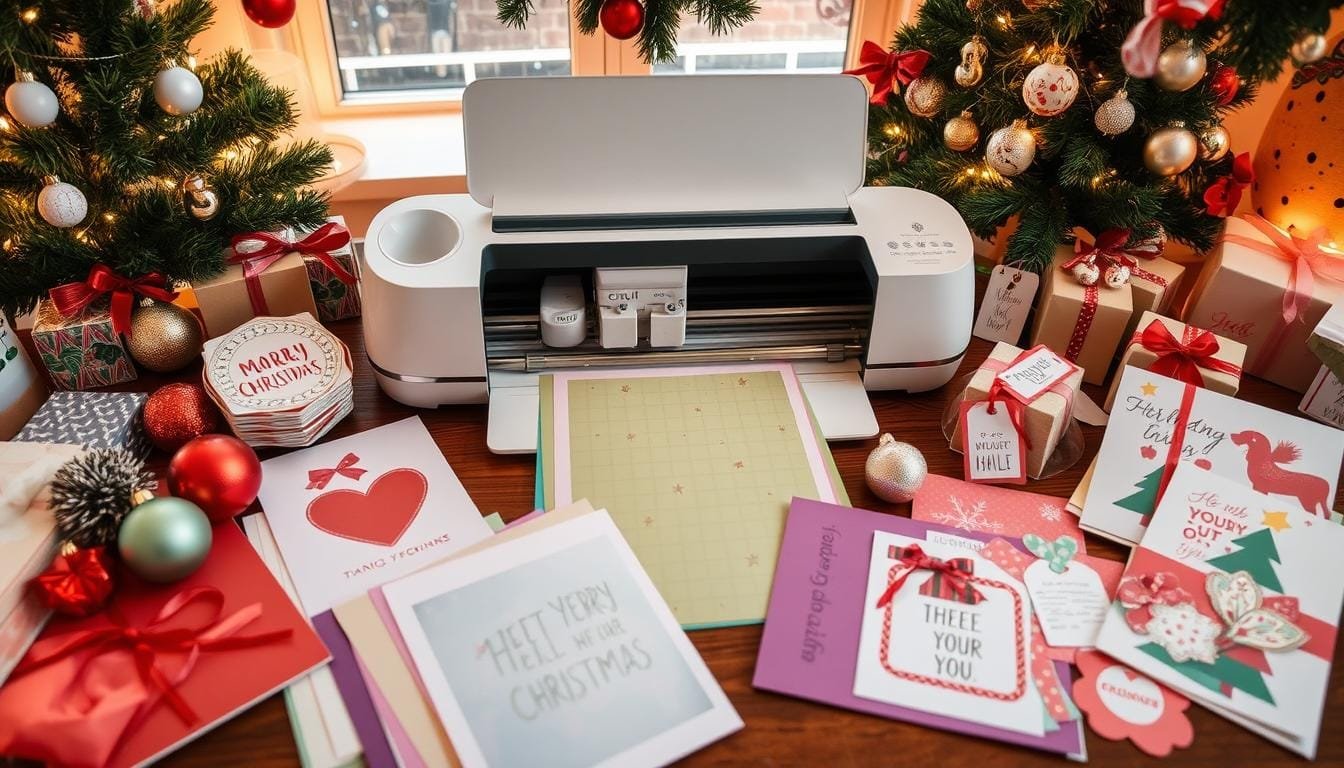
Easter Gift Tags and Packaging Solutions
Cricut projects can turn simple packaging into beautiful Easter gifts. Quick crafts like custom gift tags make holiday gifting special in minutes. Our easy Easter crafts guide will show you how to make personalized packaging that impresses your loved ones.
Gift tags are more than labels—they’re tiny art pieces that show your creativity. With a Cricut machine, you can make intricate tags that match your style. Here are some exciting packaging solutions:
- Custom Easter-themed gift tags with intricate cutouts
- Personalized ribbon wrapping using iron-on vinyl
- Decorative treat bag toppers
- 3D box designs for small gifts
Let’s explore some creative techniques for making your Easter packaging stand out:
| Packaging Element | Design Time | Complexity |
|---|---|---|
| Gift Tags | 10-15 minutes | Low |
| Custom Ribbons | 15-20 minutes | Medium |
| Treat Bag Toppers | 20-25 minutes | Medium |
Pro tip: Use scrap paper for extra decorations like confetti or tag backgrounds. This saves money and is good for the environment.
Crafting is about expressing love through creativity—every tag tells a story!
With these quick crafts, you’ll make ordinary packaging into special Easter memories. Your Cricut machine becomes a powerful tool for creating memorable, personalized gifts that will delight recipients.
Troubleshooting Common Cricut Issues
Crafting with a Cricut machine is exciting, but challenges can happen. This guide will help you solve common problems. This way, you can enjoy your crafting without stress.
Knowing how to fix common issues can save you time. It makes your crafting experience better. Let’s look at some key areas to improve your Cricut skills.
Smart Material Selection Tips
Choosing the right materials is key for great Cricut projects. Here are some tips:
- Make sure the material fits your Cricut model
- Check the material’s thickness before cutting
- Use Smart Materials for better cuts
- Always test a small area first
Design Space Navigation Solutions
Design Space can be tricky to navigate. Here are tips to help:
- Keep your internet connection stable
- Update your software often
- Clear your browser cache
- Check if your design files work
Resolving Cutting Problems
Cutting issues can be annoying, but they’re often easy to fix. Here are some quick solutions:
- Replace the blade if cuts are bad
- Adjust the cutting pressure
- Check if the mat is sticky
- Clean the cutting strip
Pro tip: Always have spare blades and mats ready for smooth crafting!
With these tips, you’ll be ready for any Cricut challenge. Your Easter crafts will be perfect every time.
Time-Saving Tips for Cricut Easter Projects
Making quick Easter decorations doesn’t have to take a lot of time. With smart strategies, you can make your Cricut projects efficient and fun. Our expert tips will help you save time while making stunning easy Easter crafts that wow everyone.
Start by planning your Cricut projects wisely. Here are our top tips for saving time on easy Easter crafts:
- Batch-cut multiple design elements at once to reduce machine setup time
- Utilize Print then Cut feature for precise and rapid project completion
- Organize materials before starting your quick crafts to minimize interruptions
- Create versatile templates that can be reused across different Cricut projects
Preparation is key when making quick crafts. Get your design files ready ahead of time and group similar materials together. For Cricut projects, sort cardstocks, vinyl, and other materials before you start crafting.
Pro tip: Over 15 Easter Cricut project ideas can be completed in under 30 minutes when you implement these time-saving strategies!
Digital preparation is also important for efficient crafting. Use Cricut Design Space to plan your layouts in advance. This ensures a smoother execution of your Easter decorations. Spending a few minutes on digital setup can save you a lot of time during crafting.
- Pre-load multiple designs into Design Space
- Save frequently used Easter-themed cut files
- Create project collections for future use
Remember, successful Cricut Easter crafts are about working smarter, not harder. With these techniques, you’ll create beautiful decorations while enjoying the creative process.
Storage and Organization of Easter Craft Materials
Keeping your home tidy is key for crafting success. With a Cricut machine, smart storage makes Easter crafting fun and easy.
Organizing craft materials is simple. Here are some smart ways to store your Easter supplies:
- Use clear plastic containers with dividers for small embellishments
- Invest in labeled storage bins for vinyl and cardstock
- Create a dedicated space for your Cricut machine and accessories
For vinyl and cardstock, try these special storage ideas:
| Material | Recommended Storage | Size Compatibility |
|---|---|---|
| Cardstock | Vertical Paper Holder | 12″ x 12″ sheets |
| Vinyl Rolls | Wall-Mounted Rack | Up to 4 rolls per slot |
| Small Accessories | Drawer Organizers | Multiple compartment sizes |
Pro tip: Label everything! Clear labeling helps you find materials quickly and keeps your crafting area efficient.
For seasonal decor like Easter crafts, use storage boxes that protect delicate items. Acid-free tissue paper keeps intricate decorations safe between seasons. Choose compact, stackable containers with secure lids to keep your creations dust-free.
Remember, a tidy crafting space boosts creativity and makes Cricut machine projects more fun!
Conclusion
Discovering 7 Cricut Easter crafts you can make in under 30 minutes is fun and easy. These crafts turn simple materials into amazing home decorations. With your Cricut, you can make stunning holiday projects quickly.
Paper crafting is now more accessible than ever. Your Cricut lets you cut out intricate designs and make personalized decorations. You can create everything from Easter baskets to table settings in no time.
We invite you to start your crafting journey. Each project is a chance to show off your unique style and enjoy making something beautiful. Whether you’re new to crafting or experienced, these designs will spark your creativity this Easter.
The key to any craft is your imagination. So, get your Cricut ready, gather your materials, and let your creativity flow!
FAQ
Do I need a specific Cricut machine to complete these Easter crafts?
How much crafting experience do I need to complete these projects?
What materials will I need for these Cricut Easter crafts?
Can I customize these Easter craft designs?
How can I ensure my Cricut cuts are precise?
Are these crafts suitable for children?
How can I store my completed Easter crafts?
Source Links
- https://www.thepioneerwoman.com/holidays-celebrations/g35472251/easter-crafts-ideas/
- https://simplemadepretty.com/cricut-easter-craft-ideas/
- https://www.thecountrychiccottage.net/40-quick-crafts-in-15-minutes-or-less/
- https://www.goodhousekeeping.com/holidays/easter-ideas/g711/easter-spring-crafts/
- https://www.triedandtrueblog.com/easy-projects-for-cricut-maker-tools/
- https://hellocreativefamily.com/cricut-easter-craft-ideas-fun-and-easy-projects-svg-files-youll-love/
- https://thebeardedhousewife.com/how-to-make-colorful-happy-easter-layered-cards/
- https://cutnmakecrafts.com/99-free-cricut-projects-for-beginners/
- https://jennifermaker.com/spring-and-easter-crafts/
- https://hellocreativefamily.com/easy-diy-easter-shirts-made-with-the-cricut/
- https://thequietgrove.com/diy-hoppy-easter-shirt-made-with-cricut-iron-on/
- https://colormecrafty.net/how-to-make-a-shirt-with-cricut/
- https://www.thecountrychiccottage.net/bottle-cap-bunny-recycled-craft/
- https://craftingmyhome.com/diy-flower-easter-basket/
- https://www.thepioneerwoman.com/home-lifestyle/crafts-diy/g35325574/easter-baskets/
- https://www.thecountrychiccottage.net/large-twine-wrapped-easter-eggs/
- https://lovelyindeed.com/diy-typography-easter-eggs/
- https://whiskeyandwhit.com/easter-dollartree-diys-2022/
- https://www.madebyaprincessparties.com/easy-easter-entertaining-ideas/
- https://inkhappi.com/cricut-project-ideas/
- https://www.thecountrychiccottage.net/cricut-packaging-ideas/
- https://www.triedandtrueblog.com/cricut-maker-vs-cricut-explore-everything-you-need-to-know/
- https://joyslife.com/cricut-explore-machine-review/
- https://liagriffith.com/easter-animal-treat-boxes/
- https://www.frugalcouponliving.com/easter-cricut-project-ideas/
- https://teacherbakermaker.com/cricut-supply-organization/
- https://www.funwithmama.com/kids-toy-storage-cricut-joy/
- https://hellocreativefamily.com/making-kids-easter-crafts-kinder/
- https://www.triedandtrueblog.com/everything-you-need-to-make-fun-and-easy-cricut-paper-projects/
- https://www.goodhousekeeping.com/holidays/easter-ideas/g480/easter-basket-crafts/
Jen is a healthcare pro by day and a DIY enthusiast by night, bringing creativity to life on JF Craft Corner! From decoupage to Cricut crafts, she’s all about making DIY magic (and a little mess). She also co-runs The Heart of Mindful Living blog and podcast, inspiring others to refresh their minds and nurture their souls. Her trusty sidekick? Fergus, her chocolate Shih Tzu and certified therapy dog, always on cuddle duty. Jen believes true leadership starts with kindness—and, of course, a little glitter!