Beginner’s Guide to Flower Pressing Crafts
Ever wondered how to keep flowers’ beauty alive forever? Welcome to flower pressing 101! This craft has been loved for thousands of years. It lets nature lovers keep memories from their gardens, special times, or adventures.
I’m here to help you start your flower pressing journey. We’ll cover picking the right flowers to making beautiful art. Let’s explore how to turn delicate petals into lovely crafts!
Did you know flower pressing can take 3 to 14 days? Traditional book pressing might take 2-4 weeks. But, I’ll show you quick ways, like the microwave method, to get your flowers ready in minutes!
Together, we’ll learn how to pick the best flowers and avoid mistakes. By the end, you’ll be ready to start your flower pressing projects. You’ll bring nature’s beauty into your crafts.
Key Takeaways:
- Flower pressing is a versatile craft with a rich history
- Different pressing methods offer varying drying times, from days to weeks
- Flat-faced flowers with single layers of petals are ideal for beginners
- Proper flower selection and preparation are crucial for successful pressing
- Pressed flowers can be used in various creative projects, from cards to wall art
- Sustainable collecting practices help preserve natural biodiversity
- Flower pressing combines botanical knowledge with artistic expression
Getting Started with Flower Pressing: Essential Tools and Materials
Are you ready to explore the world of dried flowers and botanical preservation? We’ll look at the tools you need for this eco-friendly hobby. Flower pressing is a fun and rewarding craft that doesn’t cost a lot to start.
Basic Equipment for Beginners
To start your flower pressing journey, you’ll need just a few simple items:
- A heavy book or flower press
- Cardboard sheets
- Absorbent paper
- Tweezers
These basics will help you create beautiful pressed flowers in 2-4 weeks, depending on the flower type. For best results, press flowers face down to keep petals intact.
Optional Advanced Tools
As you get more comfortable with flower pressing, you might want to try these tools:
- Wooden flower press for even pressure distribution
- Microwave press for quick results (25 seconds to start)
- Iron for delicate flowers (use low heat for 10-15 seconds)
Types of Absorbent Papers
Choosing the right paper is crucial for successful flower pressing. Here are some options:
| Paper Type | Pros | Cons |
|---|---|---|
| Parchment paper | No need to replace during pressing | May not absorb as much moisture |
| Blotting paper | Excellent absorption | May need replacement every 3 days |
| Coffee filters | Readily available | Thin, may need multiple layers |
Remember, avoid paper towels as they can leave imprints on your flowers. With these tools and materials, you’re all set to start your flower pressing adventure!
Selecting the Perfect Flowers for Pressing
Choosing the right flowers is key to successful floral art and nature crafts. Let’s explore the best varieties for pressing, when to pick them, and how to prepare them for botanical preservation.
Best Flower Varieties for Pressing
Flowers with naturally flat faces and low moisture content are ideal for pressing. Pansies, violets, and daisies work wonderfully. For bulky flowers like marigolds, press them petal by petal or slice them in half. Large-headed flowers such as hydrangeas can be pressed by snipping each floret separately.
Optimal Picking Time and Conditions
Pick flowers on a dry day after the morning dew has evaporated but before the midday sun. This timing prevents wilting and ensures the best results for your nature crafts. Avoid flowers with high water content or waxy textures, as they don’t press well.
Flower Preparation Techniques
Before pressing, flatten your flowers as much as possible. Remove large seed pods from flowers like poppies and anemones. For stems or sprays of flowers, you can press them whole or as individual blooms. Don’t forget to experiment with weeds and seedlings too!
| Flower Type | Pressing Method | Drying Time |
|---|---|---|
| Pansies, Violets | Whole flower | 1-2 weeks |
| Marigolds | Petal by petal or sliced | 2-3 weeks |
| Hydrangeas | Individual florets | 1-2 weeks |
| Larkspur, Gypsophila | Whole or individual | 1-2 weeks |
Remember to check your flowers periodically during the pressing process. This vigilance helps prevent molding and ensures your botanical preservation efforts result in beautiful, long-lasting floral art pieces.
Traditional Book Pressing Method
Let’s explore the world of book pressing! It’s a fun, eco-friendly hobby that lets you make dried flowers and keepsakes. It’s easy and doesn’t cost much. You might even have everything you need at home.
First, pick fresh flowers before they fade. This way, your pressed flowers will stay colorful. Place your flowers between sheets of paper, like parchment or blotting paper. Stay away from textured paper or paper towels, as they can smudge.
Put the paper with flowers in a heavy book. Add more books on top for extra weight. Now, all you have to do is wait! Let your flowers press for 1 to 2 weeks. Check them every 24 to 48 hours and swap out damp paper to avoid mold.
“Patience is key in flower pressing. The longer you wait, the better your results will be.”
This method is best for small, thin flowers. Violets, pansies, and single daisies work well. Don’t overlap your flowers for even pressing. With a bit of patience, you’ll have gorgeous dried flowers for your crafts and keepsakes!
- Cost: $0 (using items you likely already own)
- Drying time: 1-2 weeks
- Best for: Small, thin flowers
Book pressing opens up a world of creative projects. You can make everything from greeting cards to wall art. These dried flowers will bring a touch of nature to your crafts. It’s a great way to keep memories alive and create lasting keepsakes.
Using a Wooden Flower Press
Wooden flower presses are great for preserving flowers and DIY projects. They help you make stunning pressed flowers for your art. Let’s dive into how to make and use one!
Building Your Own Press
Making your own wooden flower press is a fun DIY project. You’ll need two 9″ x 11″ wood boards, four 1/4″ screws, wing nuts, and washers, and a drill. Drill four holes in the corners of your boards with a 1/4″ drill bit. Then, countersink the holes with a 15/32″ bit for a smooth finish. Sand the edges for safety, and you’re all set!
Step-by-Step Pressing Process
To use your press, follow these steps:
- Gather flowers in late morning after dew has dried
- Layer moisture-absorbing paper, flowers, and cardboard
- Place between wooden boards and tighten screws
- Store in a well-ventilated area away from sunlight
- Check and tighten screws every few days
Pressing time varies from 1-3 weeks, depending on the flower’s thickness. Thin flowers like pansies press quicker, while roses take longer.
Maintenance and Storage
To keep your wooden press in top shape, clean it after each use. Store absorbent papers flat to prevent warping. Keep your press in a dry area to prevent mold growth. With proper care, your press will serve you well in countless flower artistry projects!
| Flower Type | Pressing Time | Best for Beginners |
|---|---|---|
| Violets | 1-2 weeks | Yes |
| Daffodils | 2-3 weeks | Yes |
| Roses | 3-4 weeks | No |
Quick-Press Microwave Technique
Let’s explore quick flower pressing! The microwave method is a big hit for those who love floral art and DIY projects. It turns fresh flowers into dried ones in under two minutes. This is great for when you need something fast for your craft.
To start, you’ll need fresh flowers, paper towels or 100% cotton rags, and a microwave-safe dish. A Pyrex 9×13 container is a good choice. Pick flowers that are flat, like daisies or asters, for the best results. Thicker flowers, like roses, might need to be cut in half or pressed one petal at a time.
Here’s a quick guide to microwave pressing:
- Place your flowers between paper towels in the microwave-safe dish
- Microwave at half power for 90 seconds
- Check moisture levels and add 30-second intervals if needed
This method is ideal for making dried flowers for bookmarks, cards, or other quick DIY projects. Keep in mind that colors might change a bit. Yellow flowers usually stay yellow, but hot pinks might turn more purple.
| Pressing Method | Drying Time |
|---|---|
| Microwave | 1-2 minutes |
| Book | 2 weeks |
| Wooden Press | 2+ weeks |
While microwave pressing is quick, traditional methods like book pressing or using a wooden flower press give better results. They’re better for thicker flowers. Try different methods to see what works best for your floral art projects!
Beginner’s Guide to Flower Pressing Crafts
Flower pressing is a fun nature craft that lets you keep the beauty of flowers alive. It’s a great hobby that’s easy for anyone to start. Let’s dive into the basics of this timeless craft.
Understanding Basic Techniques
Success in flower pressing starts with the right choices. Pick flowers when they’re at their best, not wilted or wet. Place them between absorbent papers without overlapping. Press them evenly and wait patiently, which can take 1 to 3 weeks.

Common Mistakes to Avoid
Newbies often make these mistakes:
- Using damp flowers, leading to mold
- Applying insufficient pressure, resulting in wrinkled petals
- Rushing the process, causing incomplete drying
- Overcrowding flowers, creating unwanted imprints
Tips for Success
For stunning flower pressing crafts:
- Pick flowers on a dry day, after morning dew has evaporated
- Use blotting paper to prevent sticking
- Change absorbent papers regularly to speed up drying
- Experiment with different pressing methods, like books or microwave
| Pressing Method | Drying Time | Best For |
|---|---|---|
| Book | 1-3 weeks | Delicate flowers |
| Wooden Press | 2 weeks | Various flower types |
| Microwave | 45 seconds + 2-3 days | Quick results |
Flower pressing is an art that gets better with time. Feel free to try new techniques and flowers as you grow in this rewarding hobby.
Color Preservation and Drying Times
Keeping flowers’ colors bright is key in floral art. The drying method greatly affects how well colors stay. Let’s look at how different drying methods impact color and time.
Air drying is a common method for drying flowers. It takes 1-4 weeks, depending on the flower and the environment. Roses, hydrangeas, and lavender dry well with this method, with over 70% success rate.
Oven drying is faster, taking about 2 hours at 200°F. Smaller flowers dry in 45-60 minutes. This method is quicker than air drying.
Silica gel drying is a fast and effective method. It dries flowers in 1-3 days, keeping most of their color. It works great for peonies and dahlias. Freeze-drying is even better, preserving up to 95% of the flower’s color and structure, but it’s more expensive.
| Drying Method | Time | Color Retention |
|---|---|---|
| Air Drying | 1-4 weeks | Moderate |
| Oven Drying | 45 min – 2 hours | Fair |
| Silica Gel | 1-3 days | Good |
| Freeze-Drying | Varies | Excellent (up to 95%) |
Floral art lovers often use microwave pressing for quick results. It’s great for making pressed flower art fast. Book pressing is another traditional method, taking 2-4 weeks but giving beautiful results for cosmos, geraniums, and sunflowers.
Blue and purple flowers usually keep their colors best. Red flowers might turn wine-colored, and yellows could turn brown. To keep colors bright, try flash drying in a car trunk for quick results.
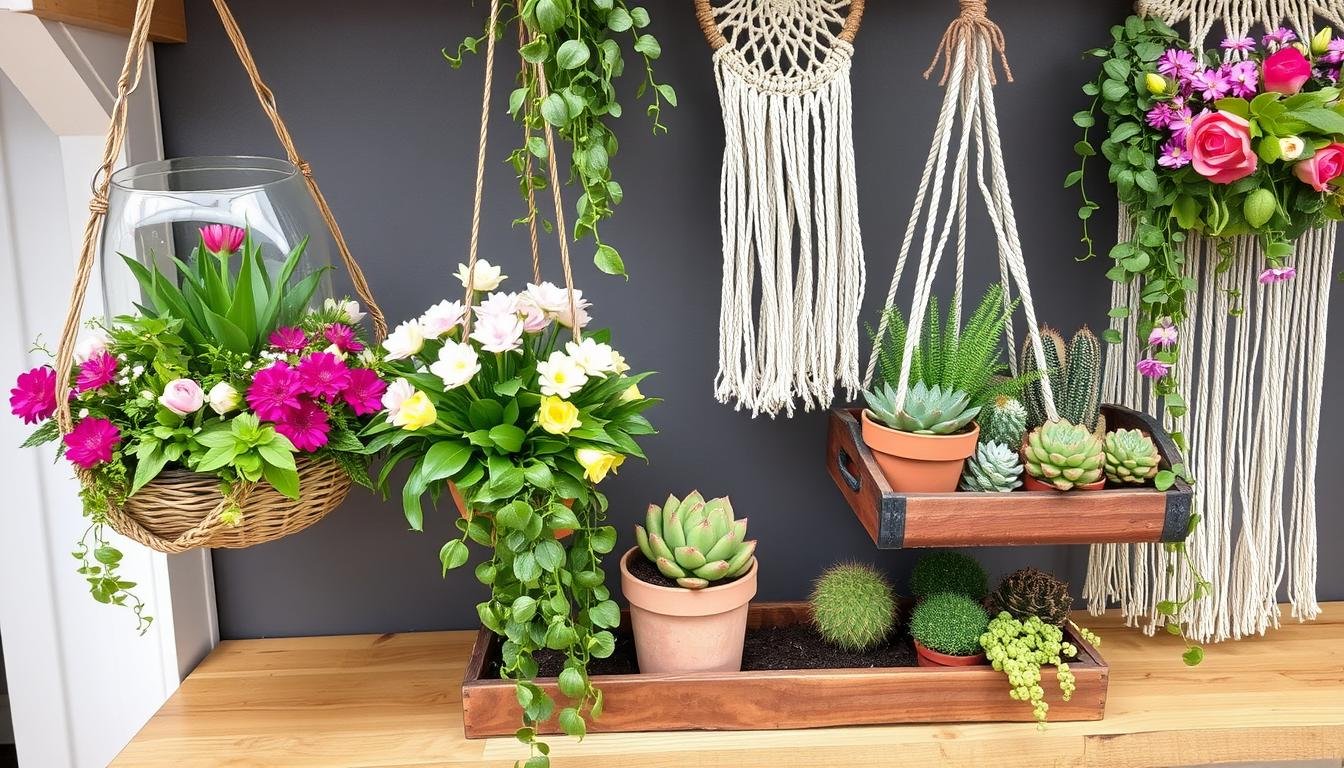
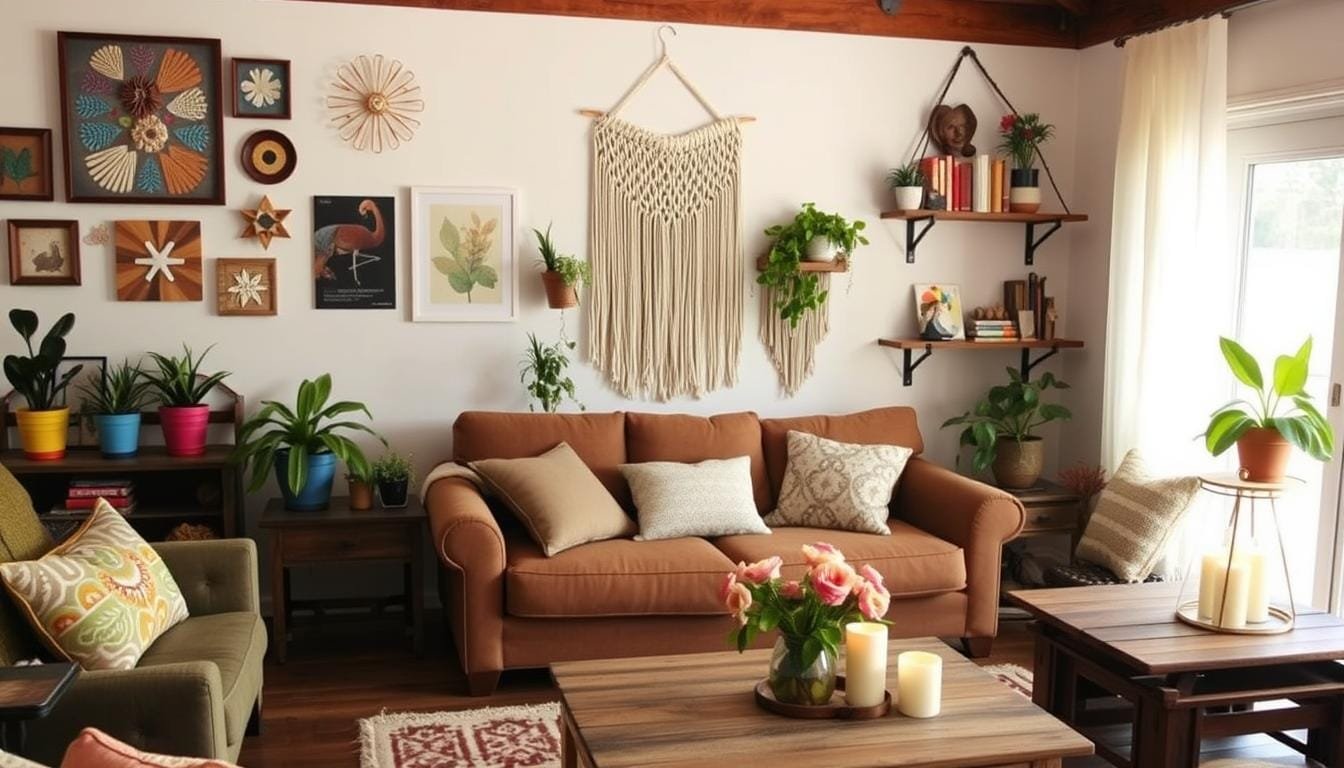
Creative Projects with Pressed Flowers
Explore the world of flower artistry! Pressed flowers can turn simple blooms into stunning keepsakes. You can make beautiful stationery or eye-catching wall art, showing off nature’s beauty in unique ways.
Greeting Cards and Stationery
Make personalized cards that will impress anyone. Start with 250gsm card stock. Place pressed flowers in a design, then use tiny dots of pH-neutral glue to hold them in place. This method works well for gift tags and bookmarks too. Just remember, using less glue helps keep the texture.
Wall Art and Frames
Transform pressed flowers into stunning wall decor. Use UV-resistant glass to frame your floral designs. For a rustic look, press flowers between glass panes and seal with copper foil tape. This keeps your art airtight and protected.
Botanical Jewelry
Wear nature’s beauty with pressed flower jewelry. Seal delicate blooms in clear resin to make pendants, earrings, or bracelets. Single-layer petal flowers work best, with a 40-60% higher success rate when pressing.
| Project | Difficulty | Materials Needed | Time to Complete |
|---|---|---|---|
| Greeting Card | Easy | Card stock, pressed flowers, glue | 30 minutes |
| Framed Wall Art | Medium | Frame, glass, pressed flowers, mounting paper | 1-2 hours |
| Resin Jewelry | Advanced | Resin, molds, pressed flowers, jewelry findings | 2-3 hours (plus curing time) |
These projects bring nature’s beauty into our daily lives. With a bit of creativity, you can make lasting keepsakes from simple pressed flowers.
Seasonal Considerations for Flower Pressing
Flower pressing is a fun nature craft that changes with the seasons. You can enjoy this eco-friendly hobby all year and make stunning botanical preservations.
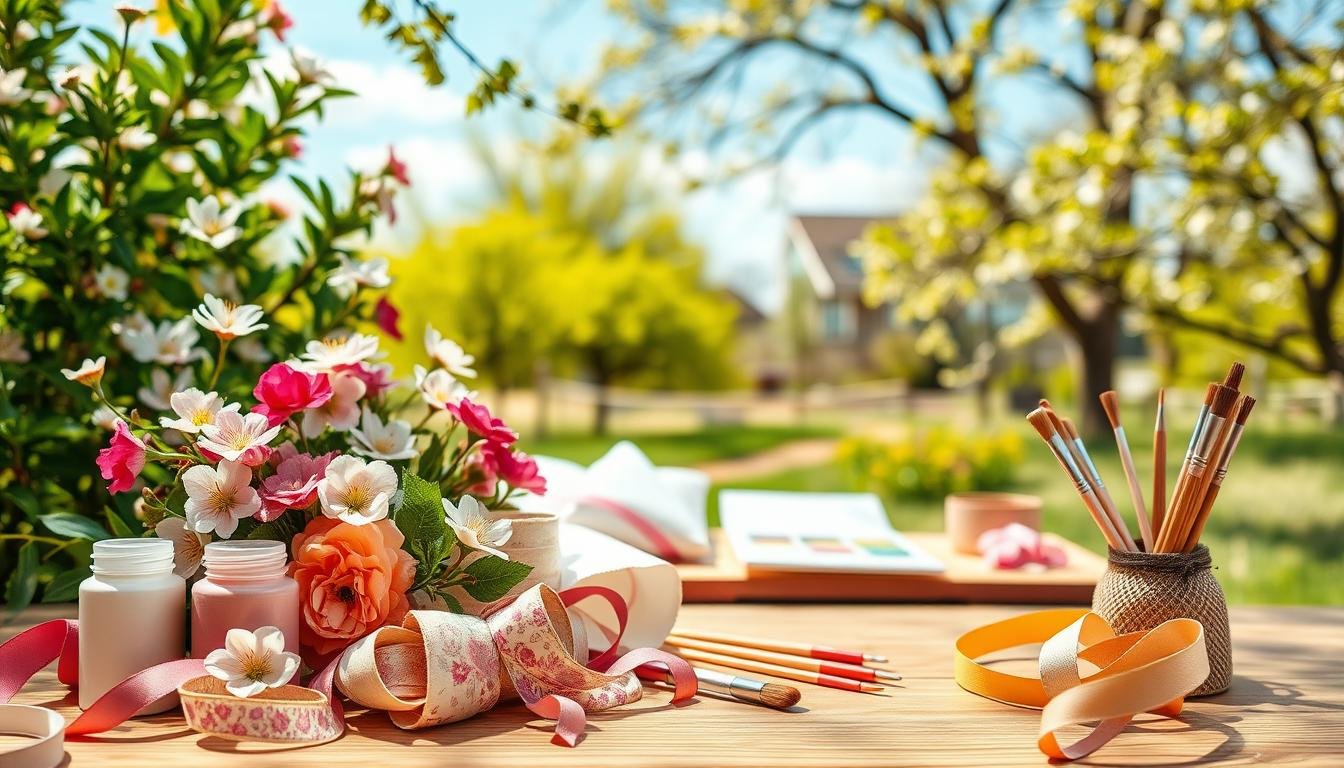
Spring Flowers Guide
Spring is full of delicate blooms perfect for pressing. Tulips and violets are great choices, with their fresh colors. They press well and keep their beauty, perfect for beginners.

Summer Blooms Selection
Summer brings bold and bright flowers for your projects. Sunflowers and zinnias stand out, with their vibrant colors and shapes. Their sturdy petals make them great for adding color to your crafts.
Year-Round Options
Even when seasons change, you can keep up with your eco-friendly hobbies. Some flowers are always available and press beautifully:
- Daisies: Easy to press and keep their shape
- Pansies: Known for their bright colors and flat shape
- Lavender: Keeps its color and scent after pressing
| Season | Best Flowers for Pressing | Pressing Time |
|---|---|---|
| Spring | Tulips, Violets | 2-3 weeks |
| Summer | Sunflowers, Zinnias | 3-4 weeks |
| Year-Round | Daisies, Pansies, Lavender | 1-2 weeks |
For successful flower pressing, pick blooms at their best and avoid thick petals. With these tips, you’ll always have lovely materials for your crafts and preservation projects.
Storage and Protection of Pressed Flowers
Preserving dried flowers is an art that goes beyond just pressing them. The right storage keeps your flowers looking great for years. Here’s how to keep your floral treasures safe.
For long-lasting preservation, create the perfect environment. Keep your flowers in a cool, dry spot, away from sunlight. This stops colors from fading and keeps petals intact.
Use acid-free paper to keep each flower separate and safe. It stops chemical damage. For extra safety, use desiccants like silica gel to dry out any moisture.
Storage Options for Pressed Flowers
- Archival-quality albums
- Flat, acid-free boxes
- Glass frames with UV protection
- Airtight containers with desiccants
Check your flowers every month or so. If you see moisture or mold, change the paper right away. This keeps your flowers looking good for years.
| Storage Tip | Benefit |
|---|---|
| Use acid-free paper | Prevents chemical damage |
| Store in cool, dry place | Maintains color and structure |
| Add silica gel packets | Absorbs excess moisture |
| Use UV-protective frames | Prevents fading from light exposure |
By following these tips, your pressed flowers will stay vibrant and beautiful. They’ll be ready for future projects or to be kept as precious keepsakes.
Troubleshooting Common Issues
Flower artistry can be tricky, but don’t let common issues dampen your enthusiasm for diy projects! I’ve faced my share of challenges in botanical preservation, and I’m here to help you overcome them.
Dealing with Moisture Problems
Excess moisture is a flower presser’s nemesis. To prevent mold, make sure your flowers are completely dry before pressing. If you notice dampness, replace the blotting paper immediately. For stubborn moisture, try using a hairdryer on low heat to gently dry the flowers.
Preventing Color Fading
Sunlight is the main culprit behind fading. Store your pressed flowers in a dark, cool place. I’ve found that using acid-free paper helps maintain vibrant hues. For extra protection, consider using UV-resistant sprays on your finished projects.
Fixing Structural Issues
Crumbling petals or broken stems can be heartbreaking. To avoid this, press flowers when they’re in their prime – not too young or old. If damage occurs, carefully use tweezers to reposition petals. For added strength, you can apply a thin layer of clear craft glue to delicate areas.
| Issue | Cause | Solution |
|---|---|---|
| Mold growth | Excess moisture | Use dry blotting paper, check every 5-6 days |
| Color fading | Sunlight exposure | Store in dark place, use UV-resistant sprays |
| Structural damage | Improper pressing technique | Press flowers at peak, use tweezers for repairs |
Remember, practice makes perfect in flower artistry. Don’t get discouraged if your first attempts aren’t flawless. With these tips, you’ll be creating stunning botanical preservation projects in no time!
Conclusion
As we finish this beginner’s guide to flower pressing crafts, I hope you’re excited to start your floral art journey! We’ve covered everything from picking the right blooms to making beautiful nature crafts. Flower pressing is not just a hobby. It’s a way to keep nature’s beauty alive in art.
Whether you’re using a DIY wooden press or the quick microwave method, each way offers endless creative possibilities. You can make everything from greeting cards to botanical jewelry. Let your imagination soar!
Remember, the little details matter a lot in flower pressing crafts. Knowing how to store, preserve colors, and solve problems will make your work perfect. And if you’re feeling adventurous, try making a flower resin candy bowl. It’s a great way to show off your pressed flowers and add something special to your home.
So, pick up your flowers, get creative, and let’s preserve some natural beauty together. Happy pressing!
FAQ
What are the best flowers for pressing?
How long does it take to press flowers?
Can I press flowers from a florist bouquet?
How do I prevent my pressed flowers from fading?
What’s the best way to store pressed flowers?
Can I use a regular iron to press flowers?
How do I create pressed flower art without damaging the flowers?
What’s the difference between air-drying and pressing flowers?
Can I press flowers in the microwave without special equipment?
How can I incorporate pressed flowers into my everyday life?
Source Links
- https://www.firstdayofhome.com/how-to-press-flowers/
- https://blog.txfb-ins.com/texas-living/flower-pressing-guide/
- https://www.nhm.ac.uk/discover/how-to-press-flowers.html
- https://www.redtedart.com/how-to-press-flowers/
- https://www.bhg.com/gardening/design/projects/make-pressed-flowers/
- https://blossmcart.com/blog/the-art-of-preservation-how-to-press-flowers/?srsltid=AfmBOopfUvxbuoS-3WVs-_9D0I_XHoYWFvSF3m3xXA7XbzibxGGMhK8B
- https://www.microfleur.com/blogs/pressed-flowers/suitable-flowers-and-preparation?srsltid=AfmBOoqkMT9Y9UonTa-RsxGL4q2xsPthG-aRIfYaahegyyKOUF0TJwrS
- https://www.crafts4kids.co.uk/blogs/news/how-to-press-flowers-with-kids
- https://www.homedepot.com/c/ah/how-to-press-flowers/9ba683603be9fa5395fab90166ce0672
- https://www.architecturaldigest.com/story/how-to-press-flowers
- https://alittledelightful.com/how-to-press-flowers-different-methods-and-useful-tips/
- https://underatinroof.com/blog/how-to-press-flowers-with-a-flower-press-a-simple-historical-craft
- https://www.farmhousechicliving.com/how-to-use-a-flower-press/
- https://woodlarkblog.com/how-to-make-a-diy-flower-press/
- https://studiodiy.com/diy-pressed-flower-art-how-to-press-flowers-in-microwave/
- https://welcometonanas.com/how-to-press-flowers-4-ways/
- https://www.paperthinmoon.com/articles/2021/7/31/pressing-flowers
- https://lilysflorist.com/blog/preserving-beauty-the-evolution-of-drying-and-pressing-flowers/?srsltid=AfmBOoqIO6AUqIoP8EMuHiPof7qsktw8dji3njLCrnPA1z61nrU6o2O1
- https://www.firstdayofhome.com/how-to-dry-flowers/
- https://www.steviestorck.com/blog/2022/7/7/diy-pressed-flower-art
- https://www.littlepressedflower.co.uk/blog/5crafts
- https://littlepinelearners.com/20-beautiful-pressed-flower-crafts/
- https://mindfulpuzzles.com.au/creativity/a-beginners-guide-to-pressing-flowers/
- https://flowerbee-sg.com/blogs/flower-delivery/how-to-preserve-your-blooms
- https://berstukstore.com/blogs/news/how-to-press-flowers-for-preservation-absolute-beginners-guide?srsltid=AfmBOorz5pkkrSzw8RBIjp9xwmk3F-YBcw-Rah2kZNqPJudX3WaMVypY
- https://flowerbee-sg.com/es/blogs/flower-delivery/how-to-preserve-your-blooms
- https://www.firstdayofhome.com/diy-flower-press/
- https://getsprigbox.com/blogs/dried-flowers/how-to-use-a-flower-press?srsltid=AfmBOooT_zUg4D7To9duR4PHkREmi5yQBPnTaYiLWusjG7UVFr4hnzgk
- https://www.outdoorapothecary.com/flower-press/
- https://woodworker24.com/crafting-elegance-guide-to-creating-a-flower-resin-candy-bowl/
Jen is a healthcare pro by day and a DIY enthusiast by night, bringing creativity to life on JF Craft Corner! From decoupage to Cricut crafts, she’s all about making DIY magic (and a little mess). She also co-runs The Heart of Mindful Living blog and podcast, inspiring others to refresh their minds and nurture their souls. Her trusty sidekick? Fergus, her chocolate Shih Tzu and certified therapy dog, always on cuddle duty. Jen believes true leadership starts with kindness—and, of course, a little glitter!