Decoupage Picture Frames: A Fun and Easy DIY Craft
As I stood in the craft store, I saw the unfinished wood frames. An idea hit me – what if I could make these frames into stunning art with decoupage? With simple supplies and creativity, I could make a personalized decor piece that made me smile every time I saw it.
Decoupage lets you turn ordinary items into unique masterpieces. By using Mod Podge and decorative papers, you can give new life to picture frames. This DIY project is great for those who love paper crafts and want to add a personal touch to their home.
In this article, I’ll show you how to make your own decoupage picture frames. You’ll learn how to pick the right papers, apply Mod Podge, and seal your frame. This DIY craft is perfect for anyone who wants to express their style and add joy to their home decor.
Key Takeaways
- Decoupage is a versatile craft technique for customizing picture frames.
- Unfinished wood frames are a popular material for decoupage projects.
- Creating a decoupage picture frame is an affordable DIY craft that can be completed in about 2 hours.
- Mod Podge, scrapbook paper, and a few basic supplies are all you need to get started.
- Decoupage picture frames allow for personalization and can be used to add a unique touch to your home decor.
Understanding the Art of Decoupage for Picture Frames
Decoupage has been around for centuries, captivating many with its beauty. It involves cutting and layering paper or fabric on a surface, like a picture frame. This makes picture frames perfect for showing off your creativity.
History of Decoupage Techniques
Decoupage started in East Siberia and moved to China in the 12th century. It became popular in Europe, especially in France and Italy in the 17th century. Today, it’s still loved by many, with artists adding their own twist to this classic craft.
Why Choose Picture Frames for Decoupage
Picture frames are great for decoupage because they can be turned into art. Their flat surfaces are perfect for arranging different papers and materials. This way, you can make your frames truly unique.
Benefits of This Craft Project
Starting a decoupage project on a picture frame has many benefits. It’s a cheap way to make your home look unique, using old frames or finding affordable ones. It also lets you express yourself creatively, making frames that show your style. Plus, it’s a fun and calming activity.
“Decoupage is a craft that allows you to transform the ordinary into the extraordinary. Picture frames are the perfect canvases to showcase your creativity and personal style.”
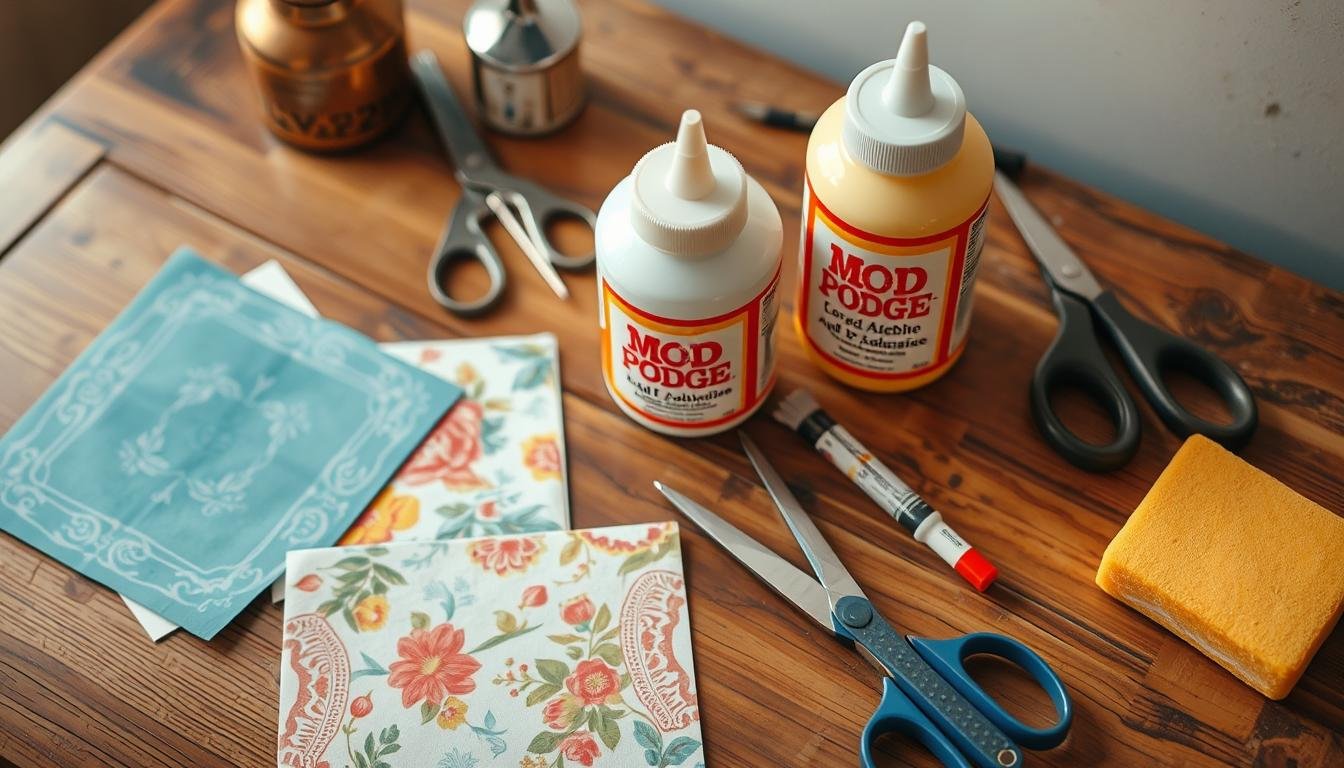
Essential Materials and Supplies Needed
To make stunning decoupage picture frames, you need the right stuff. You’ll need Mod Podge in matte and glossy, unfinished wood frames, and lots of scrapbook or decorative paper. Also, sharp scissors, a pencil, and a paintbrush for the Mod Podge.
For smooth application, use a brayer or a credit card to flatten and stick the paper. For extra flair, add fabric, felt, or a hot glue gun. With these basics, you’re ready to make unique decoupage frames that show off your style.
- Mod Podge (matte or glossy finish)
- Unfinished wood frames
- Scrapbook or decorative paper
- Scissors
- Pencil
- Paintbrush
- Brayer or credit card
- Optional: Fabric, felt, hot glue gun
Decoupage frames are all about creativity. Feel free to try out different craft supplies, Mod Podge finishes, and scrapbook paper designs. With the right stuff and a bit of imagination, any unfinished wood frame can become a masterpiece.
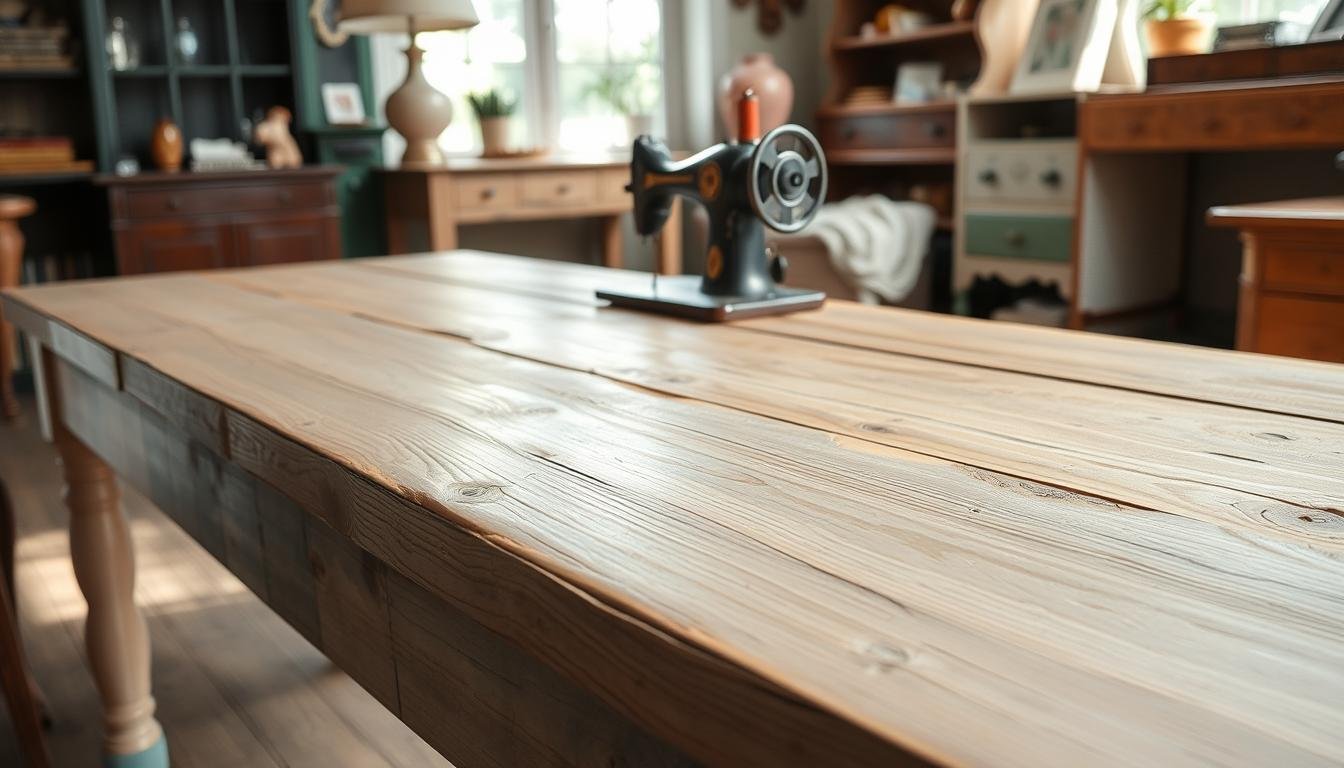
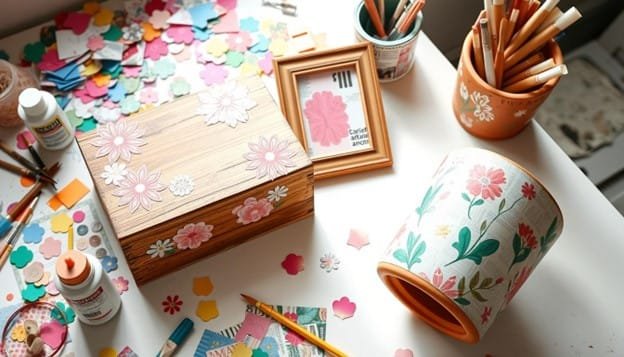
Preparing Your Workspace and Frame
Creating a stunning DIY picture frame with decoupage starts with preparation. Clean and prep your frame for smooth paper or fabric application. Lightly sand the surface to get it ready for adhesive.
Next, set up a tidy workspace for efficiency and fun. Use a craft mat or plastic sheet to catch spills. Good air flow is crucial, especially with adhesives, so ensure your area is well-ventilated.
Safety Considerations
Always prioritize craft safety. Wear gloves and work in a well-ventilated area to avoid fume inhalation. Disassemble the frame before decoupage for better access and a neater finish.
| Task | Time | Supplies |
|---|---|---|
| Cleaning and Prepping the Frame | 5 minutes | Soft cloth, sandpaper (optional) |
| Creating an Organized Work Area | 10 minutes | Craft mat, plastic sheet, well-ventilated space |
| Disassembling the Frame | 5 minutes | Screwdriver (if necessary) |
Proper preparation of your workspace and frame is key for a successful decoupage project. With the right tools and a careful approach, you’ll create a beautiful, personalized picture frame. It will add joy to your space.
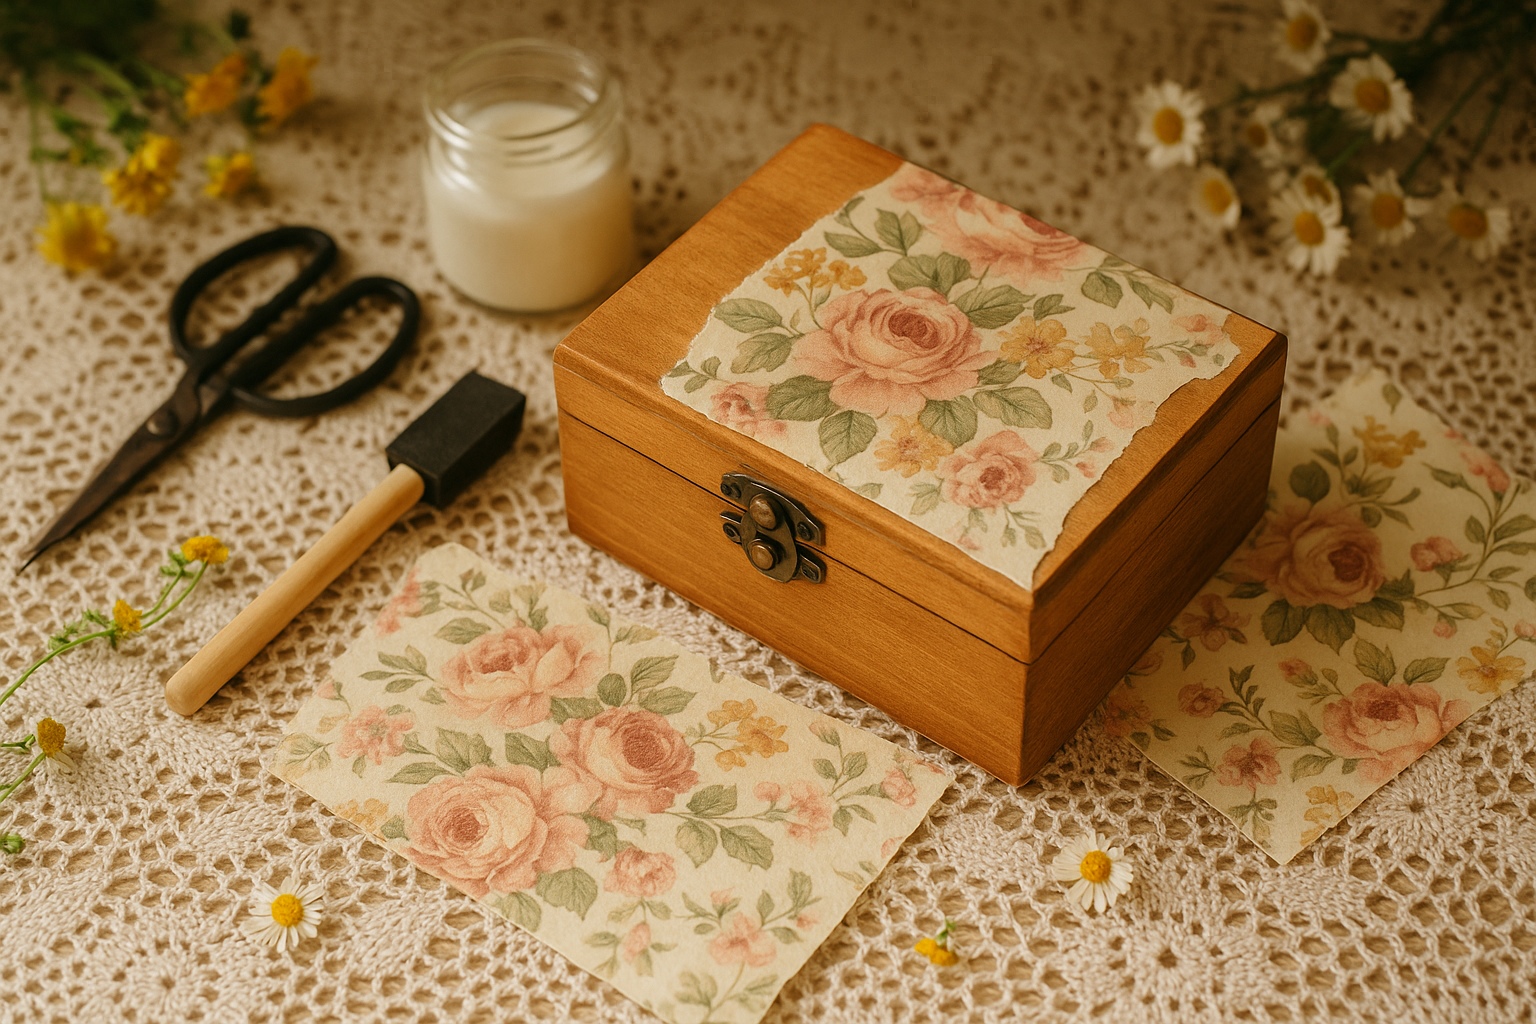
Selecting the Perfect Papers and Designs
Choosing the right decorative papers is key to a great decoupage picture frame. You can pick from vibrant scrapbook designs, delicate florals, or rustic textures. Let your creativity flow by trying different papers that match your style and the room’s look.
Scrapbook paper is a favorite for decoupage, with many patterns, colors, and themes. You can find everything from whimsical florals to bold geometric prints. Wrapping paper also adds charm, with its wide range of designs and textures.
For something special, try handmade or specialty papers. Gelli plate prints, for example, add unique textures and patterns. You can also use tissue paper, napkins, or vintage magazine clippings to make your piece truly yours.
- Scrapbook paper: Offers a wide variety of patterns, colors, and themes
- Wrapping paper: Provides a diverse range of designs and textures
- Handmade or specialty papers: Introduce unique textures and patterns, like Gelli plate prints
- Other materials: Tissue paper, napkins, and vintage magazine clippings can add a personalized touch
Remember, the fun part of decoupage is experimenting and being creative. Enjoy exploring and don’t be afraid to try new things. This craft is all about adding your personal touch to each piece.

“The best part of decoupage is the freedom to experiment and create something truly unique. Embrace the process and let your creativity guide you.”
Decoupage Picture Frames: A Fun and Easy DIY Craft
Making your own decoupage picture frames is a fun, creative project. It adds a personal touch to your home. Whether you’re new to DIY or experienced, the steps are easy and fun. With the right materials and a few simple steps, you can turn a plain frame into a stunning piece that shows off your style.
Step-by-Step Application Process
First, trace the frame’s outline on the back of your paper or fabric. This helps you know the exact size and shape for your design. Then, apply a lot of Mod Podge to the frame and place the paper or fabric on it. Use a brayer or credit card to smooth it out and remove wrinkles or bubbles.
Let each layer dry completely before adding more. This layering is crucial for a professional finish. Finally, sand the frame’s edges to make them smooth and polished.
Tips for Smooth Application
- Use thin coats of Mod Podge for the best results, not a thick one.
- Apply Mod Podge thinly and evenly to avoid bubbles or wrinkles.
- Align and smooth the paper or fabric carefully to prevent misalignment or overlap.
Common Mistakes to Avoid
- Don’t rush the drying time between layers, or the decoupage might peel or tear.
- Too much Mod Podge can make the finish sticky and uneven.
- Not sanding the edges well can leave them rough and unfinished.
By following these tips and techniques, you’ll make a beautiful, unique decoupage picture frame. It will show off your creativity and add a personal touch to your home.
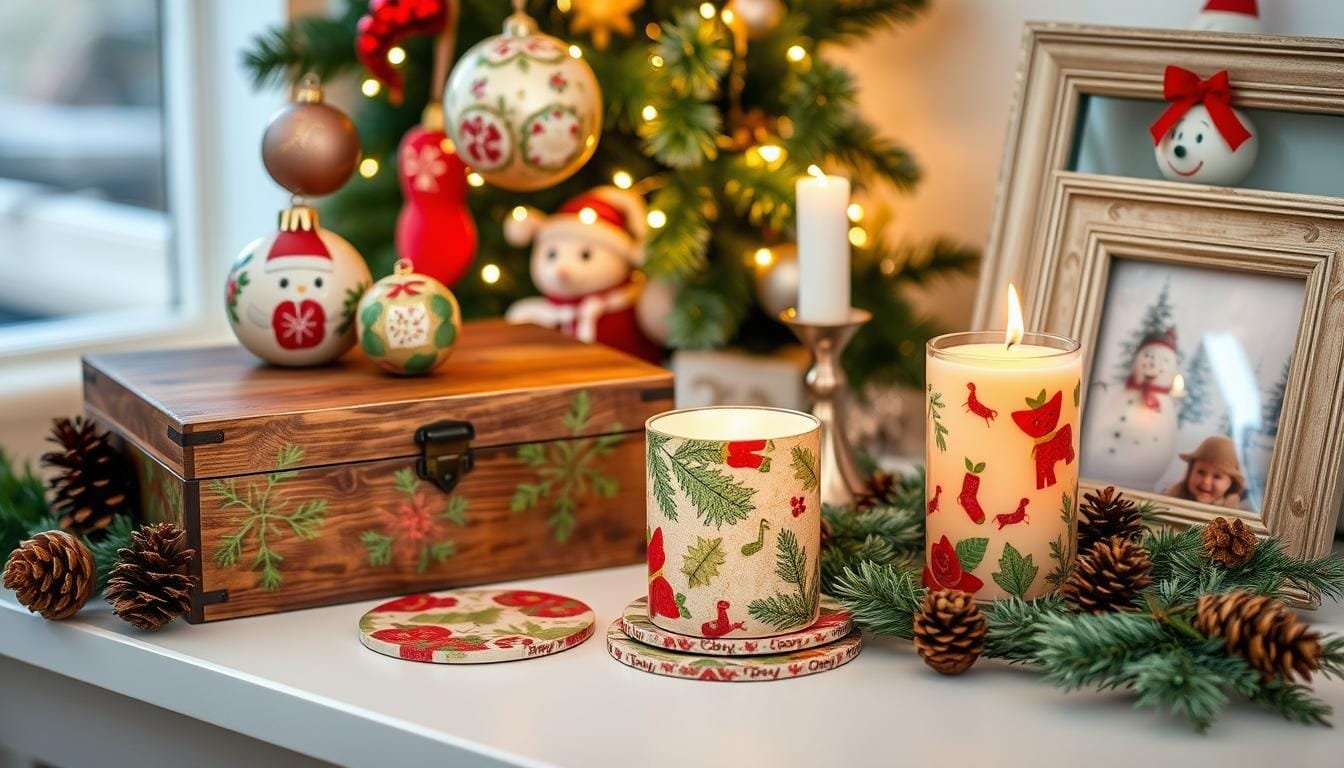
Adding Special Effects and Embellishments
Make your decoupage picture frames special with creativity and personal touches. Try out different craft embellishments for depth, texture, and a unique look. You can use everything from delicate bows and bright buttons to glitter and fabric scraps.
I’ve been decoupaging for over 16 years and have made hundreds of projects. I know how exciting it is to turn a simple frame into a personalized art piece. Adding special effects can make your decoupage stand out, whether it’s for yourself or as a gift.
Think about the look you want for your frame. Do you like a vintage style with lace and old finds? Or maybe a modern look with simple designs and subtle decorations? Choose accents that match the papers and patterns you’ve picked.
One great trick is to mix different textures, like fabric and paper, for depth and interest. You can also add personal touches like quotes, photos, or charms. Just remember to use strong glue, like hot glue, for heavier items.

Don’t be shy to try new things and have fun with your frame decorations. Decoupage is all about creativity, so let your style shine through. Make a piece that’s truly unique and reflects your personality.
Sealing and Protecting Your Creation
After decorating your picture frame with decoupage, it’s time to protect it. Sealing your work is key to keeping it safe from damage. We’ll look at the best sealants and how to apply them to keep your frame looking great.
Types of Sealants
There are several craft sealants to choose from. Mod Podge is a top pick, offering many protective finishes. You can also use clear acrylic sealer spray for a shiny finish. Pick the one that fits your style best.
Application Techniques
- Use a soft brush to apply thin, even coats of sealant.
- Wait 8-10 minutes between coats for a smooth finish.
- Apply multiple coats for extra protection, letting each dry fully.
- When using spray, keep the can 6-8 inches away and spray in light passes.
- Try different Mod Podge techniques for various looks.
Sealing is the last step to make your decoupage frame last. With the right sealants and methods, your frame will stay beautiful for years.
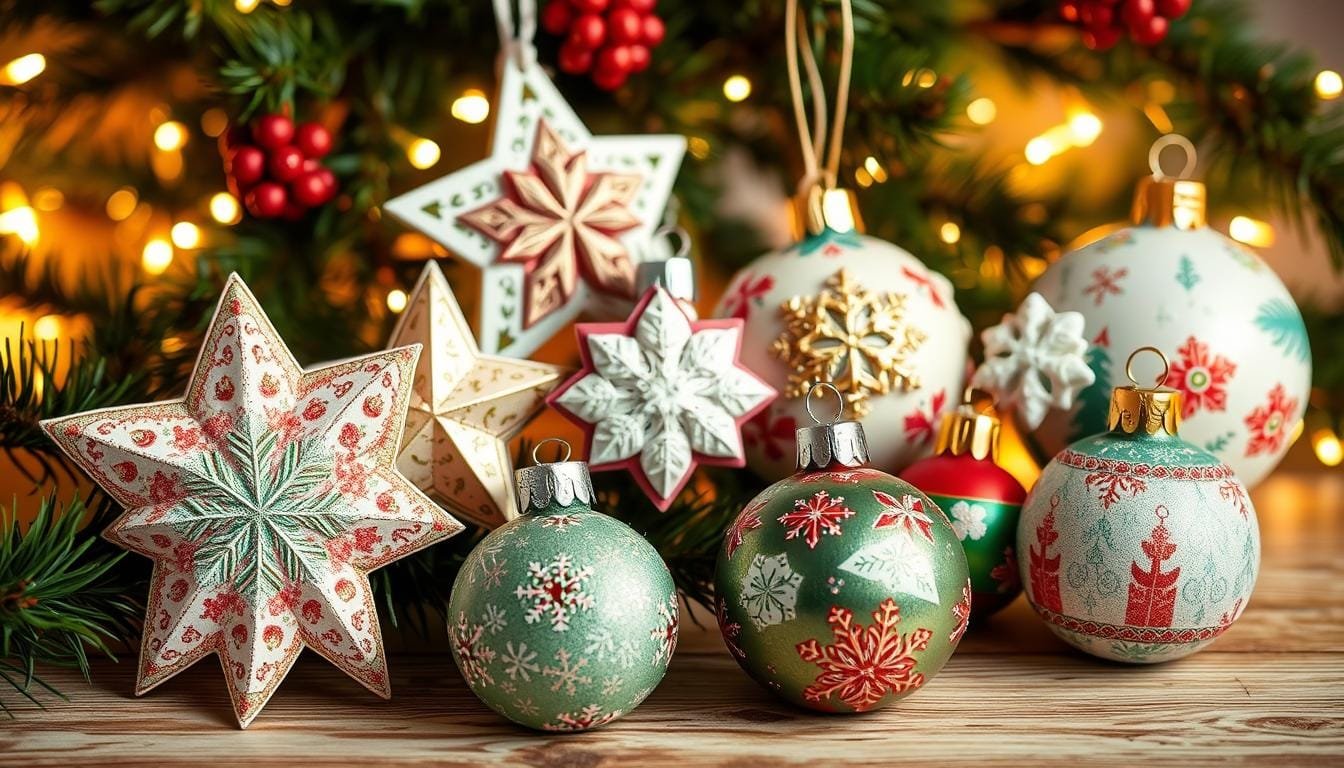
Creative Design Ideas and Inspiration
Unleash your creativity and turn ordinary picture frames into stunning art with decoupage. You can choose from vintage designs, nature-inspired motifs, or abstract patterns. The options are endless for decoupage frame design ideas.
For a nostalgic touch, use map fragments, sheet music, or favorite book pages. These can create a unique frame with a story. Or, go for a natural look with floral cutouts or leaves. For something modern, try geometric shapes, bright colors, and textures.
Decoupage lets you add personal touches like photos, ticket stubs, or mementos. It makes your frames special, whether for a family photo or a gift. The personal touch of decoupage makes your creation unique.
Decoupage is all about exploring and trying new things. You can use paper, fabric, ribbons, and more. One of my favorie papers to use is Roycycled. She has a wonderful line of creative papers for everyone. It’s a chance to express yourself and let your imagination run wild.
So, let your creativity shine and explore decoupage frame design ideas. Whether you’re experienced or just starting, making a simple frame into art is rewarding and fun.
Troubleshooting Common Issues
Starting a decoupage project is fun and creative. But, you might run into some problems. Don’t worry, with a bit of troubleshooting, you can solve any decoupage problems or craft troubleshooting issues. Let’s look at some common problems and DIY solutions to keep your picture frame projects going smoothly.
Bubbles are a common issue. They happen when air gets trapped under the paper. To fix this, gently lift the paper and smooth it down with a brayer or your fingers. If the bubble is hard to get rid of, add a bit of decoupage medium and smooth it out.
- Wrinkles can be a problem too, often from too much medium on the paper. To fix this, mist the wrinkled area with water and use a dry cloth to smooth it out. I find that if I mist the paper before applying it, the less likely I am to get wrinkles.
- If the paper tears, don’t worry. Apply a bit of decoupage medium to the torn edges and press them together. You can also cover the tear with a piece of paper for a perfect fix.
To avoid these problems, pay attention to how you apply the medium. Don’t soak the paper, and work in small sections. If your project isn’t working out, it’s okay to start over. Sometimes, a fresh start is the best solution.
| Common Issue | DIY Solution |
|---|---|
| Bubbles | Peel back paper, use brayer or fingers to smooth out air pockets, add decoupage medium |
| Wrinkles | Lightly mist with water, blot and smooth with dry cloth |
| Tearing Paper | Apply decoupage medium to torn edges, press together, add paper patch |
With a bit of patience and these tips, you’ll make beautiful, decoupage-enhanced picture frames. Enjoy the process, learn from your mistakes, and celebrate the end result.
Gift-Giving and Display Tips
Making a personalized decoupage picture frame is a fun project. It also makes a thoughtful gift. You can customize it for any occasion, like birthdays or holidays. Use delicate tissue paper and colorful ribbons to make it look elegant.
Packaging Suggestions
- Wrap the frame in tissue paper, either in a solid color or a pattern that complements the design.
- Tie a decorative ribbon around the package, adding a festive bow for a special touch.
- Include a handwritten note, sharing the story behind the unique creation.
- For a cohesive set, consider creating a matching set of decoupage frames as a thoughtful DIY gift.
Display Methods
After unwrapping, there are many ways to show off your decoupage picture frame. Place it on a bookshelf, mantel, or entryway table. It will look great there.
For a gallery wall, group your frames with other artwork and photos. Or, use an easel or stand to display it on a tabletop. This lets the design shine.
How you display your decoupage creation matters. The joy and personal touch you put into it will show. It will become a special part of any home.
Conclusion
As we wrap up our exploration of decoupage picture frames, I hope you see endless possibilities. Decoupage is a fun DIY project that lets you add a personal touch to your home. It shows off your unique style and personality.
Decoupage makes ordinary frames into unique, eye-catching pieces. You can pick from nature, vintage, or your own art. This craft is a great way to express yourself creatively.
I urge you to dive into decoupage and let your creativity soar. Try out different papers, colors, and decorations. Making your own frames is rewarding and adds joy to your home. Enjoy making your own decoupage masterpieces!
Source Links
- https://modpodgerocksblog.com/decoupage-picture-frame/
- https://www.vickymyerscreations.co.uk/easy-diy-decoupage-picture-frame/
- https://tatertotsandjello.com/diy-decoupaged-frames/
- https://modpodgerocksblog.com/decoupage-learn-from-an-expert/
- https://lifeonsummerhill.com/how-to-decoupage/
- https://craftsbyamanda.com/comic-craft-decoupage-frame/
- https://modpodgerocksblog.com/essential-decoupage-supplies/
- https://www.funcraftstodoathome.com/decoupage-picture-frame/
- https://thecrazycraftlady.com/decoupage-picture-frame/
- https://www.firstdayofhome.com/upcycle-old-picture-frames/
- https://colormadehappy.com/diy-picture-frame-craft/
- https://modpodgerocksblog.com/geometric-tissue-paper-frame/
- https://www.prima.co.uk/craft/papercraft/a21431/get-started-decoupage/
- https://www.dltk-kids.com/crafts/decoupage/
- https://flippinfurnitureblog.com/diy-frame-makeover/
- https://modpodgerocksblog.com/craft-ideas/home-decor-crafts/diy-picture-frame/
- https://diycandy.com/mod-podge-picture-frame/
- https://www.instructables.com/Decoupage-Picture-Frames-Using-Comics/
- https://modpodgerocksblog.com/the-7-steps-to-perfect-mod-podging-every-time/
- https://craftingagreenworld.com/articles/diy-photo-mat-book-page-collage/
- https://craftsbyamanda.com/decoupage-family-photo-plaques/
- https://www.homemadegiftguru.com/simple-decoupage-frame.html
- https://bungalow47.com/budget-decoupage-frame-with-napkins-2/
- https://www.homecraftsbyali.com/2016/06/diy-decoupage-wood-photo-frame-for-baby.html
- https://craftgalleryusa.com/decoupage-craft-ideas/
- https://modpodgerocksblog.com/photo-frame-decoration-ideas/
- https://www.100directions.com/decoupage-a-mini-photo-frame/
- https://www.diycraftsy.com/diy-picture-frame-ideas/
- https://www.frameiteasy.com/learn/picture-frame-questions/?srsltid=AfmBOoq8IfgWE_Ne3lq-TzMQzzzp6wbPgibxUURwGWmQHCH0O4a-oN2K
- https://www.homelane.com/blog/diy-project-how-to-create-decoupage-art/?srsltid=AfmBOorbbg8VlV-BjcHowy0xItopAtH_f5o5wT8ykbaG1c9BBjFSsdsj
- https://modpodgerocksblog.com/mod-podge-photo-transfer-crafts/
- https://www.bobvila.com/articles/diy-picture-frame/
- https://www.5minutesformom.com/137038/creative-mothers-day-gift-diy-pallet-picture-frame/
- https://craftsbyamanda.com/preserving-pencil-drawings-with-decoupage/
- https://modpodgerocksblog.com/paper-napkin-decoupage-on-wood/
- https://www.lorddecor.com/blog/diy-crafts
Jen is a healthcare pro by day and a DIY enthusiast by night, bringing creativity to life on JF Craft Corner! From decoupage to Cricut crafts, she’s all about making DIY magic (and a little mess). She also co-runs The Heart of Mindful Living blog and podcast, inspiring others to refresh their minds and nurture their souls. Her trusty sidekick? Fergus, her chocolate Shih Tzu and certified therapy dog, always on cuddle duty. Jen believes true leadership starts with kindness—and, of course, a little glitter!