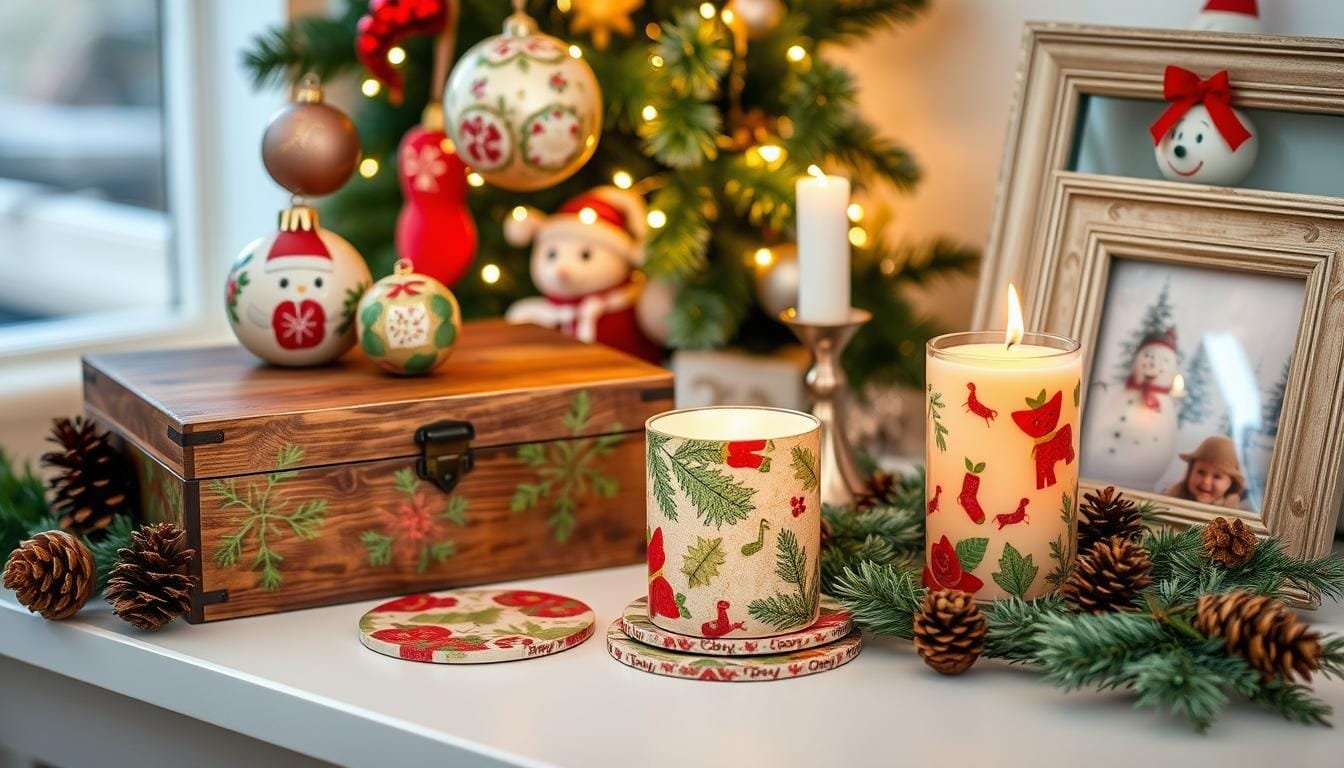
DIY Decoupage Christmas Ornaments – Easy Holiday Crafts
As the holiday season gets closer, I love to make my Christmas decorations special. One of my top DIY projects is making unique decoupage Christmas ornaments. These ornaments are not only easy on the wallet but also let me show off my creativity.
Decoupage Christmas ornaments turn simple clear ornaments into something truly special. I use Mod Podge, a handy decoupage medium, to apply things like decorative napkins or tissue paper. This way, I can make ornaments that match my holiday theme perfectly.
Key Takeaways
- Decoupage Christmas ornaments are a budget-friendly way to personalize your holiday decor.
- The process involves using Mod Podge to apply decorative materials like napkins, tissue paper, or scrapbooking supplies to clear ornaments.
- Decoupage ornaments allow for endless design possibilities, from traditional holiday themes to modern and vintage styles.
- Creating decoupage ornaments is a fun, easy craft suitable for all skill levels and ages.
- Handmade decoupage ornaments make thoughtful and unique gifts for friends and family.
Getting Started: Essential Supplies for Ornament Making
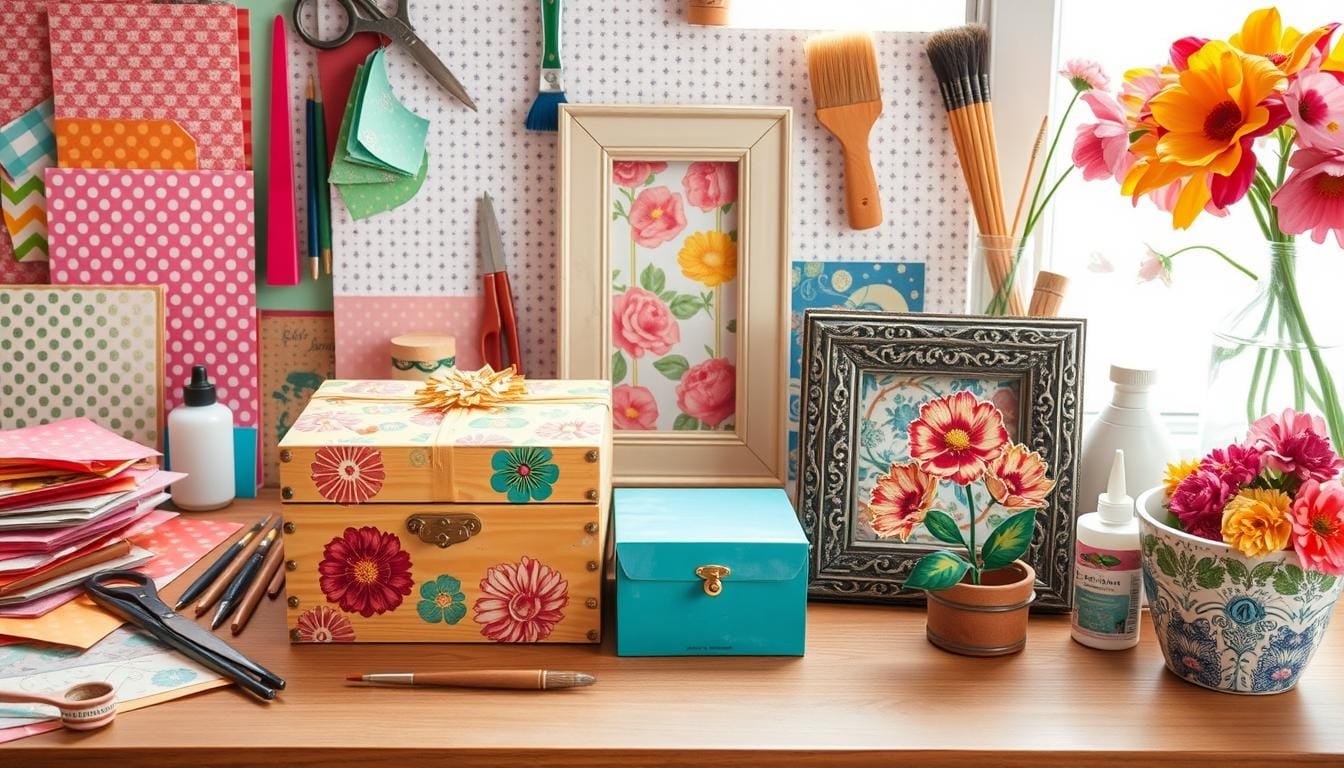
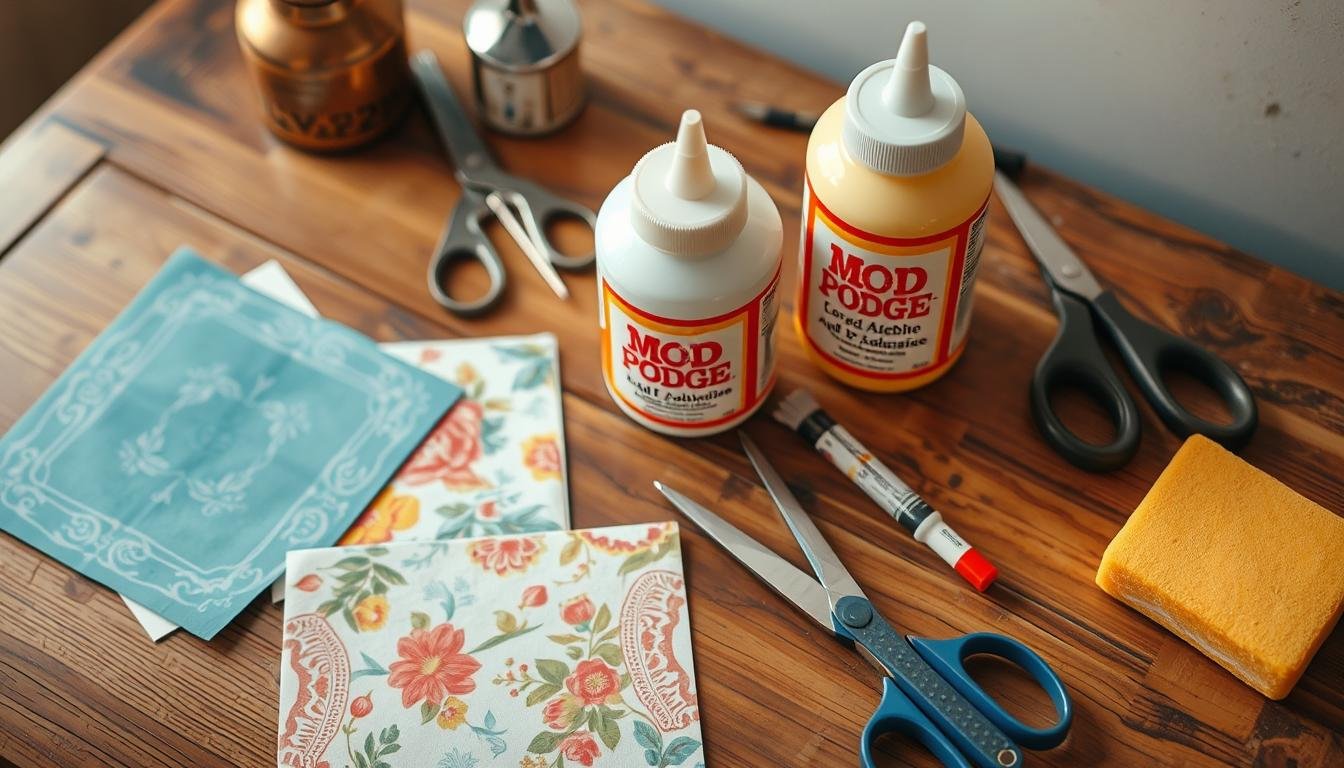
Making your own ornaments is a fun and rewarding project. You’ll need a few basic supplies to get started. These include clear glass or plastic ornaments, Mod Podge (in a gloss finish), and decorative napkins or scrapbooking papers.
For the best results, look for inexpensive ornament bases at dollar stores, thrift shops, or online.
Basic Materials Needed
- Clear glass or plastic ornaments
- Mod Podge (gloss finish)
- Decorative napkins or scrapbooking papers
Optional Decorative Elements
- Glitter
- Ribbons or jute twine
- Additional embellishments (e.g., beads, charms, trims)
Tools and Equipment
You’ll also need some basic tools and equipment for your DIY project:
- Small paintbrushes
- Scissors
- Tweezers (optional, for precise application)
With these supplies, you’re all set to start making your own ornaments. Remember, the most important thing is to have fun and let your creativity shine!
Choosing the Perfect Base Ornaments
When making your own vintage paper or upcycled ornaments, the base is key. I suggest using clear glass or plastic ornaments. They offer a clean look that lets your design pop.
For a more covered look, white ornaments are a good choice. But remember, the original color might peek through, especially with thin materials. Thrift stores and dollar stores have affordable options for this project.
- Glass or plastic ornaments make the best base
- White ornaments provide a more opaque background
- Thrifted or discounted ornaments are budget-friendly options
Choose a base that fits your design vision. With the right start, your ornaments will be unique and add charm to your holiday decor.
| Ornament Type | Transparency | Cost |
|---|---|---|
| Clear Glass | Highly Transparent | $$ |
| Clear Plastic | Transparent | $ |
| White | Opaque | $ |
Crafting your own ornaments lets you express your creativity. Try different bases to find the perfect fit for your vision.
Selecting and Preparing Napkins and Papers
Choosing the right napkins or papers is key for DIY decoupage Christmas ornaments. Pick ones that match your holiday decor for a unified look. Paper crafts offer endless design options, from classic to modern and vintage.
How to Separate Napkin Layers
Most napkins for decoupage gifts have three layers. You’ll only need the top layer for its design. Carefully peel apart the layers to keep the patterns intact. Use tape to help separate them without damaging the napkin.
Cutting and Sizing Guidelines
- Cut the napkin into four pieces to fit your ornament base.
- Trim the edges to ensure a perfect fit on the ornament.
Pattern Selection Tips
Choose classic holiday designs like cardinals or holly berries for a traditional look. Or, go for modern patterns or fabric scraps for something unique. Pick designs that show your style and match your Christmas decor.
| Napkin Design | Ornament Style | Quantity Used |
|---|---|---|
| Gold and Ivory Ornate | Elegant, traditional | 1 full napkin |
| Blue and White Chinoiserie | Modern, vintage-inspired | 1 full napkin |
| Christmas Cardinals | Classic holiday | 4 napkin pieces |
Keep in mind that the ornament base’s color might show through the napkin. Use white or painted ornaments for better coverage and a clean finish.
Step-by-Step Guide to Decoupage Christmas Ornaments
Making your own holiday decor is fun and rewarding. One of my favorite projects is making decoupage Christmas ornaments. They add a personal touch to your tree and make great gifts.
To start, you’ll need a few things: clear ornaments, festive paper napkins, and Mod Podge. Here’s how to make your own unique ornaments:
- Take off the ornament hanger and apply a thin layer of Mod Podge to the ornament.
- Place the napkin pieces on the ornament, starting at the top. Smooth out wrinkles as you go.
- Keep adding napkin pieces until the ornament is fully covered. Overlap edges for a seamless look.
- Let the ornament dry completely, then put the hanger back on.
- For a sparkly finish, use Glitter Mod Podge or sprinkle glitter on the wet Mod Podge.
This holiday decor diy project lets you use different napkin designs for a personalized set. I’ve used traditional holiday motifs and modern patterns like gingham and vintage designs.
| Napkin Design | Ornament Theme |
|---|---|
| Holly Berry | Traditional Holiday |
| Nutcracker | Whimsical Christmas |
| Forest with Elk | Rustic Woodland |
| Red and White Gingham | Farmhouse Chic |
| Blue and Green Christmas Trees | Modern and Minimalist |
| Merry Jolly Christmas | Festive and Bright |
| Vintage Ornament | Nostalgic and Retro |
| Dogs with Packages | Cute and Playful |
With a bit of creativity and these steps, you can make beautiful holiday decor diy ornaments. They’ll add a personal touch to your homemade christmas decor.
Creative Design Ideas and Patterns
Creating unique christmas tree decorations with vintage paper ornaments opens up a world of possibilities. You can go for traditional holiday themes or modern and vintage-inspired designs. There’s a wide range of creative ideas to explore.
Traditional Holiday Themes
Bring back the classic charm of Christmas with symbols like cardinals, holly berries, and nutcrackers. These motifs remind us of Christmases past. They add a festive elegance to your tree.
Modern and Vintage Styles
For a modern twist, try geometric patterns, minimalist designs, or retro scenes. Vintage Santas, retro Christmas images, and whimsical forest creatures add old-fashioned charm. They make your ornaments stand out.
Color Combinations
Color choices are endless. Classic red and green are timeless, but you can also explore blue and silver or burgundy and gold. Mixing patterns and hues creates a unique look.
Let your creativity run wild when making christmas tree decorations with vintage paper ornaments. Try different techniques and materials. Find the perfect mix that shows off your style and adds holiday magic to your home.
Tips for Professional-Looking Results
Creating stunning handmade ornaments and decoupage gifts is all about the details. As you start your decoupage project, remember these tips for a polished finish.
- Work in small sections to prevent the Mod Podge from drying before you can apply the napkins. This will ensure a seamless and smooth application.
- Smooth out any air bubbles as you go, gently pressing the napkin pieces into place. This will help create a flawless surface.
- For a cohesive look, slightly overlap the napkin pieces when applying them. This will eliminate any visible seams.
- Apply multiple thin coats of Mod Podge rather than one thick coat. Thin layers will dry more evenly and prevent the paper from wrinkling or bubbling.
- Once the ornament is fully decorated, consider painting the caps with a metallic paint. This small touch can elevate the overall polished appearance.
- Allow each layer to dry completely before adding more. Rushing the process can lead to undesirable results.
By following these simple tips, you’ll be well on your way to creating handmade ornaments and decoupage gifts that look like they were crafted by a professional. Embrace the process, experiment with different techniques, and have fun bringing your creative vision to life!
| Tip | Benefit |
|---|---|
| Work in small sections | Prevents Mod Podge from drying too quickly |
| Smooth out air bubbles | Creates a flawless, seamless surface |
| Slightly overlap napkin pieces | Eliminates visible seams for a cohesive look |
| Apply multiple thin coats of Mod Podge | Prevents wrinkling or bubbling of the paper |
| Paint ornament caps with metallic paint | Adds a polished, professional touch |
| Allow each layer to dry completely | Ensures the best possible results |

By following these tips, you’ll be well on your way to creating handmade ornaments and decoupage gifts that look truly professional. Embrace the process, experiment with different techniques, and let your creativity shine through!
Troubleshooting Common Issues
Making your own mod podge crafts and paper crafts is fun, but problems can happen. Don’t worry, I’m here to help you fix common issues. This way, your DIY decoupage Christmas ornaments will look great.
Fixing Bubbles and Wrinkles
Bubbles or wrinkles in your paper decoupage can be annoying. But, fixing them is easy. Just use a pin to pop the bubbles and smooth the surface with your fingers or a soft cloth. For wrinkles, apply a thin layer of Mod Podge and press gently with a damp cloth.
Dealing with Tears and Gaps
Tears or gaps in your decoupage can be fixed easily. For small tears, cut a matching piece of paper or napkin and glue it over the tear with Mod Podge. For bigger gaps, use small pieces of paper or napkin to fill them in. Blend the edges with the design.
If the base color shows through, add another layer of napkin or use white paint. Remember, patience and a gentle touch are key. Try different methods on a small area first. With a bit of troubleshooting, your crafts will sparkle this holiday season!
“Crafting is a journey, not a destination. Embrace the process, and your DIY creations will be all the more rewarding.” – Jane Donovan, DIY Enthusiast
Storage and Care Instructions
Keeping your handcrafted decoupage Christmas ornaments beautiful and lasting is key. Here are some tips to help your festive creations stay in great shape for years.
Proper Storage
- Keep your decoupage ornaments in a cool, dry spot, away from sunlight or extreme heat.
- Wrap each ornament in acid-free tissue paper to prevent scratches or damage to the decoupage.
- Don’t stack ornaments on top of each other to avoid damage or cracking.
- If you have to store many ornaments, use a sturdy, padded container to keep them safe.
Cleaning and Maintenance
It’s easy to keep your decoupage Christmas ornaments looking their best with a few simple steps:
- Dust the ornaments gently with a soft, dry cloth to remove dirt or debris.
- Don’t use water, cleaning solutions, or other liquids, as they can harm the decoupage finish.
- Be careful when handling the ornaments, as the decoupage surface can be delicate and prone to scratches or chips.
By following these storage and care tips, your DIY christmas tree decorations and holiday decor diy will be cherished for years to come.

Conclusion
Decoupage Christmas ornaments add a personal touch to your holiday decor. You can choose from many styles, like traditional, modern, or vintage. This craft lets you show off your unique taste and make decorations that last for years.
With so many design choices, from Marimekko patterns to holiday themes, you can make your ornaments truly special. You can follow a simple guide to make ornaments that look like they were made by a pro. This is a fun way to make your tree stand out.
Creating these ornaments is rewarding and fun. It’s a great activity to do with family and friends. It helps you make memories and feel the holiday spirit.
Start your decoupage ornament project and enjoy the process. Try out different designs and make ornaments that show off your style. These homemade ornaments will add joy to your holiday celebrations.
Source Links
- https://modpodgerocksblog.com/decoupage-ornaments/
- https://clochesandlavender.com/easy-christmas-ornaments/
- https://www.thepondsfarmhouse.com/easy-napkin-decoupage-christmas-ornaments/?srsltid=AfmBOooI-4r7a-99l7zQ4FYyJv91exRgohJCtmSNqCJtya8Mug0g-QGL
- https://www.jennasuedesign.com/diy-decoupage-ornaments/
- https://ourcraftymom.com/decoupage-christmas-ornaments/
- https://www.teaandforgetmenots.com/how-to-diy-decoupage-christmas-ornaments-easy-coaster-tutorial/
- https://www.diybeautify.com/2022/11/how-to-recycle-old-ornaments-with-napkins.html
- https://www.thepondsfarmhouse.com/easy-napkin-decoupage-christmas-ornaments/?srsltid=AfmBOoqvqLi_rAKLcqdv4IfH-iuw4mnh4Ca1c8YX2837BUTCV_4WF0EC
- https://followtheyellowbrickhome.com/diy-elegant-paper-napkin-decoupage-ornaments/
- https://www.thepondsfarmhouse.com/easy-napkin-decoupage-christmas-ornaments/?srsltid=AfmBOop4v_YSmTkf-ID0GkdtXaKrSp2DWR4GgJMELYOjO8M5azfjUYx3
- https://sugarspiceandglitter.com/decoupage-christmas-ornaments/
- https://sustainmycrafthabit.com/scrap-fabric-decoupage-ornaments/
- https://www.thepondsfarmhouse.com/easy-napkin-decoupage-christmas-ornaments/?srsltid=AfmBOoqOc2QKNRVmOEZBRhj5ZDd8zkX1tBoIHde4aA8iAseJ-RxKqcq6
- https://joyfullytreasured.com/diy-wood-ornaments-with-decoupage
- https://retrorenovation.com/2013/11/18/30-tips-how-to-make-vintage-christmas-ornament-wreath/
- https://www.decoupagepaper.net/creating-visually-appealing-decoupage-art/?srsltid=AfmBOoq4Qy-BBkt1ZLteLg7rKfT2tGIhM8FsTMmSaMXVAlBOOPbYNIKg
- https://www.firstdayofhome.com/how-to-decoupage-on-wood/
- https://hookedonhmk.proboards.com/thread/18/ornament-yellowing
- https://www.semiglossdesign.com/how-to-fix-decoupage-problems
- https://fj-outdoors.com/blogs/guide/unleash-your-creativity-diy-cardboard-ornaments-that-will-wow-your-guests
- https://myloveforpaper.com/2023/10/10/budget-friendly-diy-christmas-ornaments-video/
- https://eccentricitiesbyjvg.com/scrapbook-paper-diy-christmas-ornament-to-make-at-home/
- https://www.tasteofhome.com/collection/how-to-make-christmas-ornaments/?srsltid=AfmBOoozleUWnBx8X6xY5rxyI1ExJ0uYEjmAF8Ga8uEQHbnnEC77dYOX
- https://www.pillarboxblue.com/nordic-christmas-decorations/
- https://www.ashleigh-educationjourney.com/christmas-crafts/
Jen is a healthcare pro by day and a DIY enthusiast by night, bringing creativity to life on JF Craft Corner! From decoupage to Cricut crafts, she’s all about making DIY magic (and a little mess). She also co-runs The Heart of Mindful Living blog and podcast, inspiring others to refresh their minds and nurture their souls. Her trusty sidekick? Fergus, her chocolate Shih Tzu and certified therapy dog, always on cuddle duty. Jen believes true leadership starts with kindness—and, of course, a little glitter!
