How to Make a Personalized Jewelry Box with Decoupage (Even If You’re a Total Beginner)
Why a Jewelry Box and Why Decoupage?
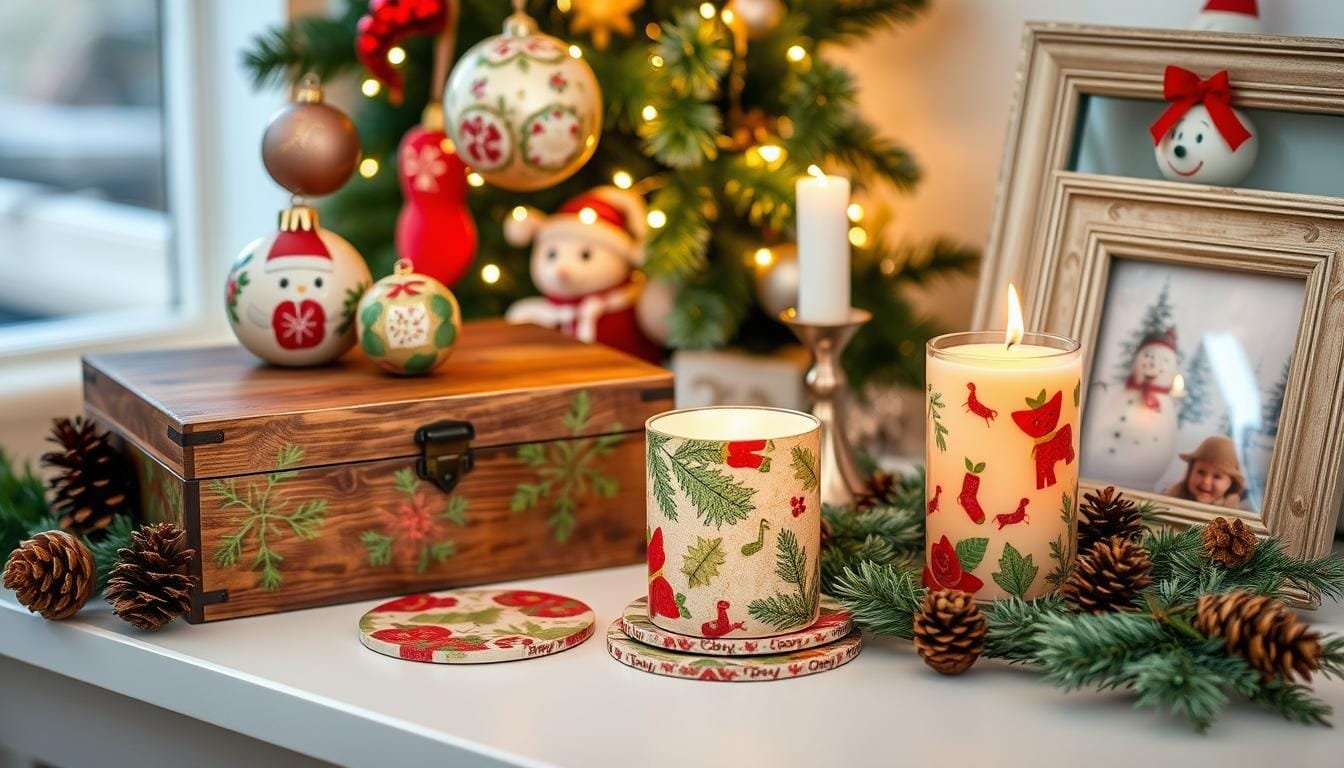
There’s something quietly magical about a jewelry box. It’s never just a container for earrings and rings — it’s a safe place for tiny treasures, old love notes, that charm bracelet from high school you swear you’ll fix one day.
Creating your own personalized jewelry box with decoupage is not just a craft project; it’s a way to slow down, breathe a little deeper, and put your creativity to work in the most joyful way. Plus, it’s surprisingly simple — no fancy art degree or endless patience required.
If you’ve ever thought decoupage sounded intimidating, let’s clear that up right now. At its heart, decoupage is simply the art of decorating an object with layers of paper and glue. That’s it. No secret handshake. No special club. Just you, a brush, some pretty paper, and the permission to play.
Today, I’m going to walk you through exactly how to transform a plain box into a soulful, handcrafted keepsake. Whether you’re crafting for yourself or making a heartfelt gift, this is your official invitation to dive in and make something meaningful.

Materials You’ll Need
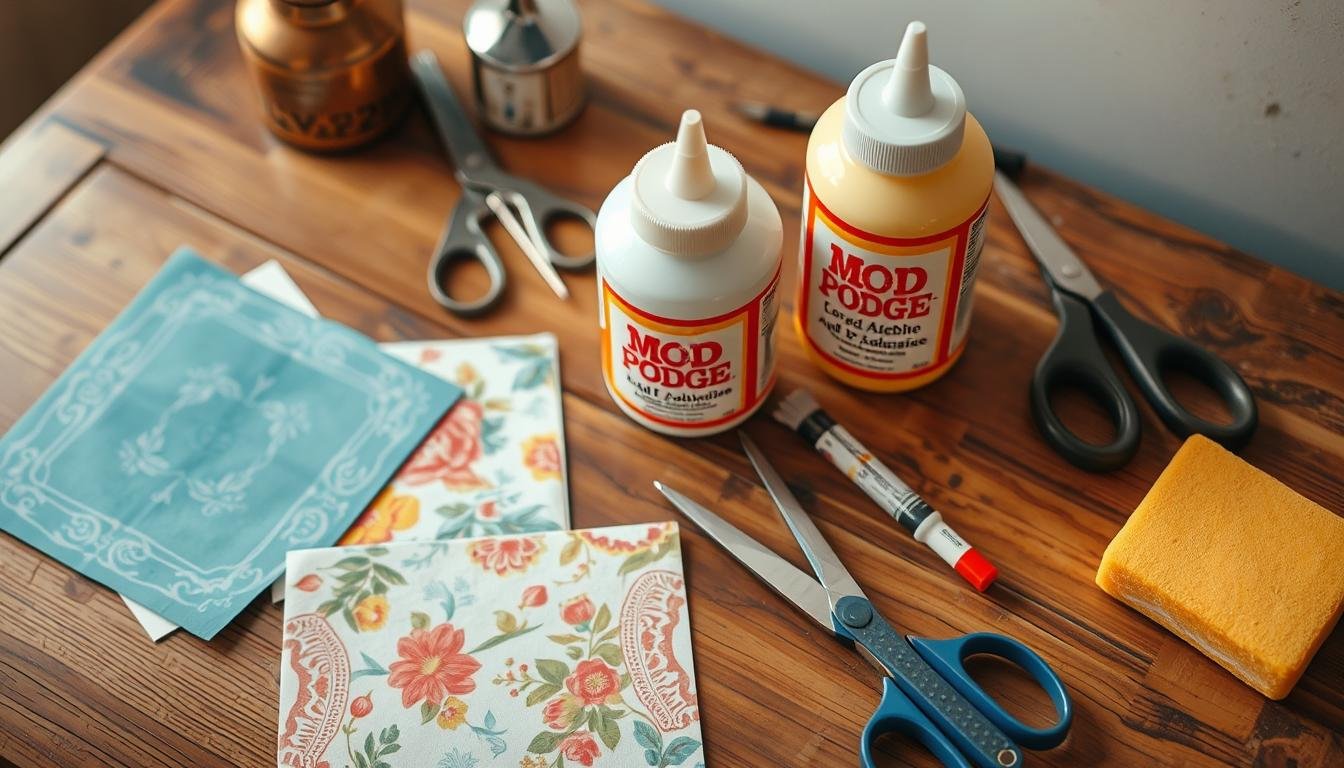
Before we dive into the creative magic, let’s gather a few supplies. One of the best parts about decoupage is that you don’t need a ton of fancy tools — and you probably have half of this list floating around your house already.
Here’s what you’ll need to make your personalized jewelry box:
- Jewelry Box — An unfinished wood box from the craft store works beautifully. Thrifted treasures or an old box you’re ready to reinvent are even better.
- Decoupage Glue/Sealer — Mod Podge is the classic go-to, but any decoupage medium will do the trick.
- Decorative Paper or Napkins — Think scrapbook paper, printed designs, tissue paper, or those gorgeous napkins you’ve been saving for “someday.”
- Acrylic Paint (Optional) — For adding a base color or background before you decoupage.
- Sandpaper (Fine Grit) — To smooth out any rough edges and help your glue stick better.
- Scissors — Sharp ones for precision, unless you like the rustic torn-edge look (which, honestly, is charming too).
- Foam Brush or Paintbrush — For applying your glue nice and evenly.
Optional Extras:
- Washi Tape for borders
- Rhinestones or Charms for a little sparkle
- Stencils and Vinyl for adding names, initials, or favorite words
- Felt or Decorative Paper to line the inside for a polished finish
Quick tip: Don’t worry if you don’t have every single “optional” item. This project is all about ease, presence, and using what you love — not about buying out the entire craft aisle.

Prepping Your Jewelry Box
Before the pretty papers and the creative flourish, it’s time for a little prep work. Think of this part as setting the stage so your jewelry box can truly shine.
Lightly Sand the Surface
Grab your fine-grit sandpaper and give the jewelry box a gentle sanding. You’re not trying to change the shape — just smooth out any rough patches and create a slightly “grabby” surface for the glue to adhere to.
Wipe Away Dust
After sanding, take a dry cloth or paper towel and wipe off all the dust. Skipping this step can lead to bumpy glue spots later — and nobody has time for that.
Paint a Base Coat (Optional but Lovely)
If you want a peek of color under your decoupage design, now’s the time to paint.
- Pick an acrylic paint color that complements your paper — soft neutrals, romantic pastels, or even a bold jewel tone.
- Apply a thin, even coat and let it dry completely before you move on.
Tip: If you’re using very thin paper (like tissue or napkins), a light base coat will help prevent any unwanted “see-through” moments.
Choosing and Preparing Your Design
Now for the fun part: picking the perfect design that speaks to your style (or the soul you’re crafting for).
Choose Your Paper or Napkins
Think about the overall vibe you want your jewelry box to have.
- Romantic and vintage? Floral patterns and aged script work beautifully.
- Boho and playful? Look for bold prints, geometric shapes, or colorful watercolor washes.
- Minimalist and modern? Soft neutrals, simple patterns, and clean lines will be your best friends.
A friendly nudge: If you’re brand new to decoupage, start with larger patterns — they’re easier to work with and more forgiving when smoothing out wrinkles.
Prep Your Paper
- Cut or Tear: You can cut your paper cleanly with scissors for a sharp, crisp look, or you can tear the edges for a softer, more blended effect. If you want more control over your tearing, try “wet cutting”: simply use a watercolor brush to paint a thin line of water around the edges of your design, then gently tear along the dampened line. It’s an easy trick that helps you guide the tear exactly where you want it — and it creates a beautiful, organic edge.
- Size It Up: Lay your cut pieces over the jewelry box before gluing to get a rough idea of placement. This is where you can play and rearrange until it feels just right.
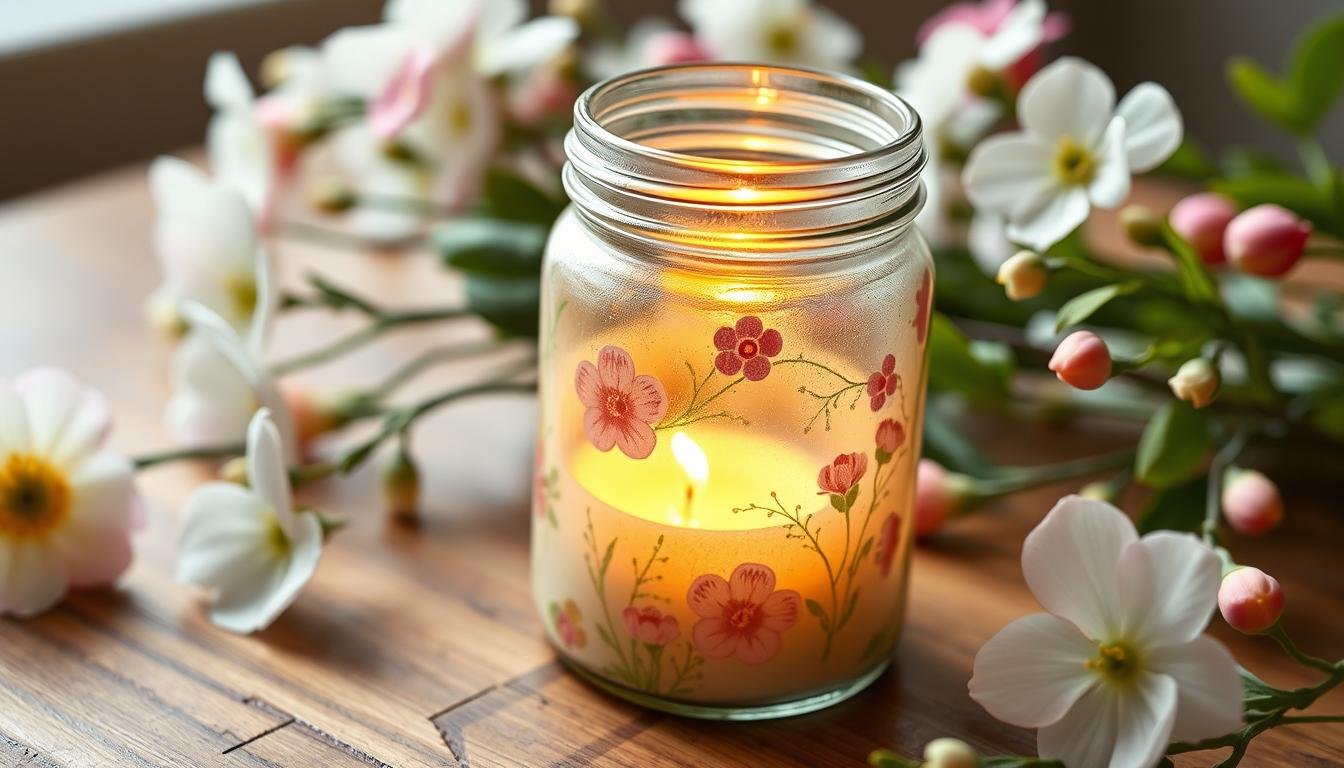
Special Note for Napkins
If you’re using napkins, they usually have multiple layers. Gently peel away the plain backing layers, keeping just the thin, printed top sheet. It’s delicate work, but it’ll give you a beautiful, seamless finish when you glue.
Tip: Don’t worry about perfection here. A little unevenness, a few torn edges — that’s where the handmade charm lives.
Applying the Decoupage
Now that you’ve got your design ready, it’s time to bring it all together. This is where your jewelry box really starts to transform — and trust me, it’s incredibly satisfying to watch it come to life.
Brush on the Adhesive
Using your foam brush or paintbrush, apply a thin, even layer of Mod Podge (or your decoupage glue) onto a small section of the jewelry box.
Tip: Work in sections rather than trying to coat the entire box at once — it gives you more control and keeps the glue from drying too fast.
Place Your Paper
Dampen your paper and gently lay your paper onto the glued area, starting from the center and smoothing outward.
- Use your fingers or a clean, dry paintbrush to softly press the paper down and smooth out air bubbles.
- If a few wrinkles sneak in, no need to panic. Think of them as little reminders that this piece was made by hand, not machine.
Seal It In
Once your paper is positioned and smoothed out, lightly brush a layer of Mod Podge over the top.
- Try not to overwork it — too much brushing can tear delicate papers.
- Let it dry completely before adding a second or third coat if you want extra durability and a more polished, satiny finish.
A little creative wisdom: If something doesn’t lay perfectly flat or a wrinkle stubbornly refuses to leave, just lean into it. Some of the most beautiful handmade pieces are the ones that don’t take themselves too seriously.
Personalizing Your Jewelry Box
This is where the real magic happens — adding those little touches that turn a pretty box into your box (or a deeply personal gift for someone else).
Add Names, Initials, or Words
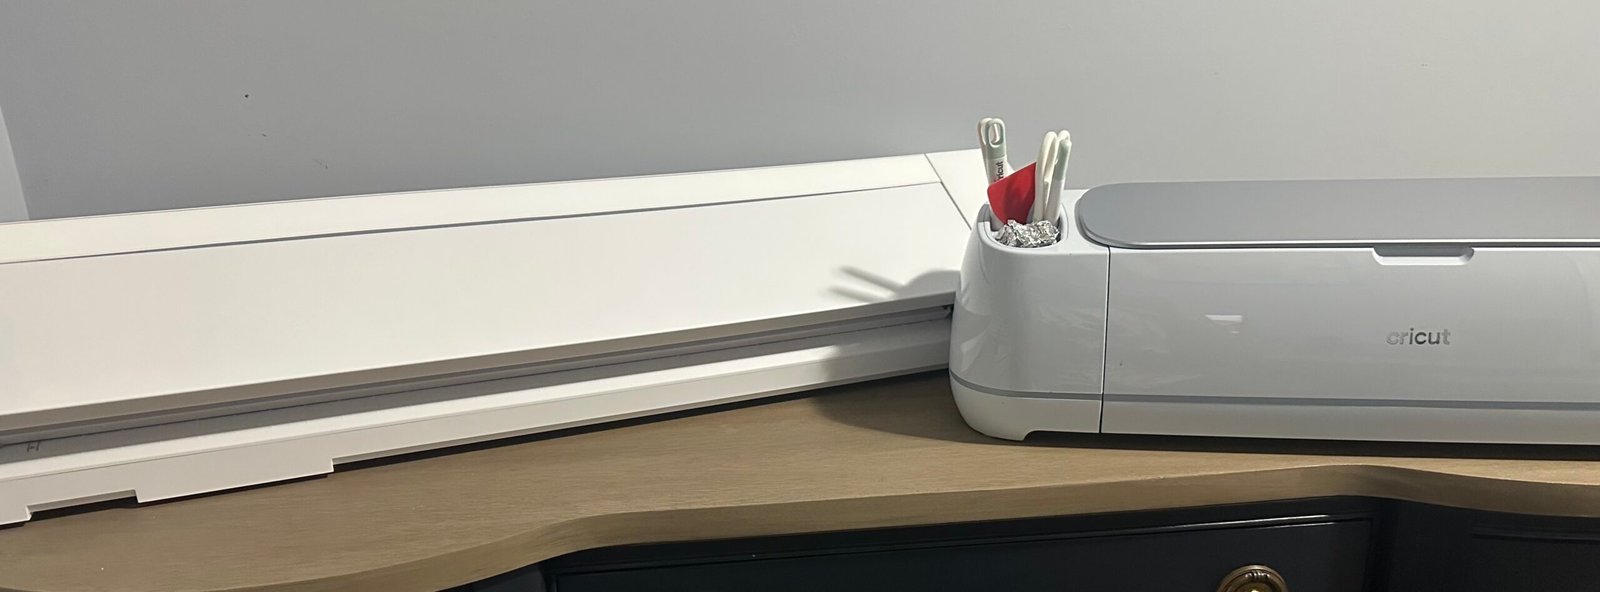
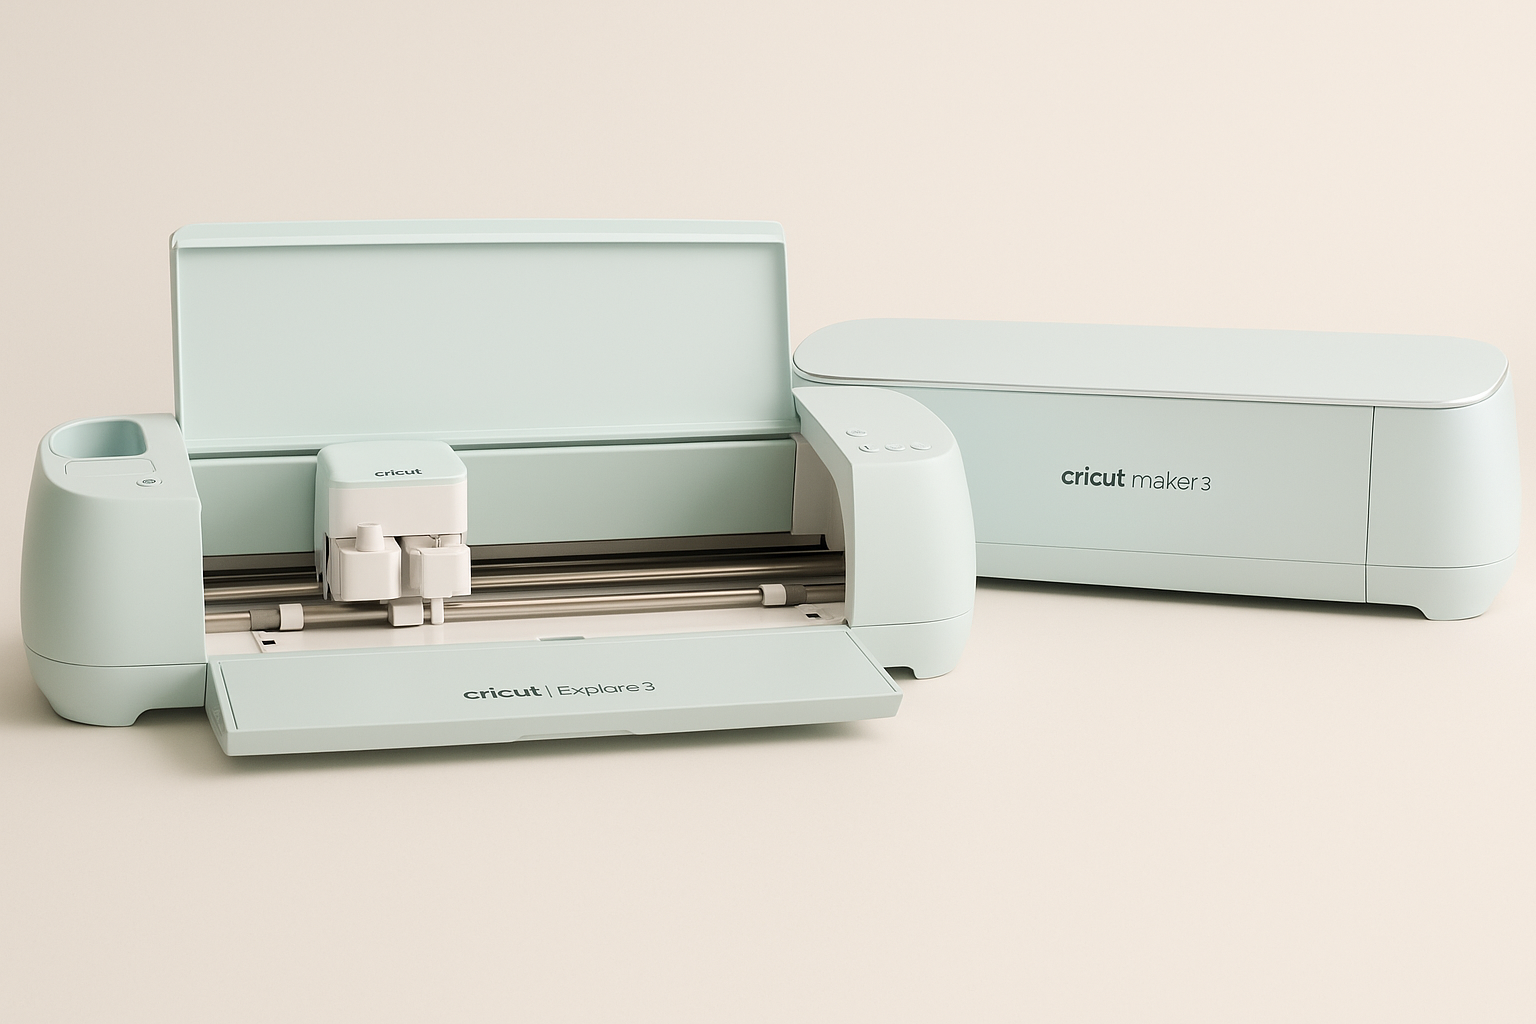
If you have a Cricut machine, this is the perfect moment to whip up a vinyl decal with a name, monogram, or an inspiring word like “dream,” “love,” or “spark.”
- No Cricut? No problem. You can stencil letters on with a fine paintbrush or even use rub-on transfers from the craft store.
- Keep it simple and soulful — sometimes one meaningful word says more than a dozen.
Play with Embellishments
Feeling fancy? You can easily add some extra flair with:
- Washi Tape around the edges for a pretty border
- Tiny rhinestones for a little sparkle
- Charms glued to the lid or the inside for a secret treasure
- Lace or ribbon accents for a soft, romantic touch
A gentle reminder: There’s no “right” amount of embellishment. Trust your instincts. If it feels joyful to you, it’s just right.
Line the Inside (Optional but Luxurious)
For a truly polished finish, consider lining the inside of the jewelry box with felt, velvet, or pretty decorative paper.
- Simply cut your material to size and adhere it with a little glue or double-sided tape.
- It’s a small touch that makes the whole box feel special and complete — kind of like putting on your favorite pair of earrings before heading out the door.
Finishing Touches
You’re almost there — just a few last steps to make sure your jewelry box is ready to hold all the beautiful things you (or your lucky gift recipient) will treasure.
Let It Dry Thoroughly
Patience is key here. Let your jewelry box dry completely — inside, outside, and all the little nooks.
- Depending on how many layers of glue or paint you used, drying could take a few hours to overnight. It’s the perfect excuse to sip some tea and admire your handiwork from afar.
Add a Protective Seal (Optional but Recommended)
If you want extra durability — especially if the box will be handled often — you can brush on a final coat of a clear acrylic sealer.
- Look for a matte, satin, or glossy finish depending on the look you love.
- A spray sealer also works beautifully if you prefer a super-smooth finish.
Celebrate Your Craftsmanship
Before you tuck your jewelry inside or wrap it up as a gift, take a moment to admire what you’ve created. You started with a plain old box — and now you have a soulful, one-of-a-kind piece infused with creativity, intention, and a little bit of heart.
Celebrate Your Creation
You didn’t just craft a jewelry box — you crafted a moment of joy, a spark of creativity, and a tangible reminder that beautiful things are made when we slow down and trust ourselves. That’s no small thing.
Whether you’re keeping this treasure for yourself or gifting it to someone special, know that every wrinkle, every brushstroke, every bit of love you poured into it tells a story. And isn’t that what handmade is all about?
I’d love to see your finished jewelry box!
Tag @JFCraftCorner on Instagram or share it on our Facebook page — nothing makes me happier than seeing the magic you create.
Until next time, keep crafting with joy, presence, and that beautiful spark that only you can bring into the world.
FAQs About Decoupage Jewelry Boxes
What’s the best type of paper for decoupage on wood?
Lightweight papers like tissue paper, napkins, and thin scrapbook paper work best for a smooth finish.
How do I fix wrinkles or bubbles in my decoupage?
Gently press out bubbles with your fingers or a clean, dry brush while the glue is still wet. If a wrinkle dries in place, you can lightly sand it down with fine-grit sandpaper once fully dry and then touch up with a little more glue or paint.
Can I decoupage over painted surfaces?
Yes! Just make sure your paint is completely dry and lightly sand it if it feels too slick.
How durable is a decoupaged jewelry box?
With a few coats of sealer, your jewelry box will hold up beautifully to everyday use. A final clear sealer will make it even more durable.
Jen is a healthcare pro by day and a DIY enthusiast by night, bringing creativity to life on JF Craft Corner! From decoupage to Cricut crafts, she’s all about making DIY magic (and a little mess). She also co-runs The Heart of Mindful Living blog and podcast, inspiring others to refresh their minds and nurture their souls. Her trusty sidekick? Fergus, her chocolate Shih Tzu and certified therapy dog, always on cuddle duty. Jen believes true leadership starts with kindness—and, of course, a little glitter!