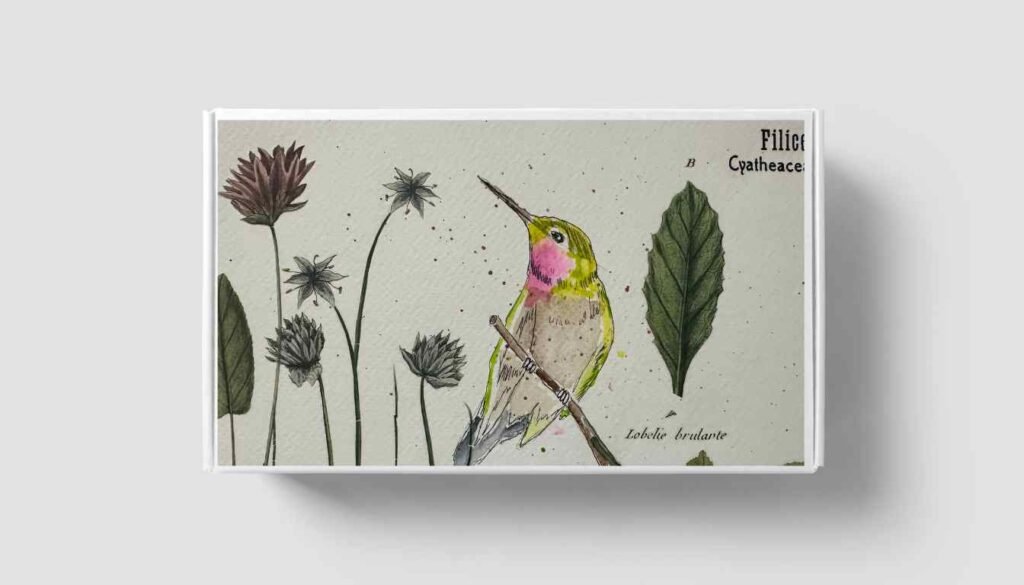
How to Paint a Magical Watercolor Hummingbird (Even If You’re Just Starting Out!)
Have you ever watched a hummingbird dart through your garden and thought, “I wish I could capture that magic on paper”? Well, grab your brushes, my fellow watercolor enthusiasts, because today we’re going to create our own enchanting hummingbird! I’ve broken this down into bite-sized steps that will have you painting these delightful creatures with confidence.
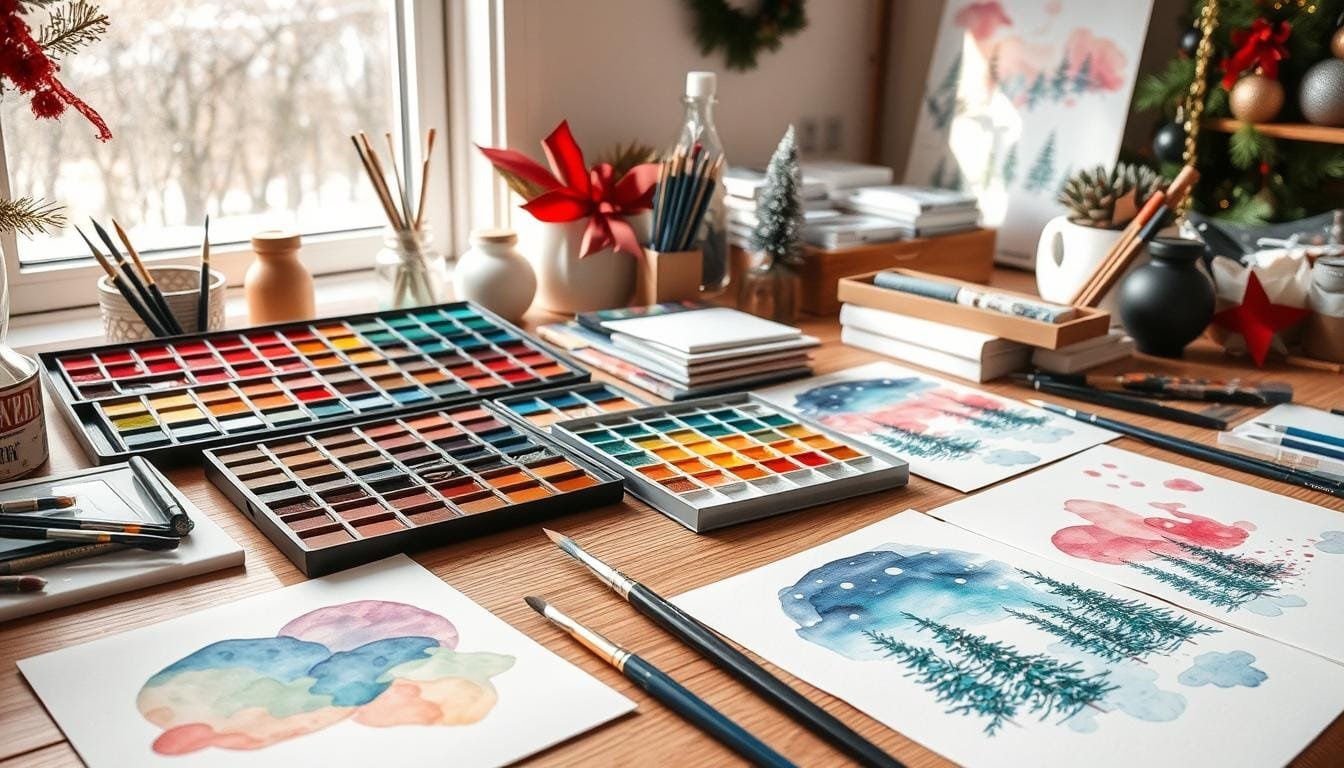
What You’ll Need:
- Watercolor paper (140lb or higher)
- Round brushes (sizes 2, 4, and 6)
- Watercolor paints (I recommend blues, purples, and greens)
- Pencil for sketching
- Paper towels
- Clean water
- IOD Transfers pieces
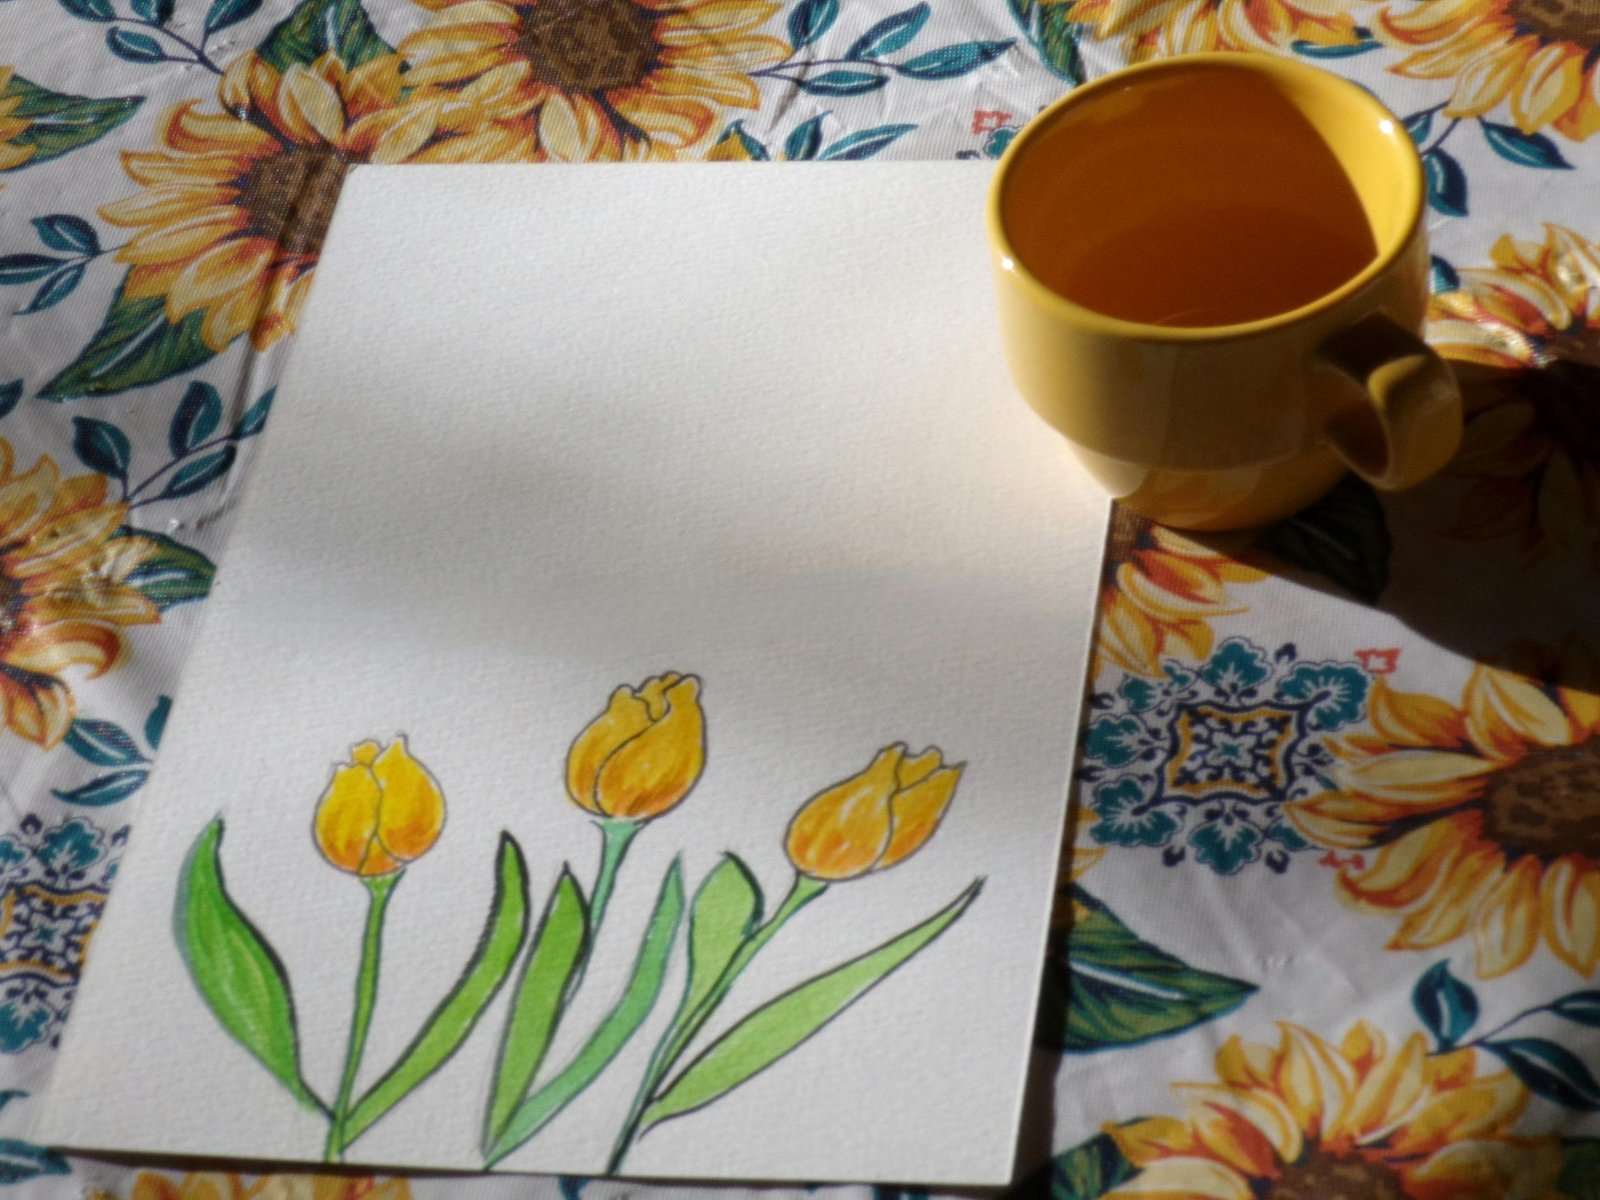
- A touch of patience (and maybe your favorite beverage!)
Getting Started: The Magic Begins with a Sketch
Let me tell you a secret – even after years of painting, I still start with a basic sketch. Think of it as your roadmap to hummingbird glory! Begin with a simple oval for the body, about the size of your thumb. Add a smaller oval for the head, and don’t forget that characteristic long, slender beak.
Pro tip: Keep your pencil lines light and loose. We want them as a guide, not a coloring book outline!
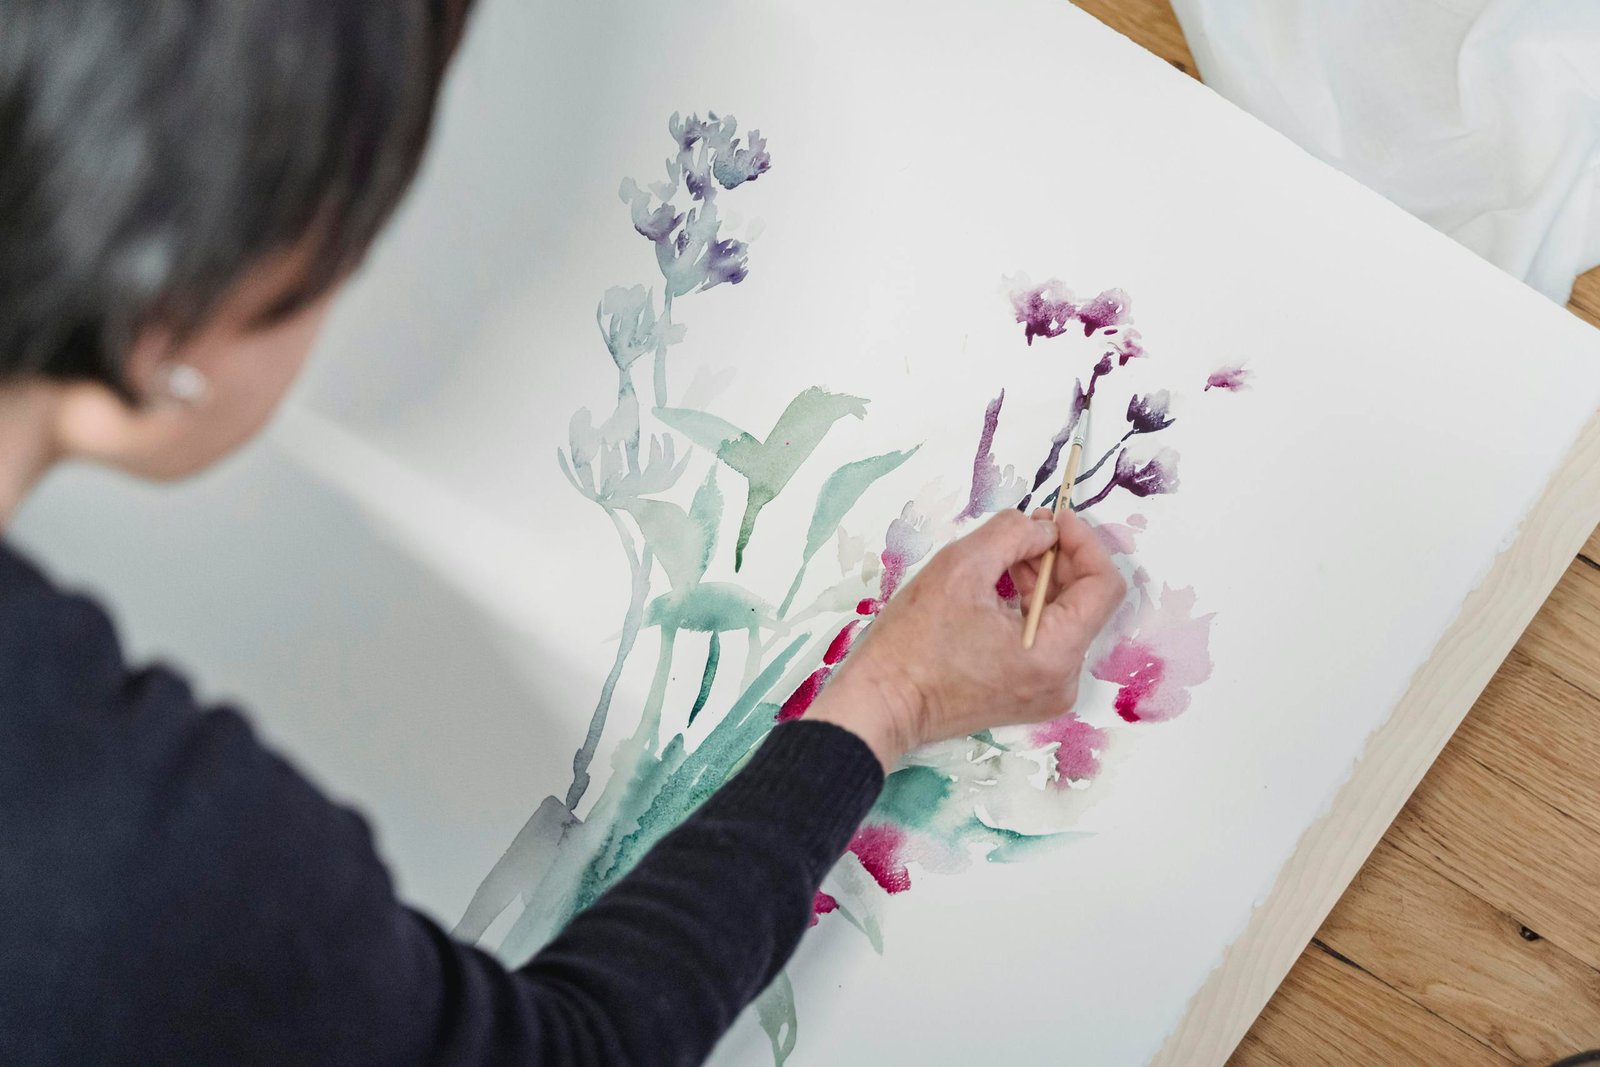
Layer 1: The Base Wash
Here’s where the real fun begins! Start with a light wash of your primary color. I love using a mixture of cobalt blue and a touch of purple for this step. Work quickly, leaving some areas lighter than others. This creates that gorgeous watercolor movement we’re all obsessed with!
Remember: Watercolor is like jazz – sometimes the magic happens in the spaces you leave untouched.
Layer 2: Building Those Beautiful Features
Now we’re getting to the good stuff! While your base layer is still slightly damp:
- Add deeper tones along the back and wings
- Drop in touches of green and purple for that iridescent effect
- Let the colors dance and blend naturally
Here’s a game-changing tip I learned the hard way: less is more! You can always add more color, but you can’t take it away. Trust me, I’ve tried!
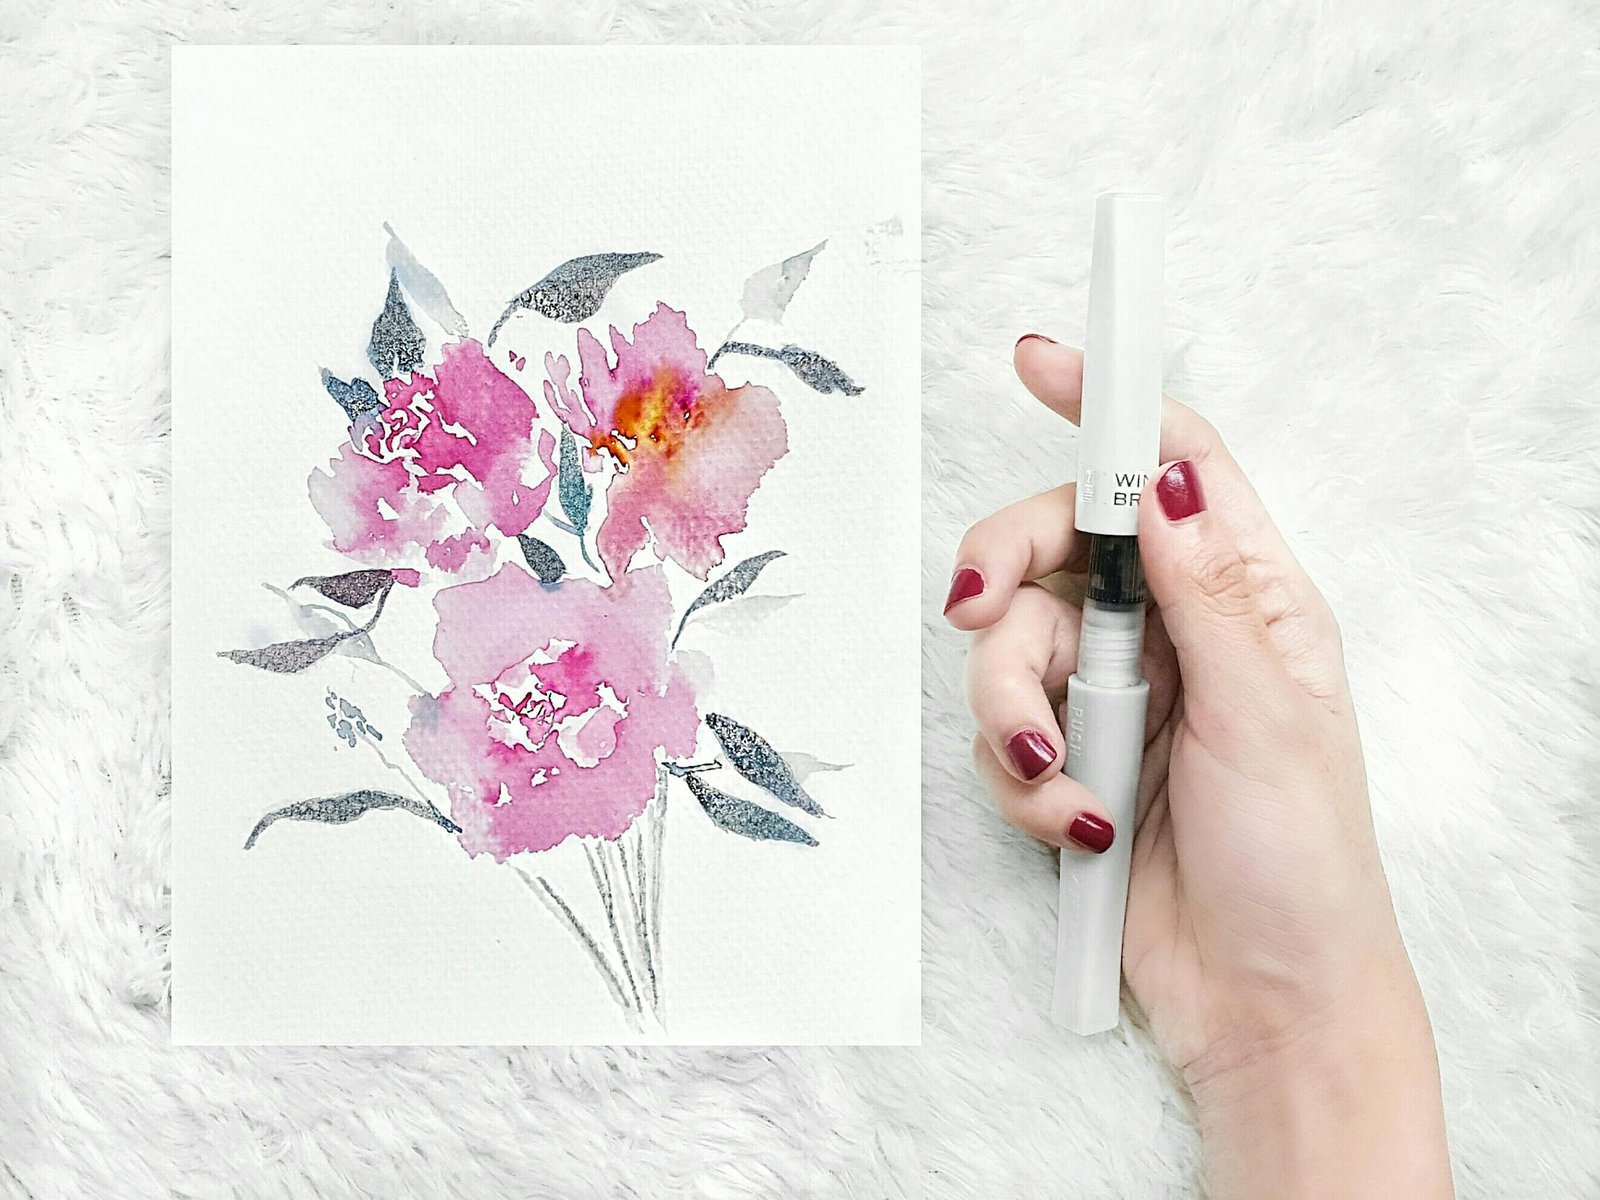
Layer 3: The Details That Make It Sing
This is where your hummingbird really comes to life. Using your smallest brush:
- Add those delicate eye details
- Define the beak with confident strokes
- Create texture in the wings with quick, light touches
- Drop in darker values where you see shadows
My Secret Technique for Sparkle
Want to know my favorite trick for capturing that magical hummingbird shimmer? While your paint is still damp, sprinkle a tiny bit of salt on the wings. Once it’s completely dry, brush it off gently. Voilà – instant iridescence!
Finishing Touches
Step back and look at your creation. Need more contrast? Add a few dark accents. Want more shimmer? Layer in some light touches of white or pale blue. You can use some floral IOD Transfers to add to your picture. Remember, this is your hummingbird – let your artistic voice shine through!
Troubleshooting Tips (Because We’ve All Been There!)
- Colors looking muddy? Let each layer dry completely before adding the next
- Wings not quite right? Try practicing the wing shapes separately first
- Lost your highlights? Save them from the start by planning your white spaces
The Joy of Practice
Here’s the thing about watercolor hummingbirds – each one is unique, just like in nature! Don’t get discouraged if your first attempt doesn’t look exactly like mine. I still have my first hummingbird painting tucked away, and let’s just say it looks more like a confused bee than a hummingbird!
Share Your Creation!
I’d absolutely love to see your hummingbird paintings! Tag me on Instagram with #WatercolorHummingbirdJoy or share in the comments below. Every time I see your creations, it makes my day!
Remember, the key to mastering watercolor isn’t perfection – it’s enjoying the process and letting the medium work its magic. Now go forth and paint those hummingbirds!
What’s your favorite bird to paint? Let me know in the comments below!
Jen is a healthcare pro by day and a DIY enthusiast by night, bringing creativity to life on JF Craft Corner! From decoupage to Cricut crafts, she’s all about making DIY magic (and a little mess). She also co-runs The Heart of Mindful Living blog and podcast, inspiring others to refresh their minds and nurture their souls. Her trusty sidekick? Fergus, her chocolate Shih Tzu and certified therapy dog, always on cuddle duty. Jen believes true leadership starts with kindness—and, of course, a little glitter!