Watercolor Snowflakes: A Simple Tutorial for Stunning Art
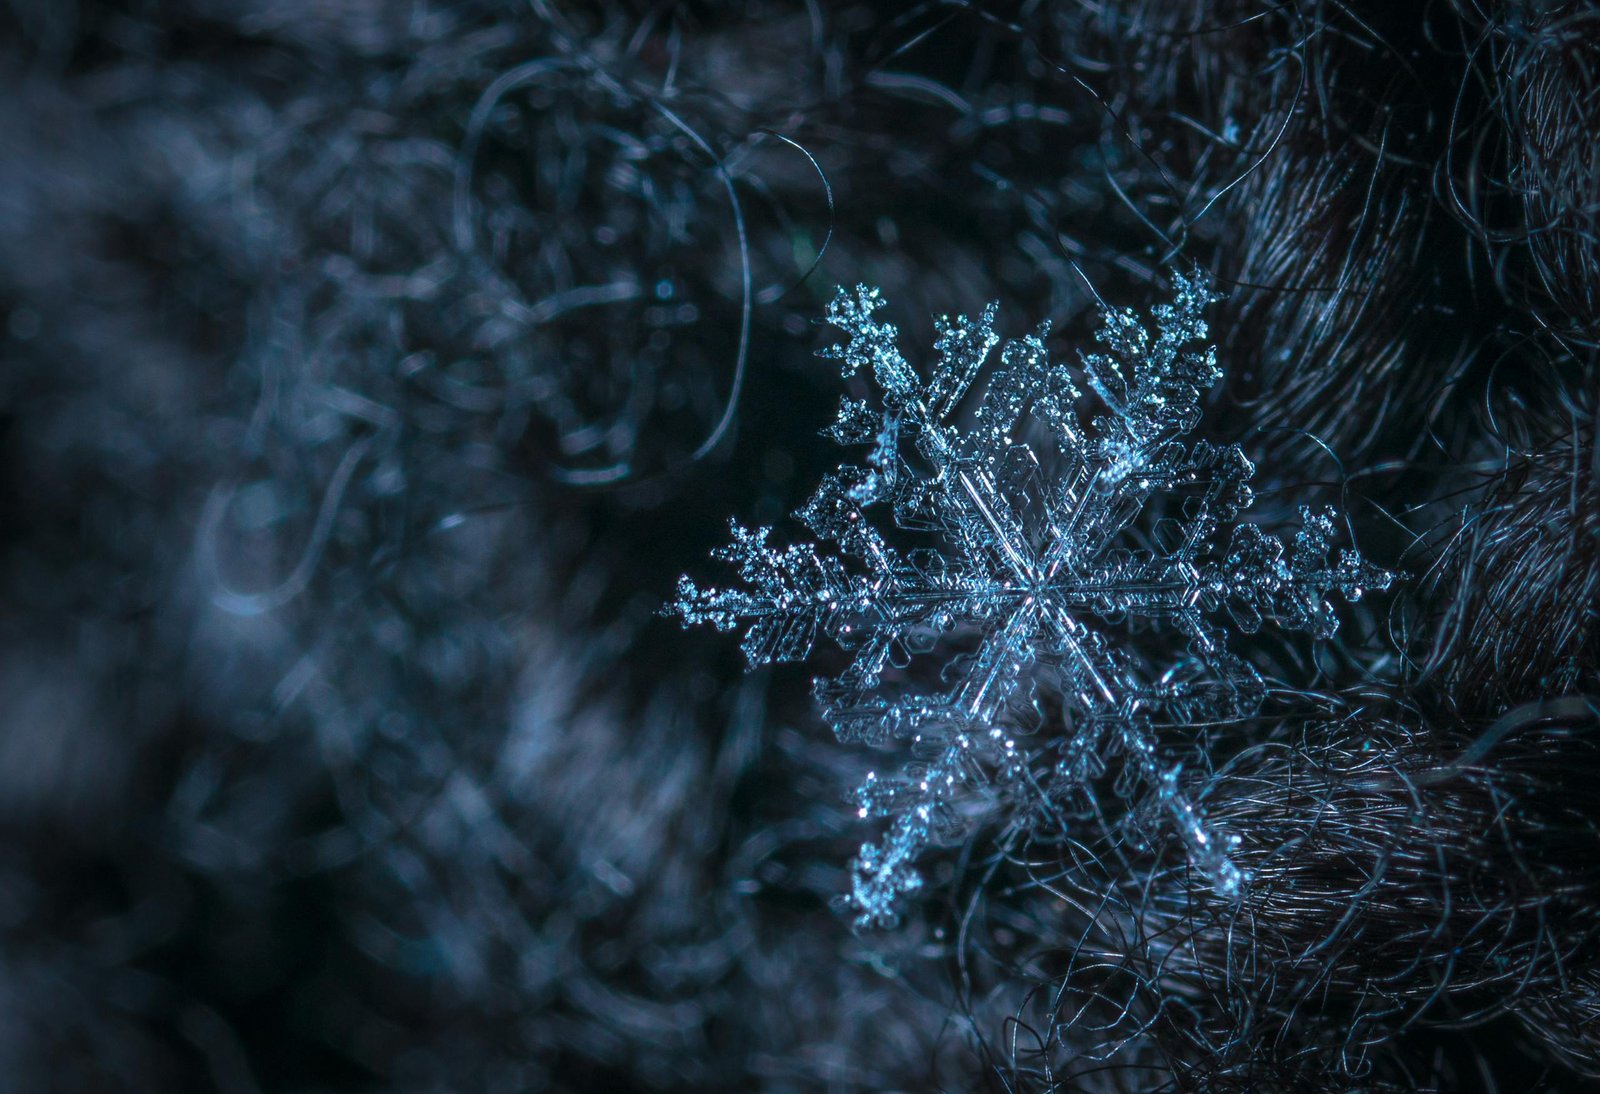
As snow fell outside, I was captivated by the snowflakes’ patterns. I thought, why not paint winter’s magic with watercolors? So, my watercolor snowflake journey started.
Watercolor snowflakes are easy to make and let your creativity shine. This tutorial will show you how to make beautiful snowflakes, from start to finish. You don’t need to be an expert to make stunning art with just a few tools and patience.
Key Takeaways
- Watercolor snowflake painting is a simple and satisfying process that can produce stunning, unique art.
- The tutorial will guide you step-by-step through the process, from sketching to final touches.
- No matter your skill level, you can create beautiful watercolor snowflakes with just a few basic supplies.
- The magic of the salt technique adds an extra layer of texture and interest to the finished paintings.
- Watercolor snowflakes are a great way to capture the beauty of winter and bring a touch of seasonal charm to your home.
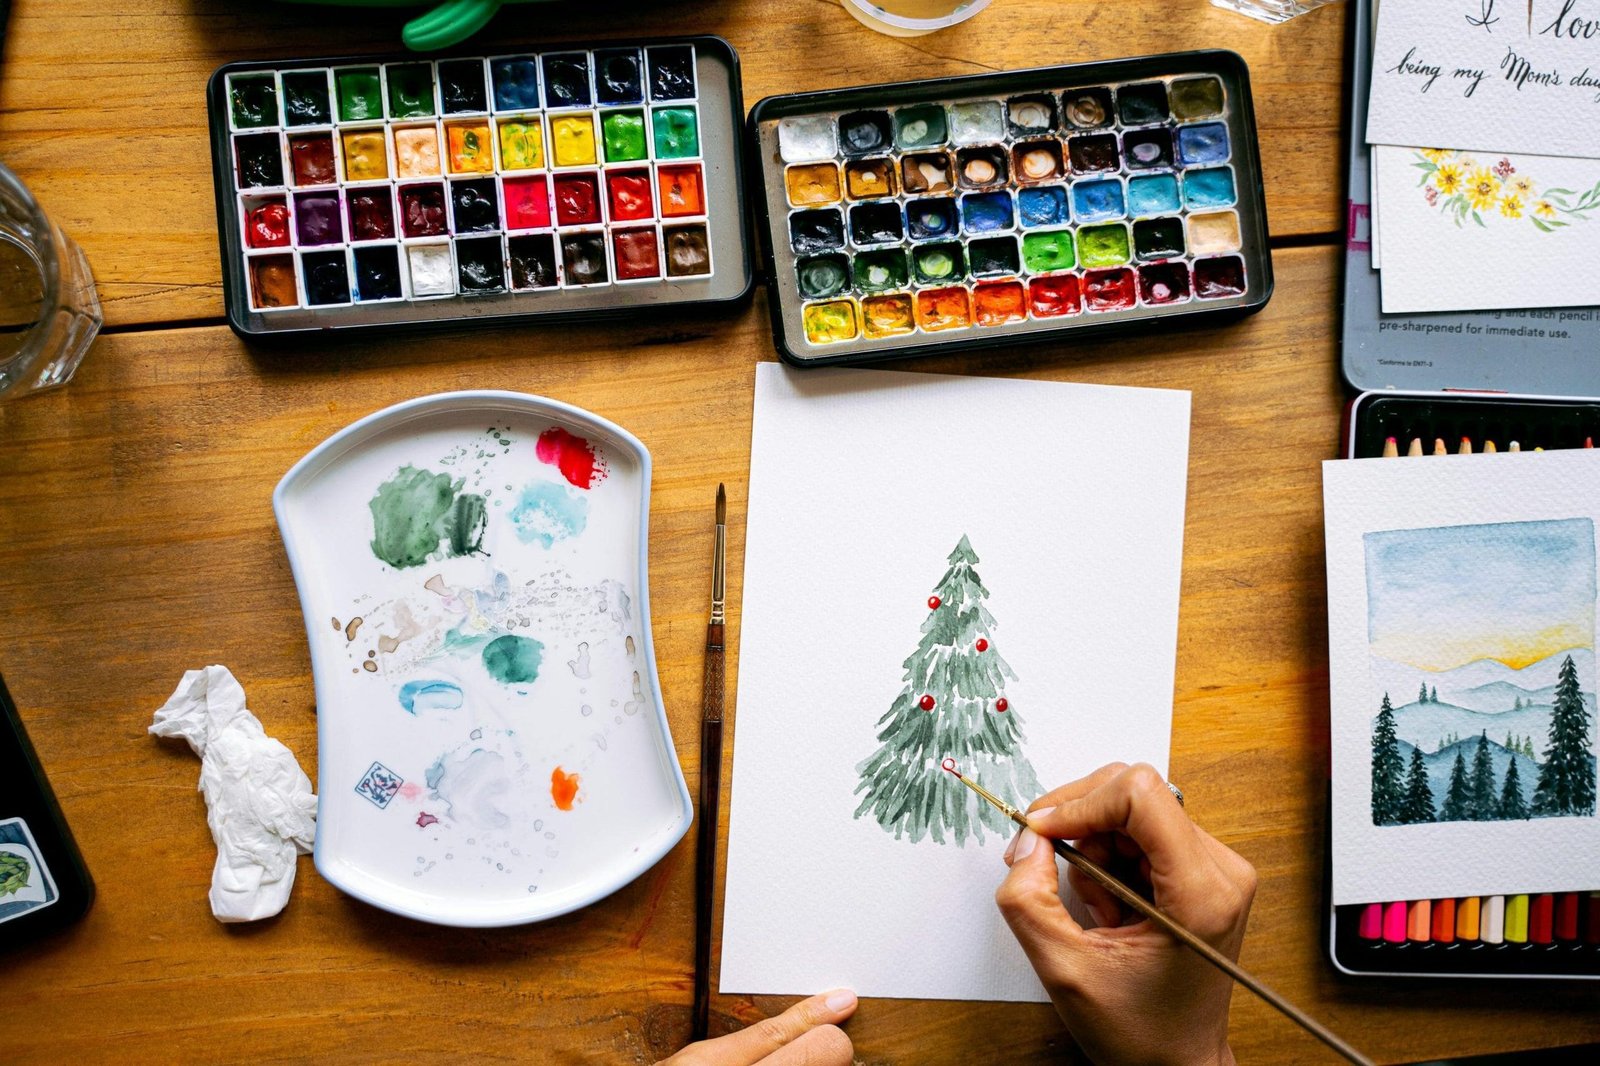
Essential Supplies for Creating Watercolor Snowflakes
Making watercolor snowflakes is fun for everyone, from beginners to experienced artists. To make sure you have a great time, let’s look at the key supplies you’ll need. These will help you create beautiful, frosty art.
Watercolor Papers and Brushes
The base of your snowflake art is the watercolor paper. Choose cold-pressed or rough-textured papers for the best results. They should be 300-400 gsm. For brushes, get a mix of sizes, including small, medium, and large round brushes. Also, a thin liner brush is great for detailed work.
Paint Selection and Tools
Liquid watercolors are perfect for their bright colors and easy mixing. An 8-ounce set with cool blues, purples, and greens is a good investment. You can also use a white crayon or oil pastel to make your snowflakes look like they were drawn.
Additional Materials Needed
- Mechanical pencil for sketching the snowflake designs
- Water brushes or small water containers for rinsing brushes
- Table salt for creating a “snowy” effect on the painted snowflakes
- Blotting paper or paper towels for absorbing excess moisture
- Scissors suitable for adults/teens to cut the snowflake designs
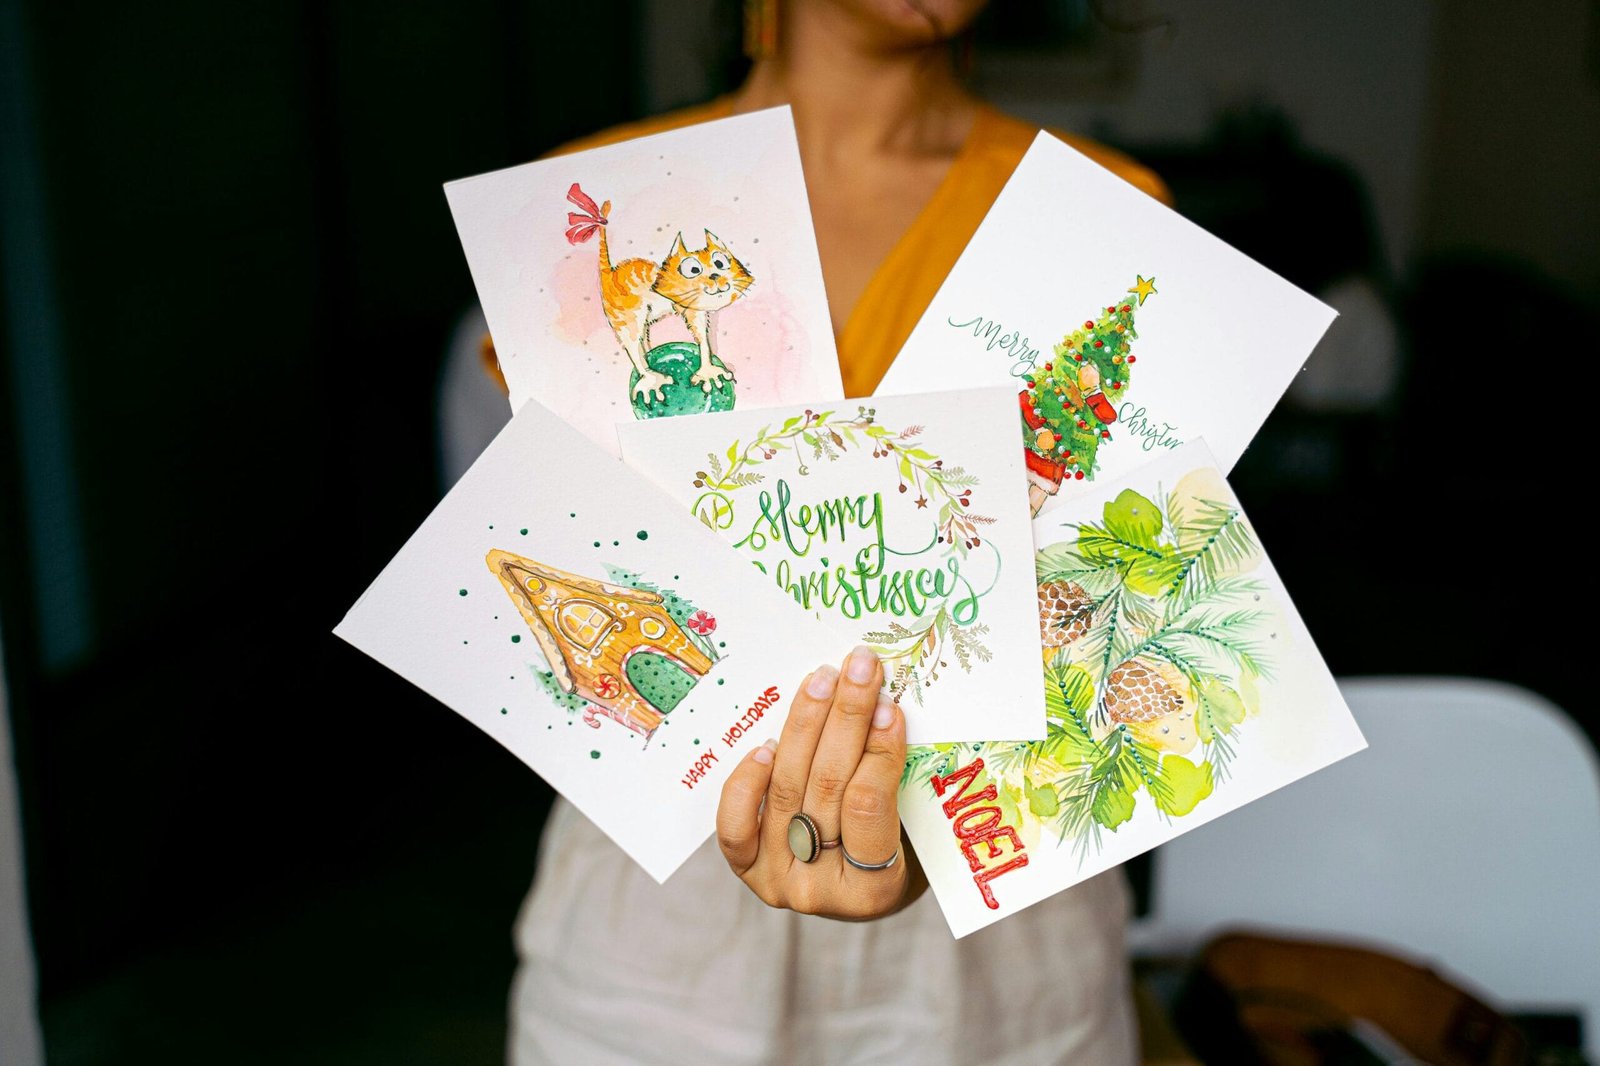
With these supplies, you’re set to make amazing, unique snowflake art. You can use it for decorating your home, making cards, or as a fun activity for beginners.
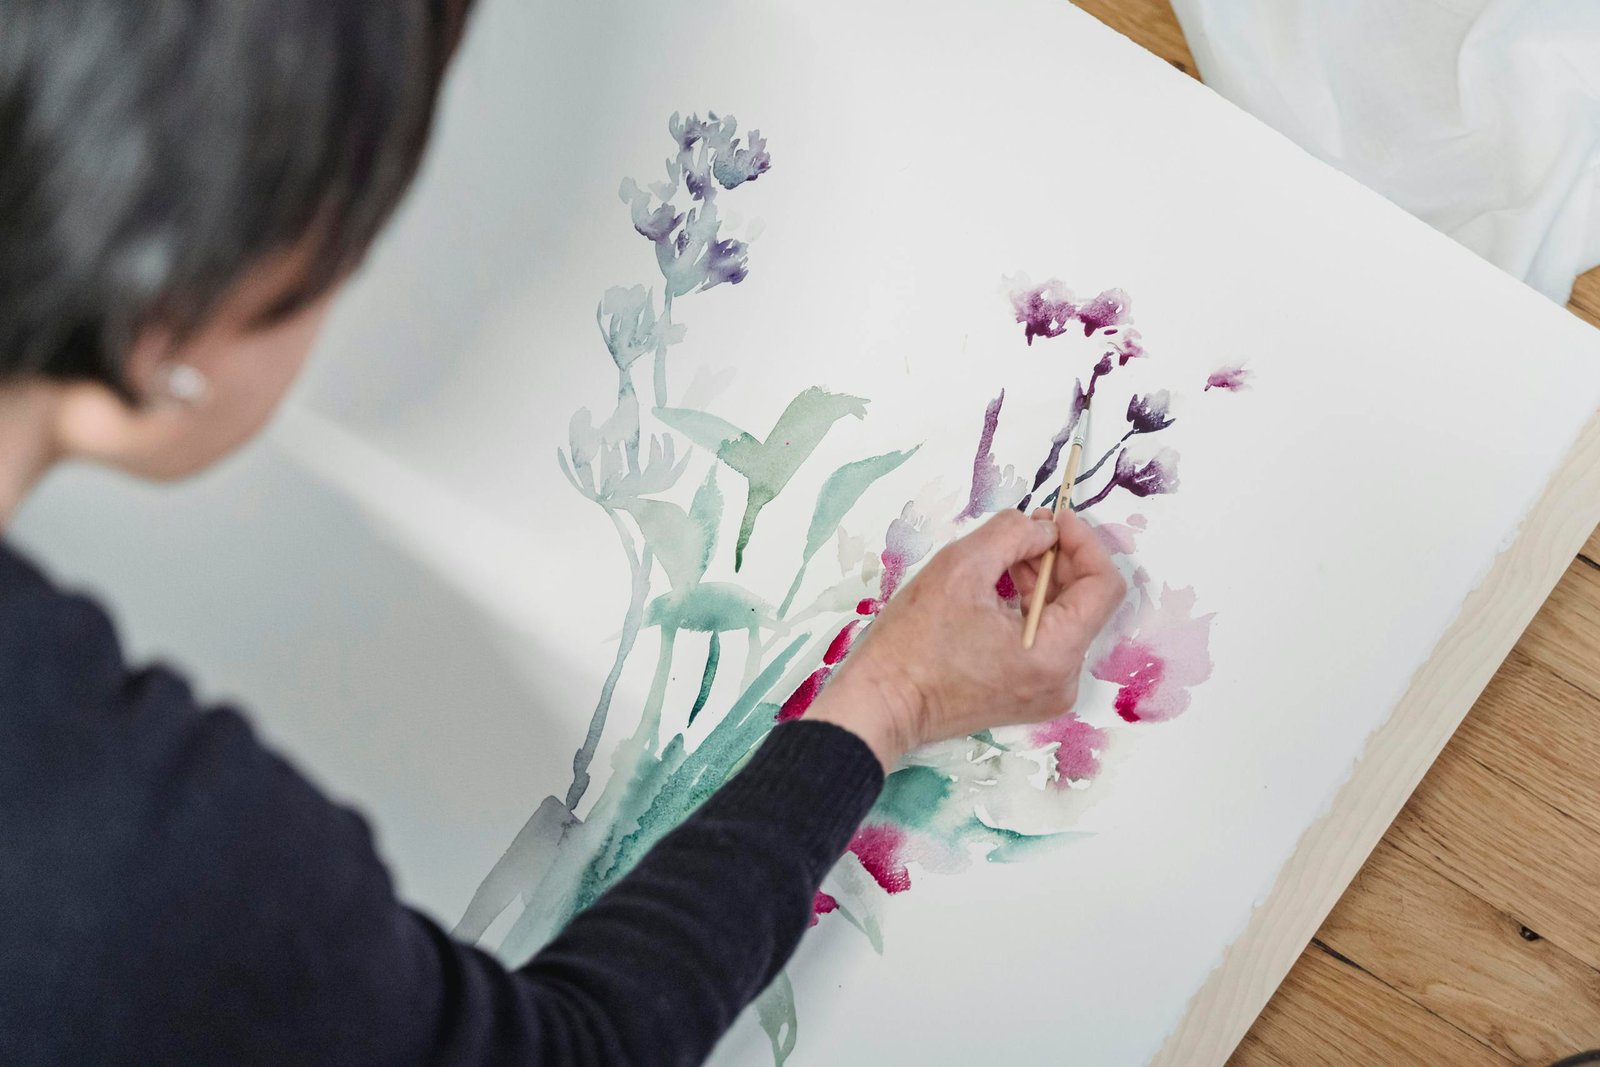
Understanding Basic Watercolor Techniques for Winter Art
If you’re new to watercolor painting, winter is a great time to start. You can paint beautiful snowflakes or winter landscapes. Learning a few key techniques will help you create amazing winter art.
Color Theory and Composition
Color theory is important for winter art. Use cool colors like blues, greens, and purples to get that icy feel. Try warm colors like oranges and reds to add depth. Balance and harmony are key in composition.
Wet-on-Wet Technique
The wet-on-wet technique is perfect for winter scenes. Wet your paper and add colors while it’s still wet. This creates soft, snow-like effects. Play with paint-to-water ratios for different looks.
Wet-on-Dry Technique
The wet-on-dry technique is great for sharp details. Paint on dry paper and let it dry before adding more. This method gives you crisp edges and textures, perfect for winter subjects.
Learning these techniques will help you make beautiful winter art. Don’t forget to have fun and try new things as you explore watercolor painting.
Watercolor Snowflakes: A Simple Tutorial for Stunning Art
Unleash your inner artist and create mesmerizing watercolor snowflakes with this easy-to-follow tutorial. Whether you’re a seasoned painter or a beginner, this simple yet captivating DIY art project will have you producing stunning winter-themed artwork in no time.
Drawing the Base Snowflake Pattern
Start by taping a sheet of watercolor paper to a hard, flat surface to prevent curling. Use 1-inch painter’s tape to create a clean, white border around the edges. Next, decide on the size and number of snowflakes you’d like to paint. Cut strips of tape to fit your desired snowflake dimensions, then carefully place them on the paper to form the snowflake outline.
Applying the First Layer of Paint
Wet the paper with clean water before you begin painting to ensure the watercolors spread evenly and avoid pooling. Select 2-3 complementary colors of watercolor paint and apply them to the taped-off areas. Dab excess paint with a paper towel to create a soft, hazy effect.
Adding Details and Texture
- For a touch of wintery magic, sprinkle a small amount of kosher salt over the wet paint. As the painting dries, the salt will create a stunning crystallized effect.
- Use a hair dryer on a low setting to speed up the drying process, then carefully remove the tape to reveal your beautiful watercolor snowflake design.
Remember, the beauty of watercolor painting lies in the unpredictable and organic nature of the medium. Embrace the unexpected and let your creativity flow as you explore the limitless possibilities of watercolor snowflakes. This simple DIY art tutorial is sure to inspire you to create a stunning collection of winter-themed art.
The Magic of Salt Technique in Watercolor Painting
Discover the magic of the salt technique in watercolor painting! It’s a simple yet amazing way to add a frosty effect to your winter art. Whether you’re new or experienced, this technique will boost your watercolor painting skills and make your winter art stunning.
The salt technique works by creating a unique crystallized pattern on your wet paint. When you add salt to the damp watercolor, it pulls out the pigment, leaving behind snowflake-like designs. This method adds depth and texture, capturing the winter season’s essence in a captivating way.
To use the salt technique, sprinkle a lot of salt on your wet watercolor paint. The timing is key – do it when the paint is still damp but not too wet. Try different salts and amounts to get the pattern you want, from delicate to bold.
After the salt works its magic, let the painting dry completely. Then, gently brush away the extra salt to see the amazing results. The transformation is magical, making your watercolor look frosty and captivating.
Try the salt technique and open up new creative possibilities for your watercolor painting and winter art. Experiment and let the salt help you create mesmerizing art.
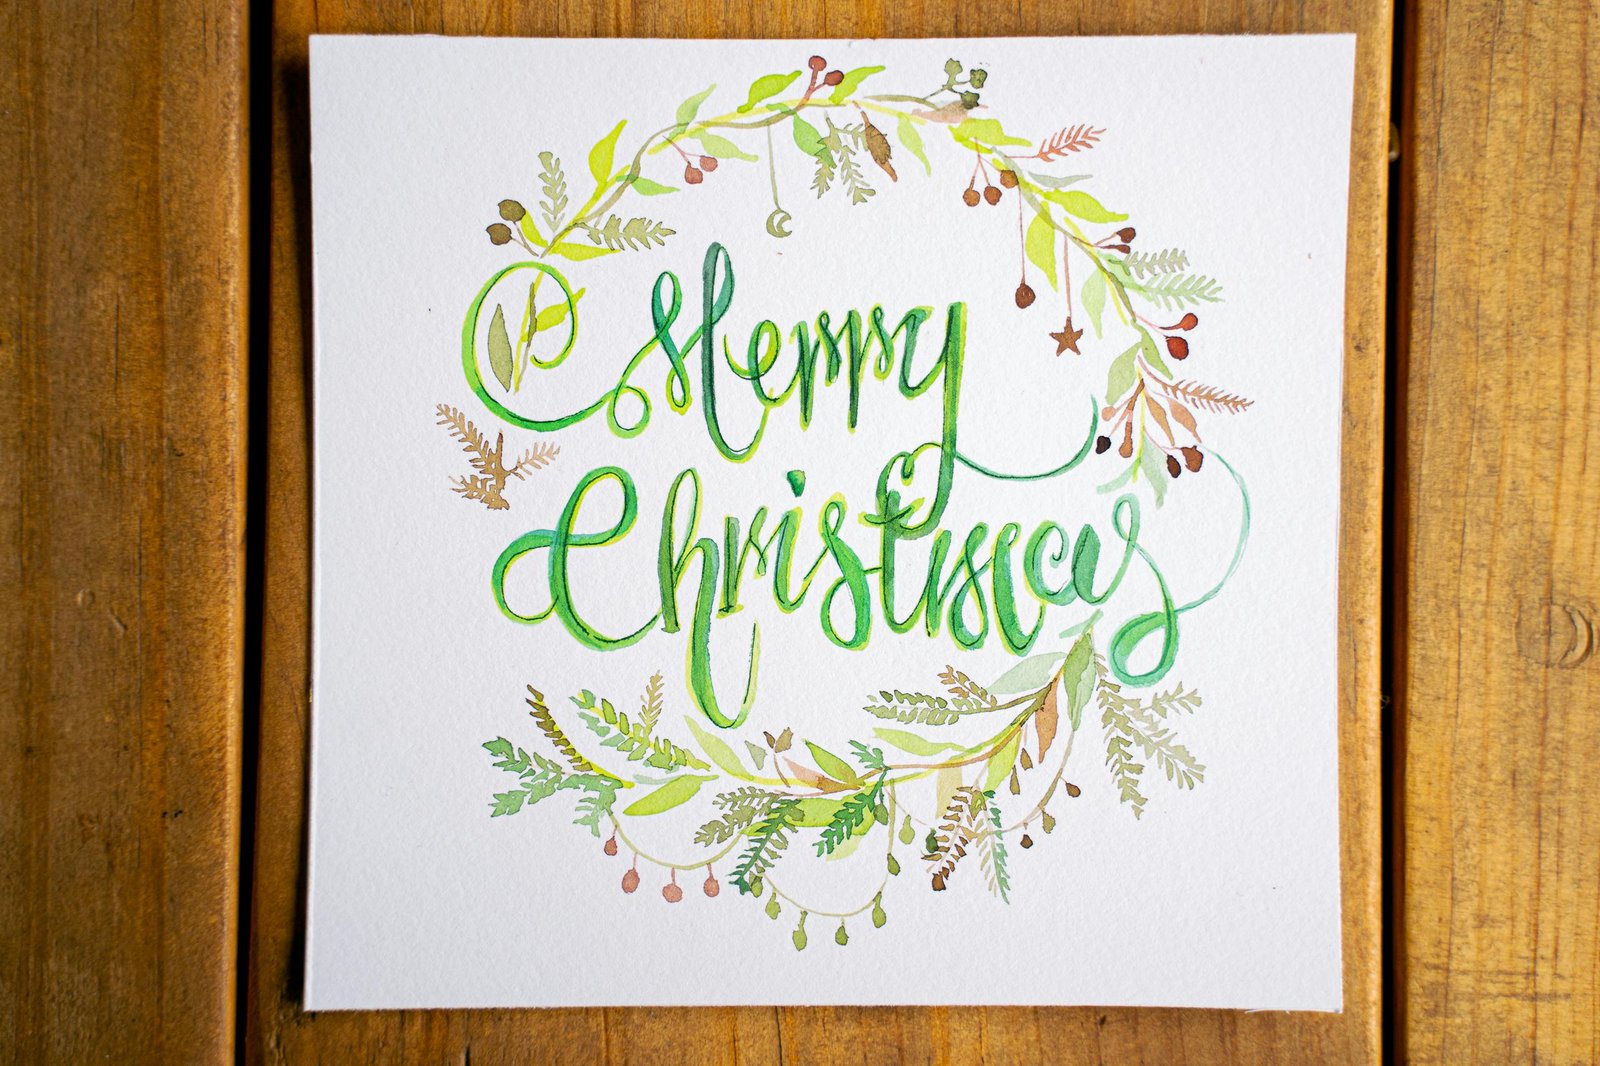
Color Theory and Combinations for Winter-Themed Art
Understanding color theory is key for creating amazing winter-themed artwork. Using cool colors and complementary colors can make your snowflake designs pop. It adds depth and vibrancy to your winter art.
Cool Color Palettes
Cool colors are perfect for winter landscapes. Blues, purples, and greens bring a calm, icy feel. Adding white or metallic touches makes your art feel frosty and magical.
- Icy blues and soft lavenders create a calming, wintry feel.
- Muted greens and teals can capture the elegance of evergreen trees.
- Splashes of silver or pale blue-gray add depth and a sense of shimmer.
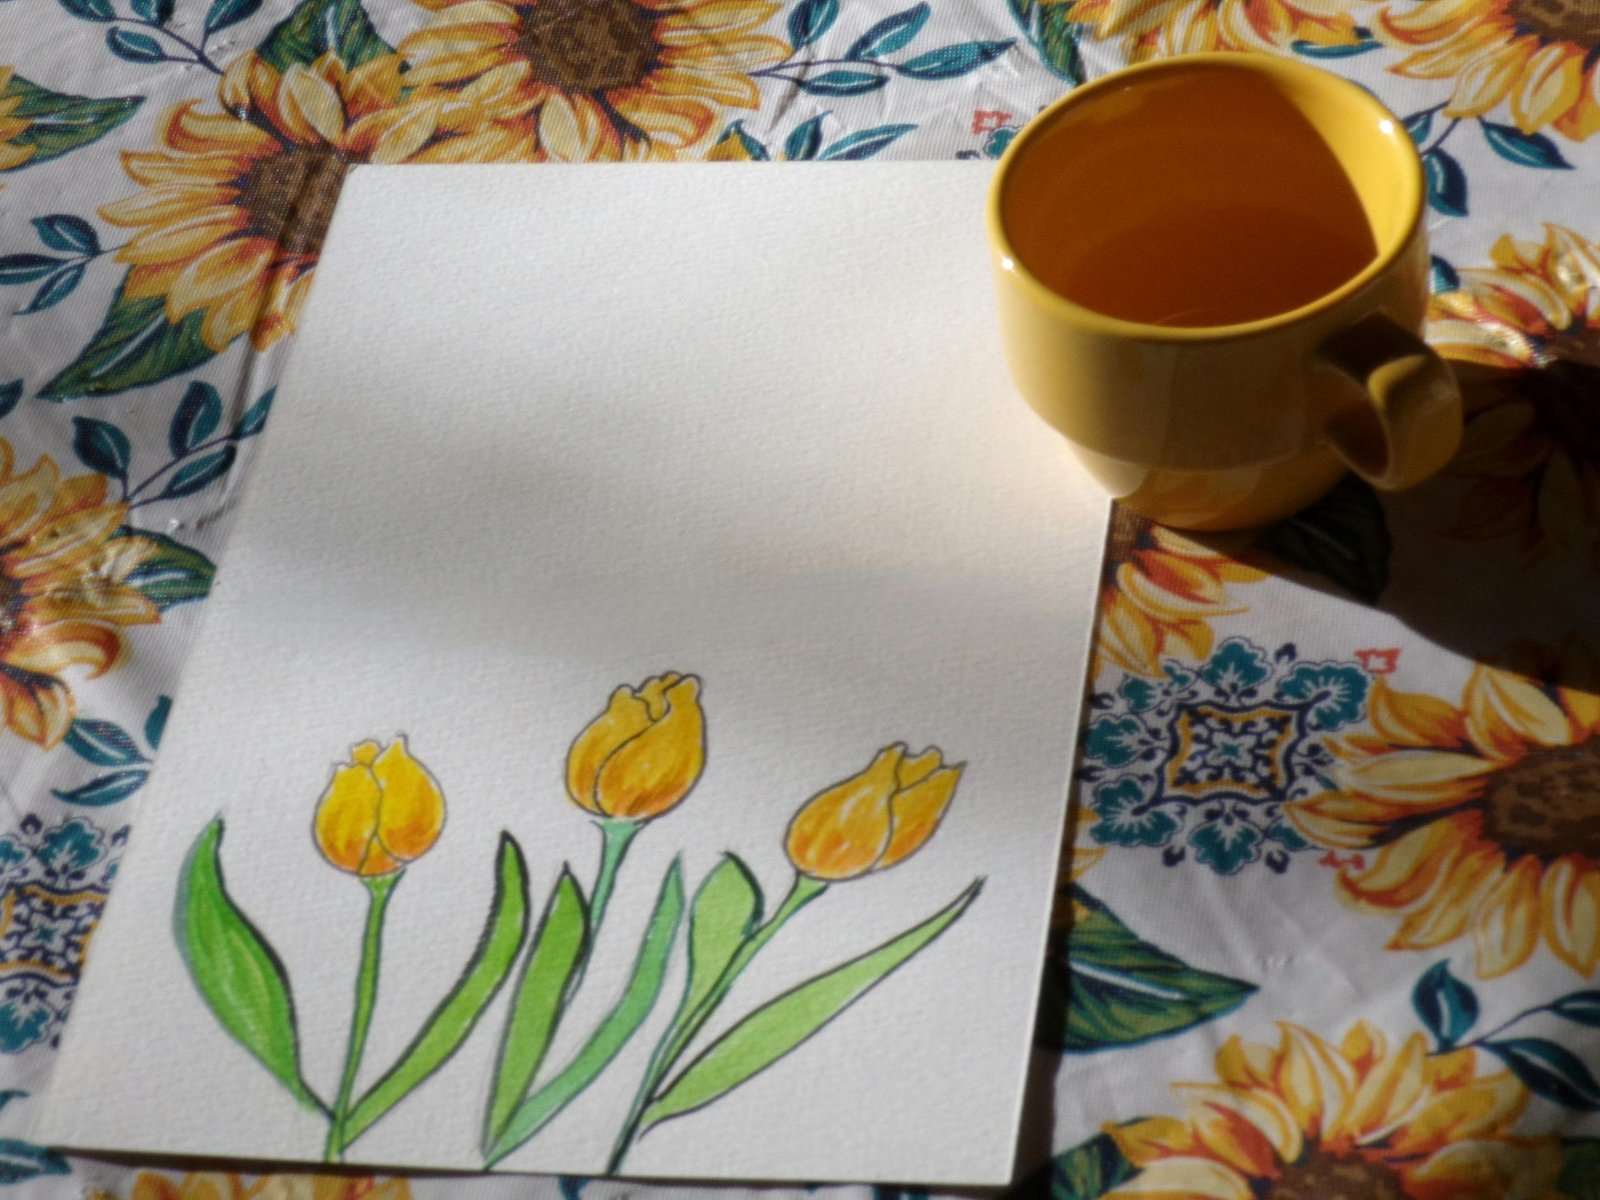
Complementary Colors for Impact
Complementary colors can make your snowflake designs pop. Pairing colors like blue and orange or purple and yellow creates striking contrasts. These contrasts grab the viewer’s attention.
| Complementary Color Pairs | Visual Impact |
|---|---|
| Blue and Orange | Vibrant, energetic, and visually dynamic |
| Purple and Yellow | Sophisticated, elegant, and eye-catching |
| Green and Red | Classic, festive, and visually striking |
Trying out these color combinations can refresh your winter art. It adds depth, interest, and a touch of flair.
Common Mistakes to Avoid When Painting Snowflakes
Let’s talk about common mistakes to avoid in watercolor snowflake art. Mastering watercolor takes time, but knowing these mistakes can help you get better faster.
One big mistake is overworking the paint. Watercolor can get muddy if you keep adding to it. Trust the paint to blend naturally instead of overworking it.
Another mistake is using too much water. Too much water can make the paint bleed and lose its color. Find the right balance of water and paint for crisp snowflakes.
- Keeping your snowflakes symmetrical is key. Avoid messy brushstrokes that ruin the design. Plan each part carefully.
- Blending colors can be tricky, especially for winter scenes. Watch out for muddy colors. Try layering and glazing for bright, clear colors.
Knowing these mistakes and using the right techniques can improve your snowflake art. Remember, practice and patience are essential in watercolor painting and snowflake art. This guide will help you create beautiful, professional watercolor snowflakes.
Tips for Achieving Professional-Looking Results
As a passionate watercolor artist, I love sharing tips for professional results. Whether you’re new or experienced, mastering brush control and the right water-to-paint ratio is key. These skills can greatly improve your watercolor snowflake art.
Brush Control Techniques
Creating detailed snowflakes requires great brush control. Begin by practicing on separate paper before your main piece. Try different brushes for lines and washes. Notice how angle and pressure change your strokes.
Work in thin, transparent layers for your design. Let each layer dry before adding the next. This keeps your lines crisp and prevents blending issues.
Water-to-Paint Ratio Guidelines
Finding the perfect water-to-paint ratio is essential for watercolor snowflakes. The right mix can make your painting vibrant and controlled. Start with more water for base layers, then add more paint for details.
Try different ratios to see how paint behaves on your paper. Begin with a 2:1 or 3:1 ratio for base layers. Then, use a 1:1 or 1:2 ratio for details. Adjust based on your paint and paper.

Mastering brush control and the right water-to-paint ratio will help you create stunning snowflakes. With practice and experimentation, you’ll bring your vision to life on paper. You’ll achieve the professional results you’ve always wanted.
Creative Variations and Design Ideas
Unleash your inner artist and explore the endless possibilities of snowflake art! There’s more than just the classic watercolor technique. Whether you’re a seasoned painter or a budding artist, get ready to dive into a winter wonderland of stunning snowflake designs.
One captivating idea is to incorporate different color schemes into your snowflake art. Try cool, icy tones like blues and purples, or warm tones with pink and gold. Don’t be afraid to play with unconventional color palettes – the results can be truly mesmerizing.
- Craft snowflakes using various materials like popsicle sticks, paper, coffee filters, salt crystals, and pom pom balls.
- Explore themed snowflake designs, such as Disney Frozen-inspired ornaments or marshmallow snowflake crafts.
- Create snowflake window clings or a DIY ball toss game with a winter wonderland theme.
If you’re feeling adventurous, why not try your hand at intricate mixed media snowflake art? Combine watercolor with ink, gel pens, or even glitter to add depth and texture. The possibilities are endless, and the results are sure to impress.
Remember, the beauty of snowflake art lies in its ability to capture the unique and personal. Embrace your creativity and let your snowflake designs reflect your individual style and vision. Whether you’re crafting for the holidays or simply adding a touch of winter magic to your home, these creative variations will inspire you to unleash the snowflake artist within.
“Snowflakes are one of nature’s most fragile things, but just look what they can do when they stick together.” – Vesta M. Kelly
Conclusion
Creating stunning watercolor snowflakes is a fun way to capture winter’s essence. It adds magic to your winter art projects. We’ve covered everything from the basics to advanced techniques to help you make your own watercolor snowflakes.
The beauty of watercolor lies in its flexibility. Try out different colors, techniques, and designs to express your creativity. Making your own winter art is incredibly rewarding. So, don’t hesitate to experiment and let your art shine.
Keep exploring watercolor snowflakes and share your work with others. The journey is exciting, and your watercolor snowflakes can bring joy to everyone around you.
Jen is a healthcare pro by day and a DIY enthusiast by night, bringing creativity to life on JF Craft Corner! From decoupage to Cricut crafts, she’s all about making DIY magic (and a little mess). She also co-runs The Heart of Mindful Living blog and podcast, inspiring others to refresh their minds and nurture their souls. Her trusty sidekick? Fergus, her chocolate Shih Tzu and certified therapy dog, always on cuddle duty. Jen believes true leadership starts with kindness—and, of course, a little glitter!