6 Stunning Watercolor Spring Art Ideas for Beginners (That Won’t Make You Cry Into Your Paint Water)
Ever stare at your watercolor palette and wonder, “What now?”
If so, you’re not alone—and you’re definitely in the right place.
Spring is a time of renewal, fresh starts, and yes, even giving watercolor painting another shot (especially if your last attempt looked more like mud season than blooming flowers). Whether you’re brand new to painting or just dipping your brush back in, watercolor is the perfect medium to celebrate spring’s soft colors, delicate details, and let’s face it—completely unpredictable vibes.
Grab your brushes and let’s dive into six beginner-friendly watercolor spring projects that are so pretty, you’ll forget you once confused your crimson with your cadmium red.
Why Watercolor and Spring Are a Match Made in Creative Heaven
Spring bursts with color, texture, and energy—and watercolor is the perfect tool to capture that gentle chaos. It’s forgiving (hello, second chances), expressive, and ideal for nature-inspired artwork.
Key Takeaways:
- Learn beginner watercolor techniques perfect for spring themes
- Capture spring’s energy with light, texture, and color
- Practice 6 stunning spring-inspired art projects
- Master color blending, composition, and brush control
- Build confidence and skills while having fun
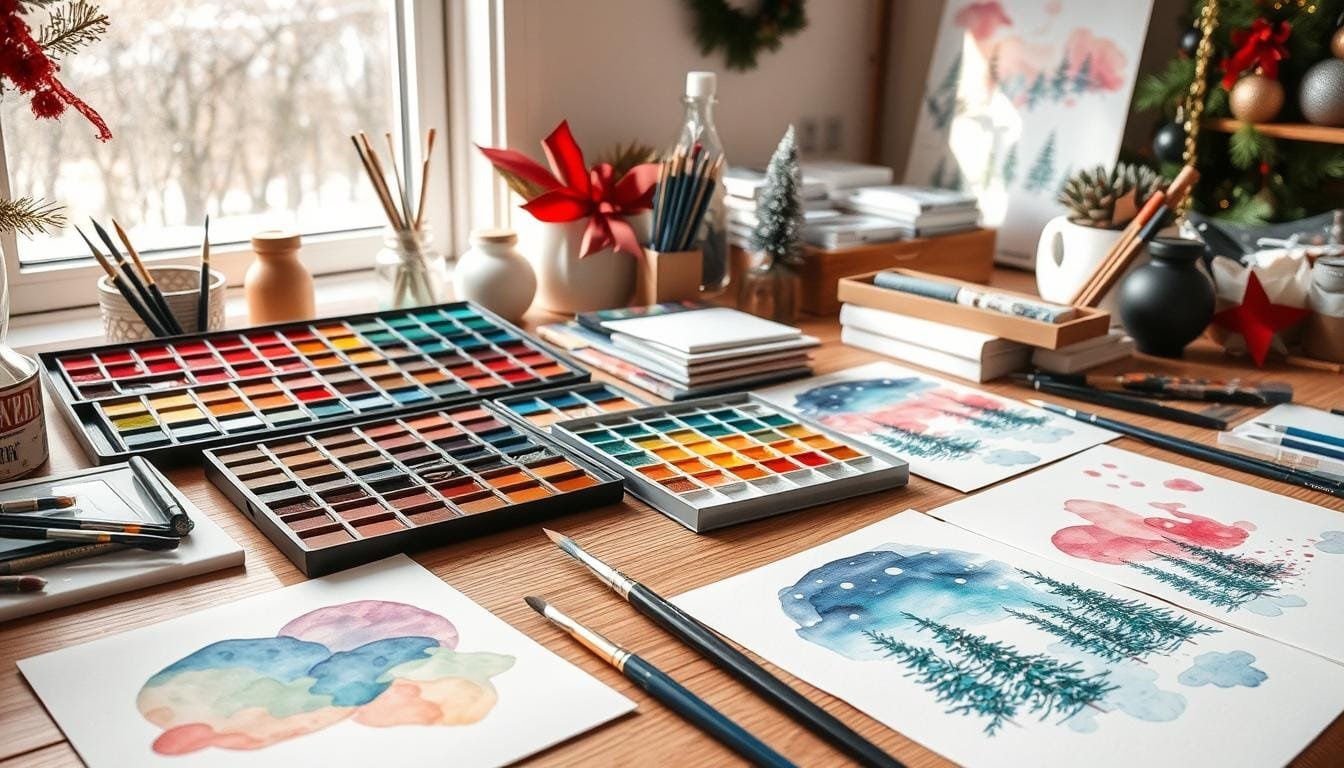
Essential Watercolor Supplies for Your Spring Art Journey
You don’t need a hundred brushes or a studio full of paints—but a few quality basics will make a huge difference.
Watercolor Paper: Your Artwork’s Best Friend
- 100% cotton
- Cold-press texture (a little bumpy = good)
- 140 lb (300 gsm) weight
- Acid-free and pH neutral
Must-Have Brushes (You Only Need 3)
- Large round brush – for big washes and skies
- Small round brush – for detail like petals and veins
- Flat wash brush – for backgrounds and large areas
Spring-Inspired Color Palette
Stick with bright, clean colors like:
- Lemon yellow
- Rose pink
- Sap green
- Cobalt blue
Pro tip: Fewer colors = less mud. Trust us on this one.
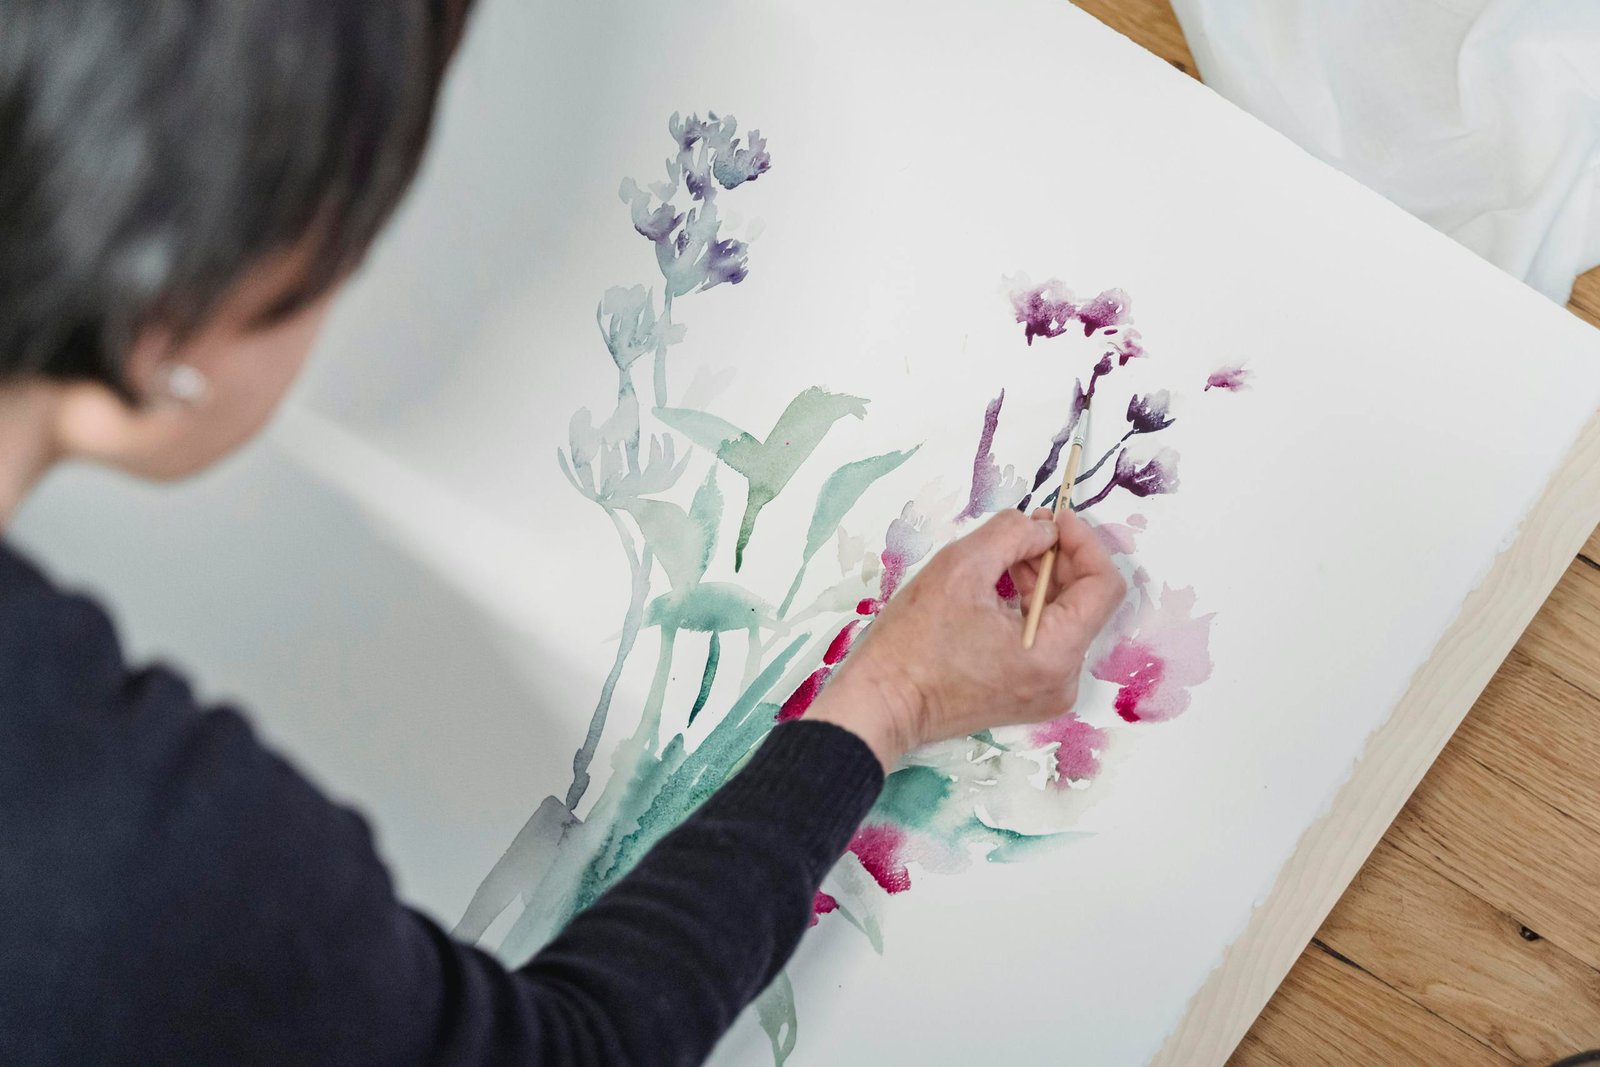
Easy Watercolor Techniques to Master for Spring Art
- Wet-on-wet: dreamy blends and soft petals
- Wet-on-dry: crisp edges and fine detail
- Color gradients: smooth transitions
- Layering: build depth and texture
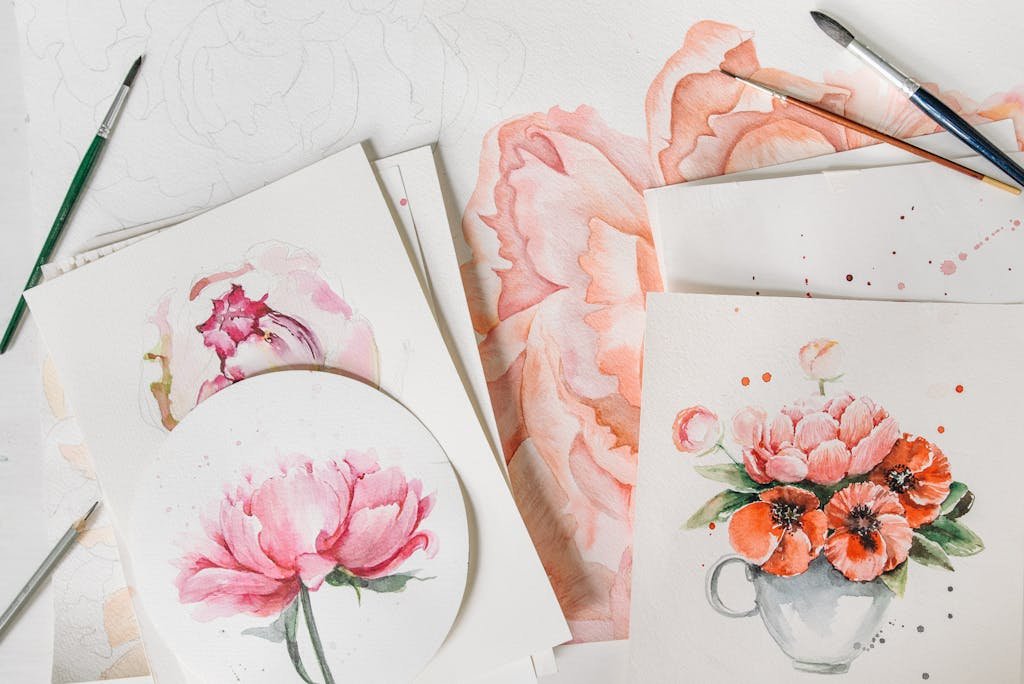
6 Beautiful Spring Watercolor Projects for Beginners
1. Delicate Cherry Blossoms
- Wet-on-wet for dreamy petals
- Layer white and blush pink for depth
- Add tiny branches with a fine brush
2. Garden Butterflies
- Use complementary colors for contrast
- Lift paint for wing highlights
- Detail with a white gel pen
3. Spring Flower Wreaths
- Mix tulips, daisies, and lavender
- Practice circular compositions
- Blend colors for soft transitions
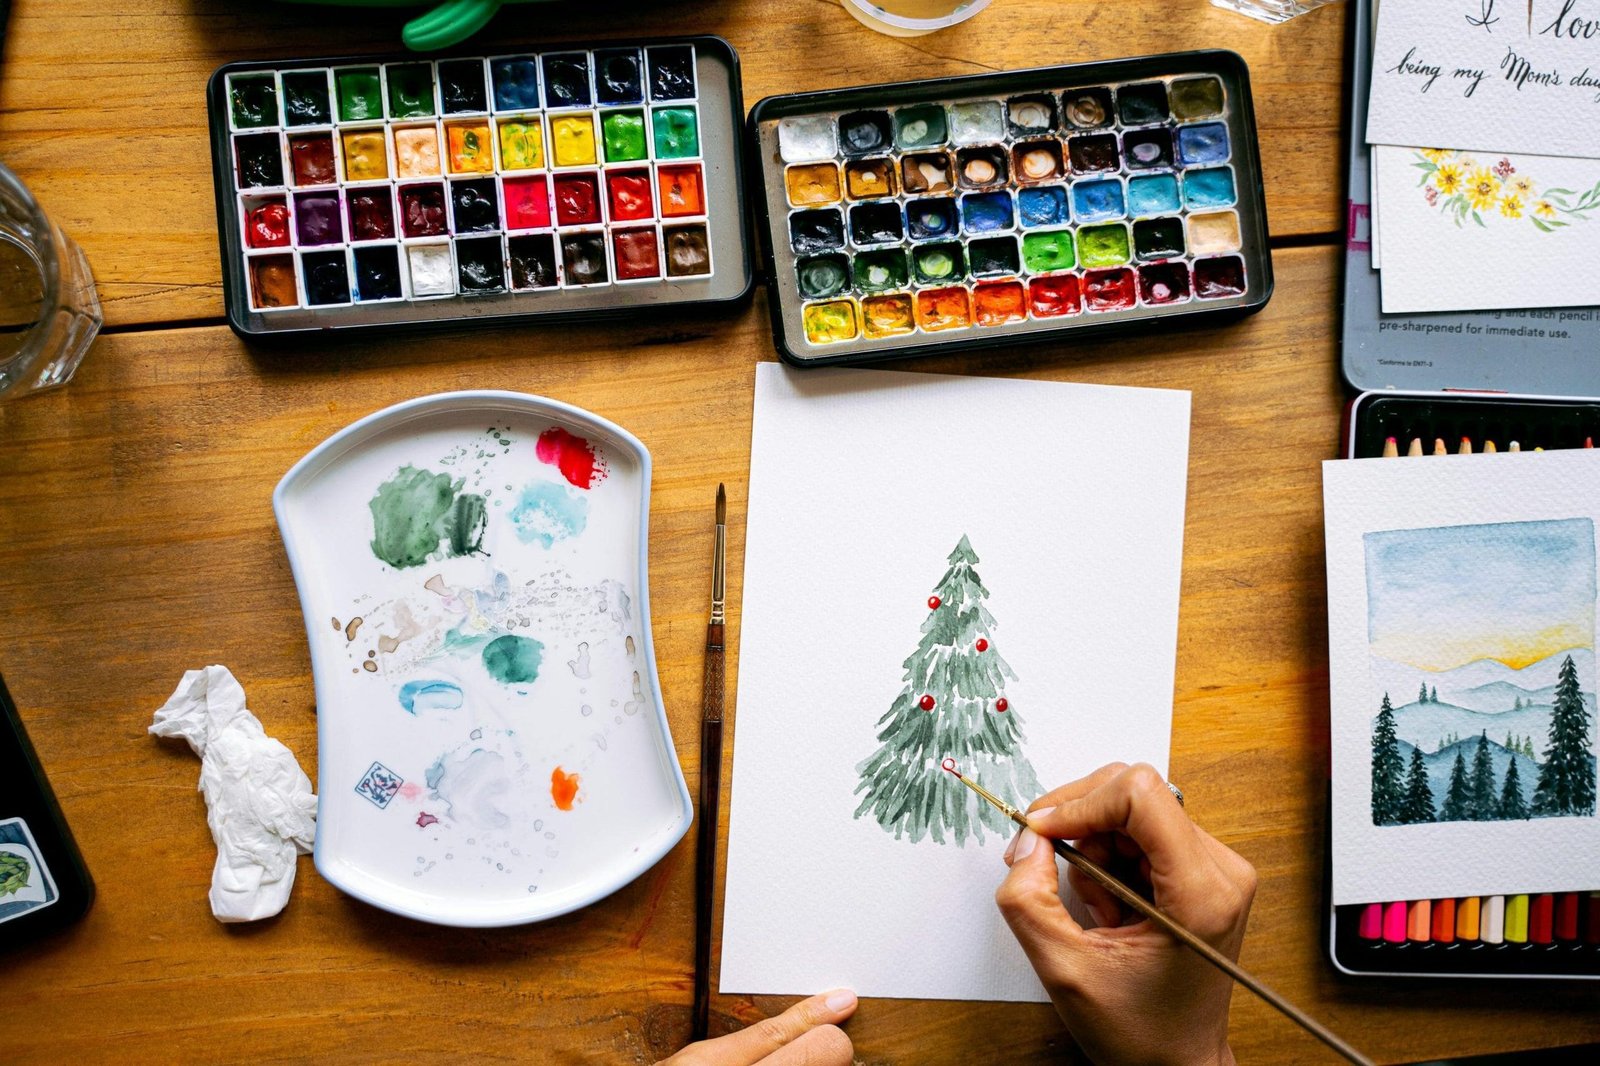
4. Easy Nature Landscapes
- Gradient skies and rolling hills
- Layering adds depth
- Loose style = more forgiving
5. Watercolor Sailboat Scene
- Simple shapes (triangles and lines)
- Practice water reflections
- Use cobalt and ultramarine blues
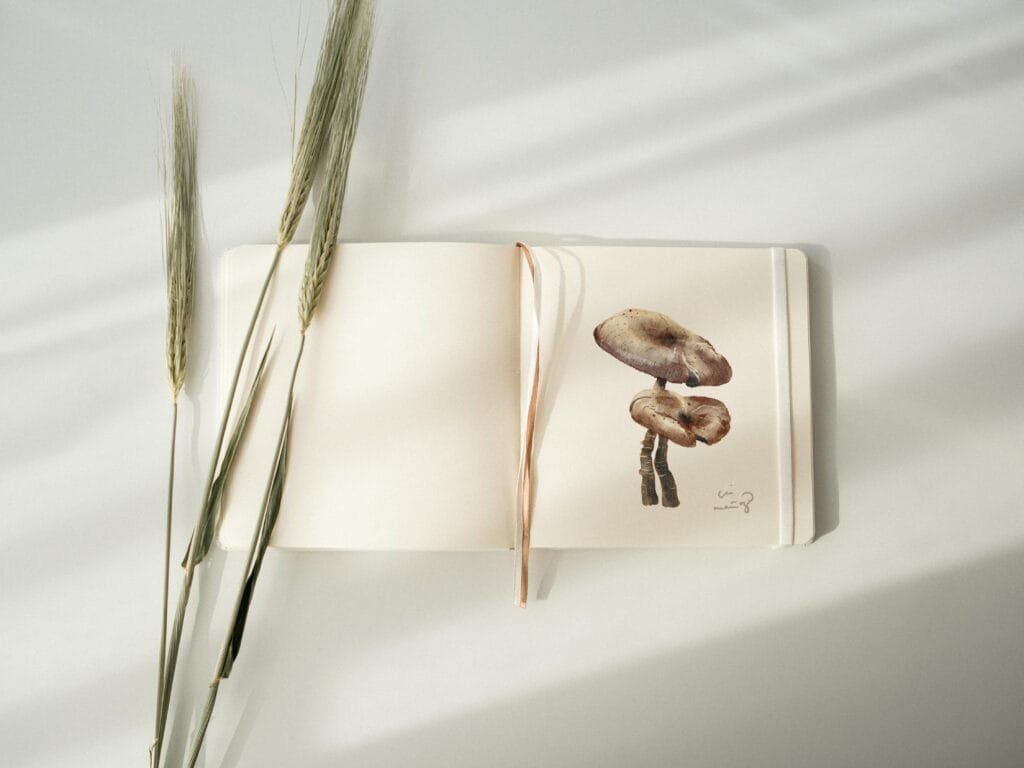
6. Watercolor Mushrooms
- Great for texture and earthy colors
- Use stippling for fun effects
- Combine with floral elements for whimsy
Understanding Color Theory for Spring Palettes
Popular Spring Color Schemes:
| Color Scheme | Effect | Spring Use |
|---|---|---|
| Analogous | Soft and harmonious | Landscapes, backgrounds |
| Complementary | Bold and vibrant | Floral and butterflies |
| Monochromatic | Elegant and subtle | Botanical studies |
Pro tip: Trust your artistic instincts—color is personal!
Step-by-Step: Painting a Simple Spring Flower
Materials:
- Cold-press watercolor paper (140 lb)
- Round brushes (size 8 and 2)
- Spring color palette
- 2 jars of clean water
Steps:
- Lightly sketch your flower using simple shapes
- Apply a light base wash using wet-on-wet
- Let it dry, then layer details with wet-on-dry
- Use a small brush for veins, centers, and edges
- Highlight with white gel pen if desired
Creating Nature-Inspired Watercolor Backgrounds
Set the tone with dreamy backgrounds:
- Wet-on-wet skies
- Layered meadows
- Texture with tissue or plastic wrap
Remember: a great background tells a story before your subject even appears.
Finishing Touches: Add Those “Wow” Details
- Dry brush for petals and grass
- Stippling for texture
- White ink or pen for final highlights
Common Watercolor Mistakes (and How to Avoid Them)
| Mistake | Fix |
|---|---|
| Muddy colors | Use fewer pigments, mix slowly |
| Paper warping | Use 140 lb or heavier paper |
| Uncontrolled bleeding | Control brush water and drying time |
Pro tip: Watercolor mistakes often lead to unexpected magic. Embrace the surprises!
Preserving and Displaying Your Spring Watercolor Art
Storage Tips:
- Use acid-free sleeves
- Store flat in cool, dry places
- Keep away from direct sunlight and heat
Framing Options:
- Minimalist frames: clean and modern
- Rustic wood: warm and earthy
- Gilded vintage: elegant and classic
Rotate displayed artwork every few months to avoid fading and keep your space feeling fresh.
Final Thoughts: Let Your Creativity Bloom
We’ve explored six watercolor projects designed to bring the joy of spring straight to your art table. Whether you’re painting cherry blossoms, mushrooms, or dreamy sailboats, every brushstroke is a step in your creative journey.
Don’t stress about perfection—watercolor is more about flow than control. The important thing is that you’re painting, learning, and enjoying the process.
The canvas is waiting—what spring scene will you create next?
Want more watercolor ideas and freebies?
Sign up for my Newsletter to get free a Free Craft Goals worksheet and new project inspiration delivered straight to your inbox!
FAQ
What watercolor supplies do I need as a beginner?
To start with watercolor spring art, you’ll need a few things. Get watercolor paper, like cold-pressed or hot-pressed. Also, grab a set of basic brushes, including flat and round ones. You’ll need watercolor paints in spring colors, a palette for mixing, and water.
Quality is more important than how many supplies you have. So, invest in a few good-quality items.
How difficult are these watercolor projects for absolute beginners?
These six spring art projects are made for beginners. They help you build your skills step by step. Each project teaches you simple techniques, like making washes and blending colors.
We guide you through adding details, too. This way, even if you’ve never painted before, you can still make beautiful artwork.
What are the best spring colors for watercolor painting?
The best spring colors include soft pinks, fresh greens, cheerful yellows, and pastel blues. These colors show the beauty of spring. You can mix primary colors to create different hues.
Try out different color combinations to see what you like best.
How can I prevent common watercolor mistakes?
Common mistakes include overworking the paper and making muddy colors. To avoid these, be patient and let layers dry. Use a light touch when blending.
Remember, watercolor is all about embracing its surprises. Start with small washes and build up your painting.
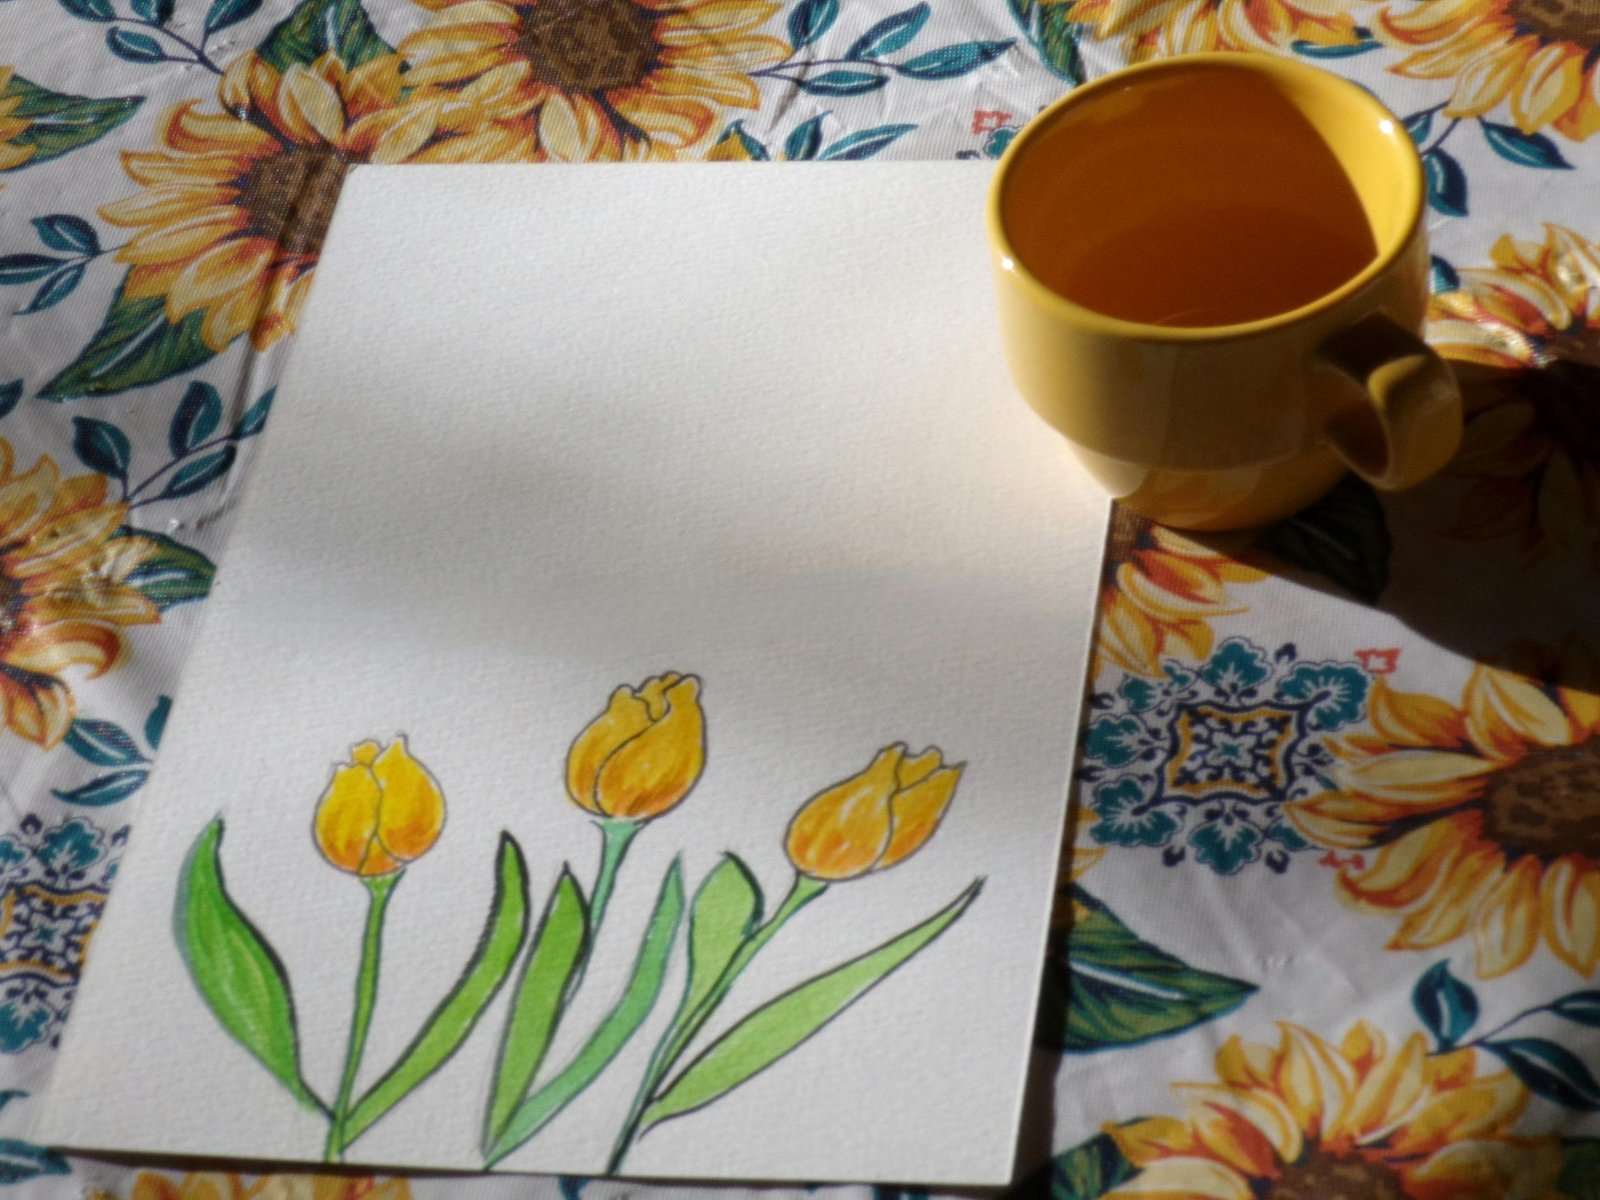
What techniques are essential for painting spring flowers?
For painting spring flowers, learn basic shapes and layering techniques. Start with simple outlines of flowers like daisies, tulips, and daffodils. Then, add color and depth with careful layering and highlighting.
How do I preserve and display my watercolor spring art?
To keep your watercolor paintings safe, store them in acid-free materials in a controlled environment. For display, use acid-free matting and frames. You can also create a gallery wall or find other creative ways to show off your art.
What brush techniques are best for adding details to watercolor paintings?
Use fine-tipped brushes for delicate lines and dry brush techniques for texture. Learn to use negative space for interesting compositions. White highlights can add sparkle and depth to your art.
How long does it take to improve at watercolor painting?
Improvement in watercolor painting takes time and practice. Everyone learns at their own pace. But, regular practice will show progress in a few weeks to months.
Be patient, enjoy the process, and see each painting as a chance to learn.
Source Links
- https://watercolour-workshop.com/easy-spring-painting-ideas/
- https://artfulparent.com/watercolor-art-activities-kids/
- https://www.watercoloraffair.com/watercolor-supplies-beginners/
- https://watercolour-workshop.com/essential-watercolour-supplies-for-beginners/
- https://jennarainey.com/spring-flower-painting-tutorials/
- https://jennarainey.com/best-watercolor-tutorials-for-beginners/
- https://www.learntopaintwatercolor.com/blog/painting-water-tutorial
- https://www.kerriewoodhouse.com/blog/easy-watercolor-ideas-for-beginners
- https://fun-a-day.com/beautiful-spring-art-projects-for-kids/
- https://www.watercoloraffair.com/watercolor-color-theory-design-that-will-change-your-artwork/?tva_skin_id=32/feed/?tva_skin_id=32feed/feedpage/feedpage/feed/feed/feed/feedpage/feedpage/feed/feed/feed/feedpagepage/feed/feed/feedpagepage
- https://www.lizsteel.com/my-basic-palette/
- https://www.deepspacesparkle.com/experimenting-with-color-theory/
- https://cecilieo.com/how-to-watercolor-an-iconic-spring-flower/
- https://www.watercoloraffair.com/how-to-paint-watercolor-flowers-for-beginners-step-by-step/?tva_skin_id=32/feed/?tva_skin_id=32feedpagepage/feedpagepagepage/feedpagepagepage/feed/feed/feed/feed/
- https://jennarainey.com/watercolor-flowers-a-beginners-guide/
- https://wildearthlab.com/2023/08/09/nature-art-activities/
- https://www.apieceofrainbow.com/spring-trees-watercolor-painting/
- https://jennarainey.com/watercolor-101/
- https://artwithtrista.com/spring-art-lesson-ideas/
- https://www.momsandcrafters.com/watercolor-techniques-for-beginners/
- https://jennarainey.com/watercolor-basics/
- https://www.louisedemasi.com/tips/2024/10/31/ten-common-watercolour-mistakes-and-how-to-fix-them?srsltid=AfmBOorzMdQP7HEmXB6OnmcSxDZsG7nsalx8HPqJpCHPfcDPUr7bjy0z
- https://www.watercoloraffair.com/20-ways-to-fix-watercolor-mistakes/?tva_skin_id=32/feed/feed/feedpagepage/feed/feedpagepage/feedpage/feedpagepage/feed/feed/
- https://jennarainey.com/watercolor-art-for-home-decor/
- https://www.momsandcrafters.com/how-to-watercolor/
- https://realismtoday.com/realistic-watercolor-painting-step-by-step/
- https://artofpaintbynumbers.com/blog/80-easy-watercolor-painting-ideas-for-beginners
- https://inesepogagallery.com/2017/05/06/the-best-way-to-start-painting-with-watercolors/
- https://urbakiart.com/painting-beautiful-spring-blossoms-in-watercolor/
Jen is a healthcare pro by day and a DIY enthusiast by night, bringing creativity to life on JF Craft Corner! From decoupage to Cricut crafts, she’s all about making DIY magic (and a little mess). She also co-runs The Heart of Mindful Living blog and podcast, inspiring others to refresh their minds and nurture their souls. Her trusty sidekick? Fergus, her chocolate Shih Tzu and certified therapy dog, always on cuddle duty. Jen believes true leadership starts with kindness—and, of course, a little glitter!