Watercolor Techniques for Holiday Cards: A Step-by-Step Guide
As I sit at my desk, a mug of warm apple cider by my side, I feel the holiday excitement. The crisp air outside calls me to make something special – handmade watercolor holiday cards. These cards will bring joy to my loved ones. My daughter and I enjoy spending hours crafting each card, adding our artistic flair and personal touch lovingly to each card.
It’s a tradition in our house, and I’m excited to share it with you today. In this guide, I’ll show you the key watercolor techniques for making stunning holiday cards. You’ll learn about color mixing, the wet-on-wet technique, and more. These secrets will help you create designs that will make your cards stand out.
Key Takeaways:
- Explore a variety of watercolor techniques, including color mixing, wet-on-wet, charging color, and variegated washes.
- Utilize a split primary color palette to achieve vibrant and harmonious hues, particularly for creating lush greens.
- Develop brush control and composition skills to elevate the overall aesthetic of your watercolor holiday cards.
- Discover the importance of paper selection and material choices in creating durable and visually appealing cards.
- Unlock the potential of masking fluid and other tools to add unique textures and effects to your designs.
Whether you’re a seasoned watercolor artist or just starting out, this guide has everything you need. It will help you create enchanting holiday cards. So, let’s get started and make this season’s greetings unforgettable.
Essential Supplies for Creating Watercolor Holiday Cards
Starting your watercolor holiday card project? You’ll need the right art materials. This includes the best watercolor papers, essential paint colors, and brushes. Let’s explore what you need to make beautiful watercolor holiday cards.
Recommended Watercolor Papers and Cards
The base of your watercolor art is the paper. Choose 140 lb (300 gsm) or heavier paper for smooth paint and no bleeding. Cold-pressed paper is perfect, offering great texture and absorbency. You can buy pre-cut cards or cut larger sheets to size.
Must-Have Paint Colors and Brushes
For paints, pick a palette with both warm and cool colors. The Daniel Smith Watercolor Essentials set is a good choice. It includes Phthalo Blue (GS), Lemon Yellow, Sap Green, and Raw Sienna. These colors help you make a variety of festive shades for your cards. For a good starter set, Artecho Watercolor set is a great option.
For brushes, a quality number 4 round brush from the Artegria Watercolor collection is ideal. It gives you control and lets you add fine details to your designs.
Additional Tools and Materials
- Low-tack masking tape for clean edges and lines
- Masking fluid to keep white areas of your design
- A ruler for straight lines and measuring
- Paper towels for soaking up water and paint
- Water cups for mixing and cleaning your brushes
- A Merry Christmas stamp or other holiday-themed stamps (optional)
With these key watercolor supplies, you’re ready to make stunning holiday cards.
“Watercolors are like a dance with the unexpected – the more you embrace the surprises, the more breathtaking your creations will be.”
Preparing Your Workspace and Materials
Creating beautiful watercolor holiday cards begins with a clean workspace. Clear a space on your work surface and cover it with a plastic tablecloth or large paper. This prevents spills and stains.
Then, collect all your painting supplies. You’ll need watercolor paints, brushes, paper, and materials like masking fluid or salt. Have two paper cups ready for clean water. One is for rinsing brushes, and the other for mixing paint.
- Make sure your setup supports focused watercolor preparation and a productive craft workspace.
- Keep a damp paper towel nearby for wiping off excess water or paint.
- Use a separate brush for masking fluid to protect your watercolor brushes.
Preparing your art studio setup, gathering your watercolor preparation materials, and setting up a comfortable craft workspace is key. It ensures a successful and enjoyable time making watercolor holiday cards.
| Supplies Needed | Quantity |
|---|---|
| Watercolor paints | Assortment of colors |
| Watercolor brushes | Flat, round, and detail brushes |
| Watercolor paper | Enough for desired number of cards |
| Masking fluid (optional) | 1 bottle |
| Paper towels | 1 roll |
| Water containers | 2 cups |
| Protective covering | 1 large piece |
Basic Watercolor Techniques for Holiday Cards: A Step-by-Step Guide
Make your holiday cards stand out with watercolor painting. Learning a few key techniques can unlock a world of creativity. Let’s explore the basics to get stunning results.
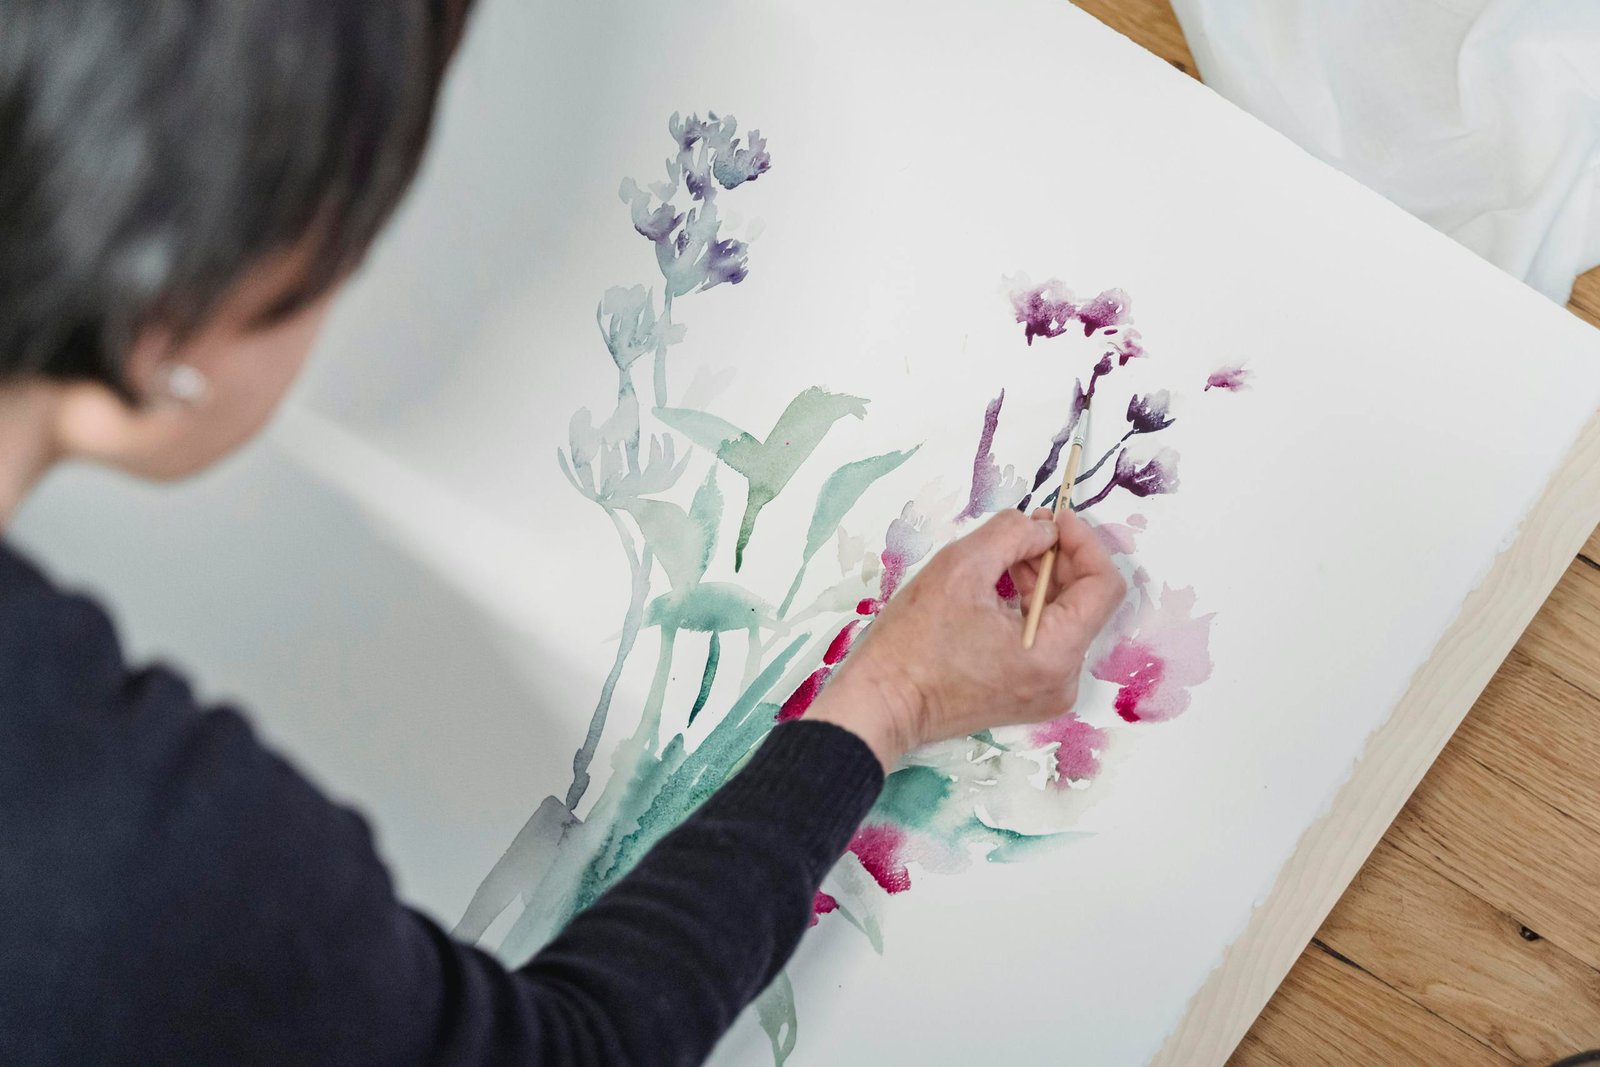
Wet-on-Wet Technique
The wet-on-wet method lets colors blend smoothly on paper. Start by wetting your paper, then add colors while it’s still damp. This creates beautiful patterns. It’s great for soft backgrounds or adding depth to your designs.
Color Mixing and Blending
Get creative with color mixing and blending. Use a split primary color scheme to mix vibrant holiday colors. Blend colors on your palette or directly on the paper for smooth transitions.
Creating Variegated Washes
Variegated washes add stunning effects to your cards. Mix colors on wet paper for mesmerizing gradients and patterns. This technique is perfect for backgrounds, like skies or foliage.
Practice and experiment to master these techniques. Don’t be afraid to try new things. With patience and practice, you’ll create unique watercolor holiday cards.
“Watercolor is an easy, inexpensive, and versatile medium that allows for endless creative expression. Embrace the unpredictable nature of the medium and let your holiday cards blossom with vibrant, unique designs.”
| Technique | Description | Benefits |
|---|---|---|
| Wet-on-Wet | Applying wet paint to a wet surface, allowing colors to blend smoothly. | Achieves soft, dreamy backgrounds and adds depth to designs. |
| Color Mixing and Blending | Mixing a split primary color palette to create a wide range of hues. | Enables creation of vibrant, holiday-inspired color schemes. |
| Variegated Washes | Mixing two or more colors on wet paper to produce gradients and patterns. | Adds visual interest and depth to backgrounds and design elements. |
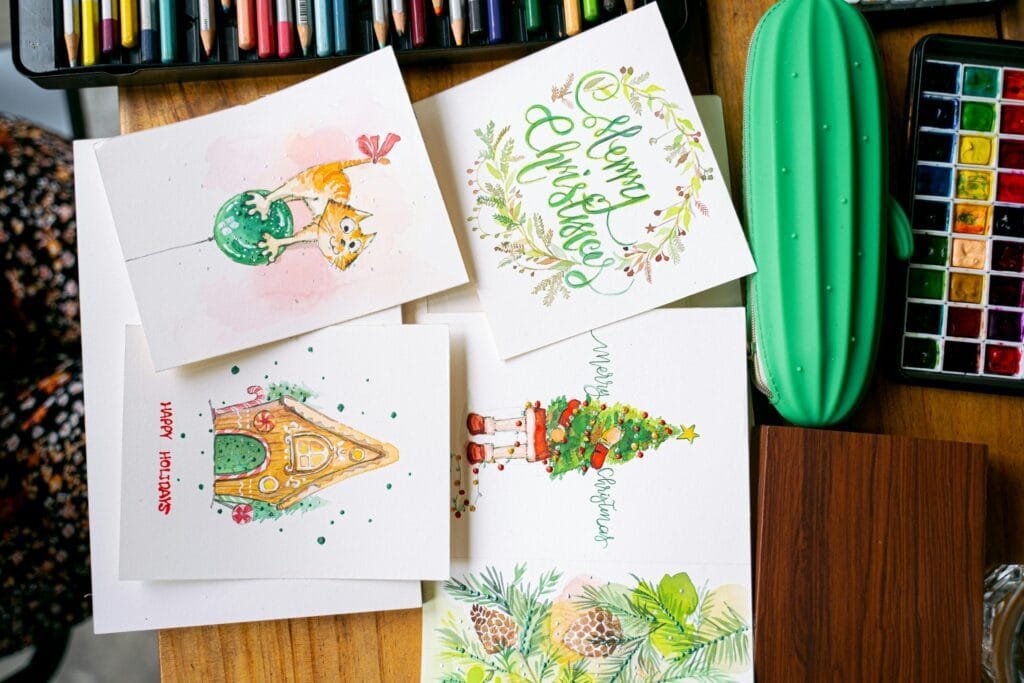
Simple Christmas Tree Card Designs
Making festive watercolor Christmas cards is easy. A simple Christmas tree design is both charming and straightforward. With a few brushstrokes and a fun color scheme, you can capture the holiday spirit on your cards.
Begin with a triangular shape for your tree. Try different sizes and placements for a lively look. Use Lemon Yellow and Phthalo Blue to mix vibrant greens. Add Sap Green for depth.
Experiment with brush strokes. Mix vertical, horizontal, loose, and precise strokes for interest. A grid of nine triangles can make your design rhythmic and balanced.
Enhance your card with festive details. A black pen is great for ornaments or stars. White gouache can add snowy tips or a glittery effect.
These simple steps can help you create beautiful Christmas tree painting, watercolor Christmas cards, and festive art. Your loved ones will love them this holiday season.
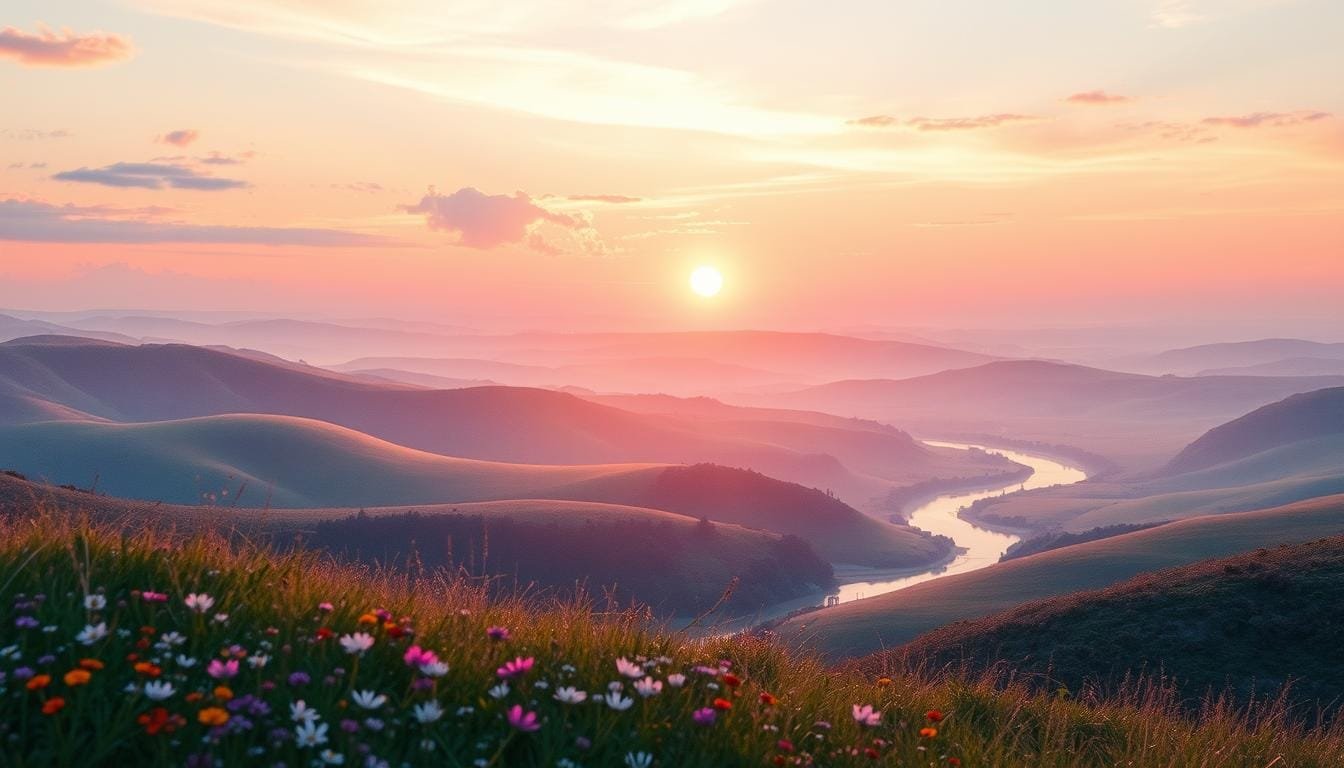
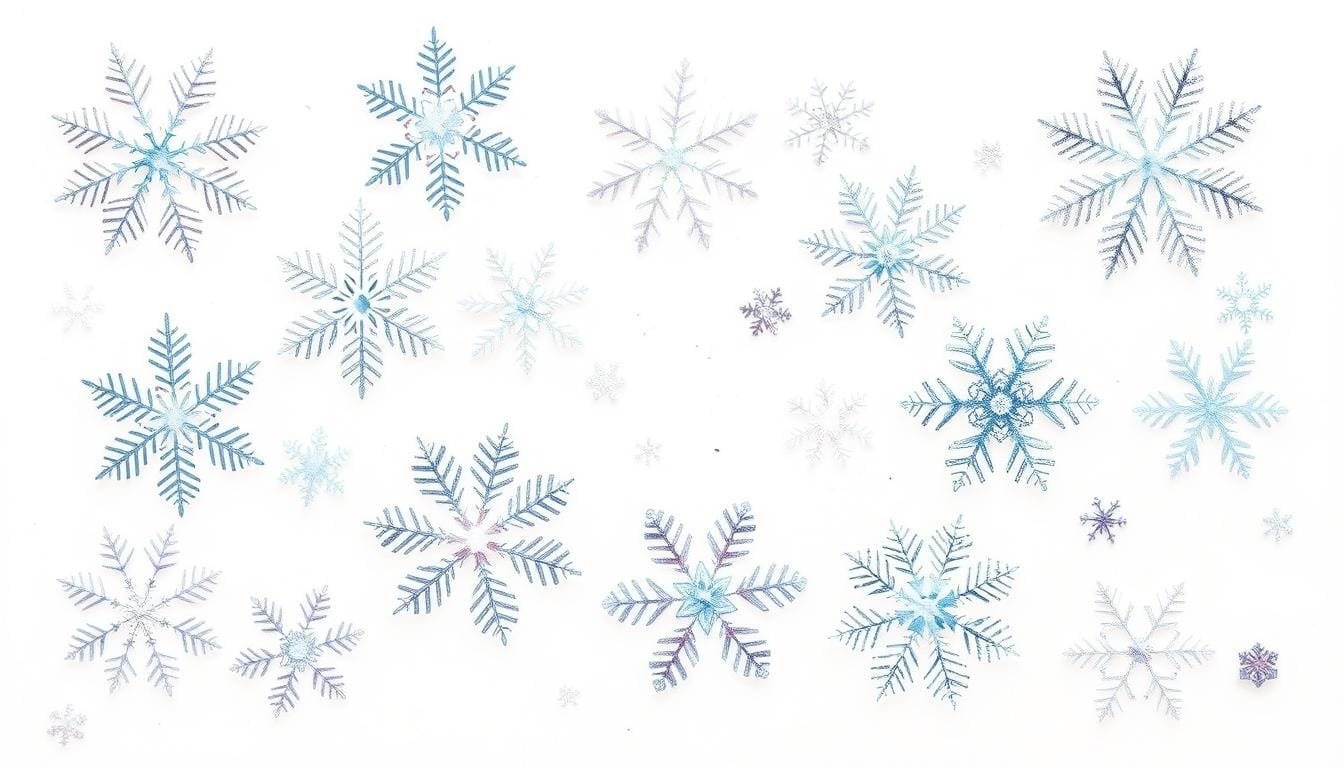
Creating Winter Wonderland Effects
Discover the magic of winter with watercolor techniques. From snowy scenes to frosty touches, the secret to a beautiful “winter watercolor” is in your skills. Learn how to create a stunning winter wonderland for your holiday cards and more.
Masking Fluid Techniques
Masking fluid is great for keeping white areas, perfect for snowflakes. Apply it to your paper to make snowfall look real. Then, use blues like Phthalo Blue (GS) and Prussian Blue for the snowy background.
As it dries, add darker edges with more pigment. This brings depth and dimension to your winter scene.
Snow and Frost Effects
To get a snow-capped look, reapply masking fluid after the first blue wash dries. Dab and splatter it to look like snowflakes. Then, add a second blue wash to blend colors and add depth.
Finally, remove the masking fluid with a kneaded eraser. This reveals crisp white accents, turning your scene into a winter wonderland.
Building Layers for Depth
Layering is crucial for a striking winter watercolor. Begin with soft blues and grays as a base. Then, add details with more washes.
Use a light touch for distant elements and get bolder as you move closer. This creates depth and distance, just like in real winter landscapes.
Mastering these techniques lets you capture winter’s magic in your watercolors. Whether for holiday cards, decor, or just enjoying the season, these methods will create a mesmerizing winter wonderland.
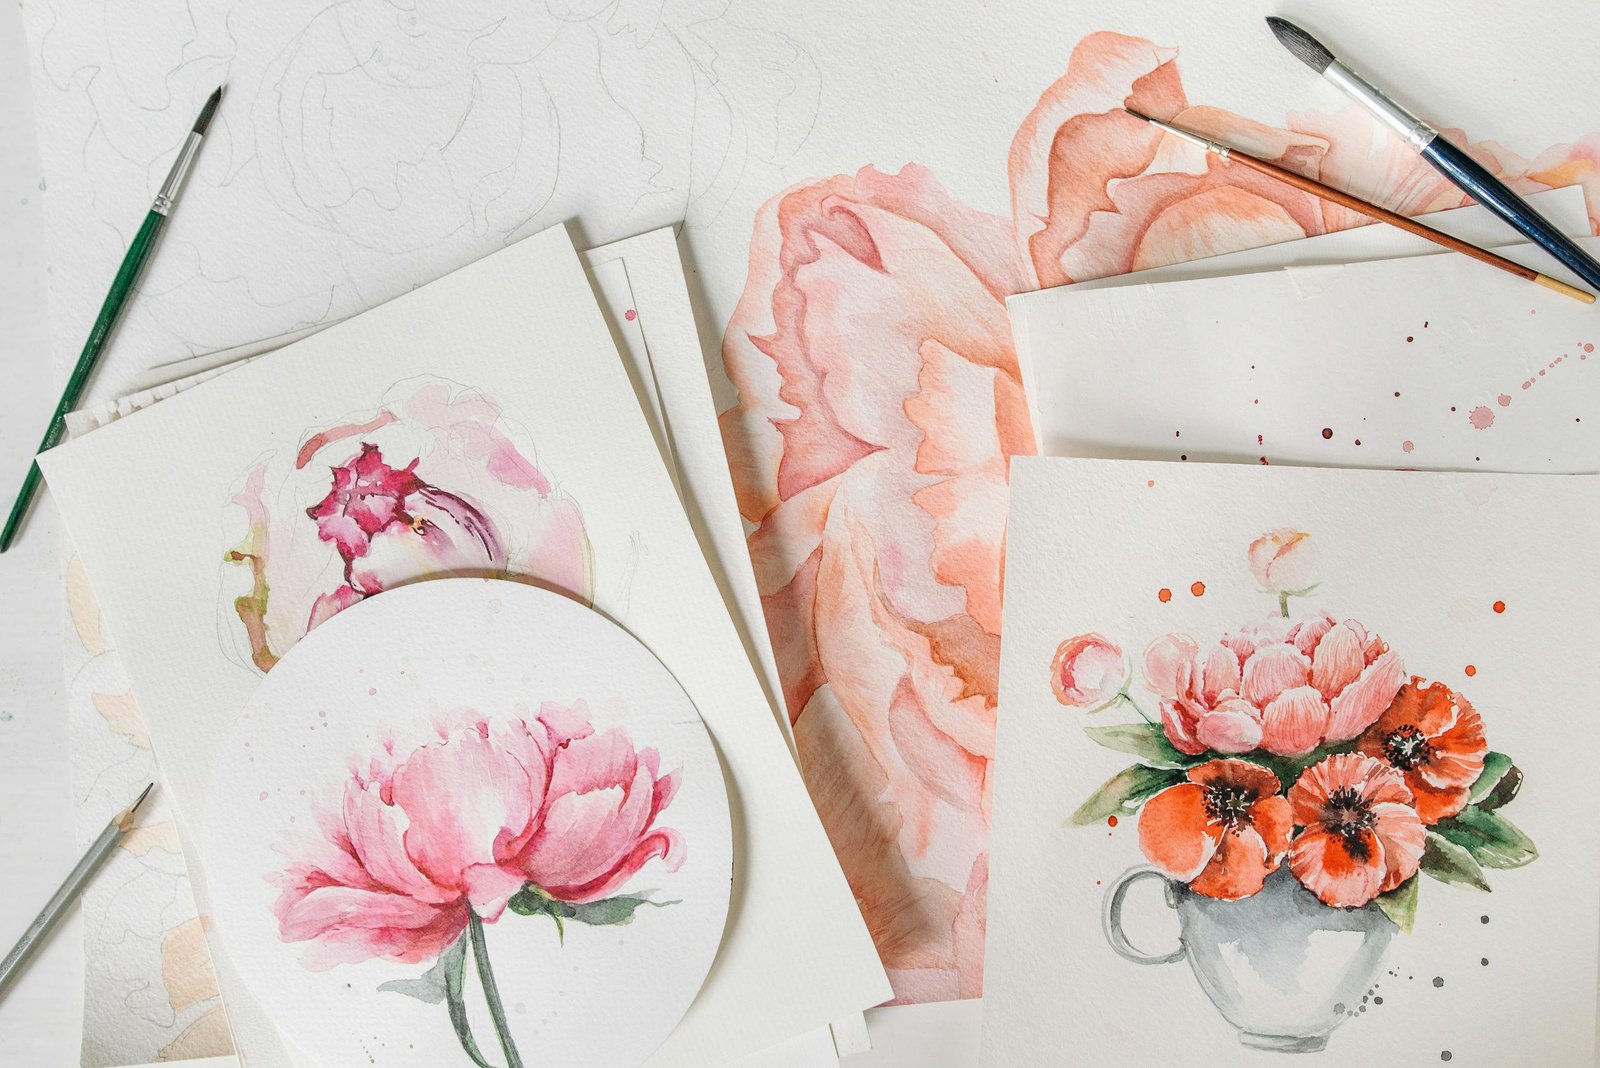
Festive Floral and Berry Patterns
As the holiday season gets closer, why not make your greeting cards special with festive floral and berry patterns? Watercolor painting is perfect for creating bright, magical designs that will make your friends smile. Let’s look at some fun ways to make these holiday themes come alive.
We’ll focus on adding shapes like flowers, berries, holly, and pine cones to our watercolor art. Using different washes, we can mix colors to add depth and interest. For pine cones and stems, Raw Sienna and Transparent Pyrrol Orange give a natural look. Leaves will be painted with Lemon Yellow, Phthalo Blue (GS), Sap Green, and Phthalo Green (BS) for a lush green color.
To paint the berries, use Transparent Pyrrol Orange and Quinacridone Rose. These bright colors will stand out against the greenery. This design helps us improve our brush skills while creating a beautiful holiday theme for many greeting card projects.
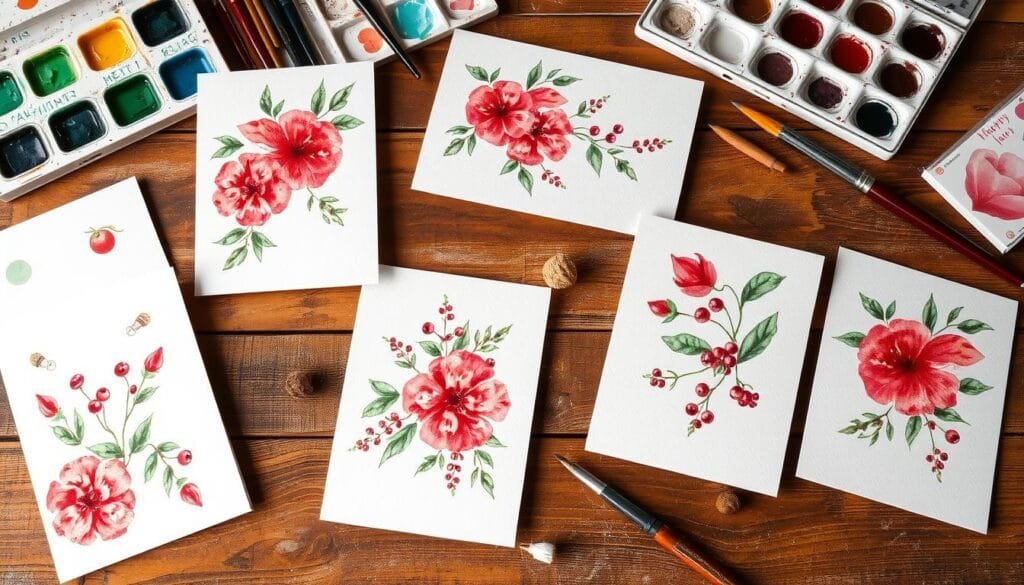
Whether you’re experienced with watercolor or just starting, these floral watercolor and holiday patterns with berry painting will spark your creativity. So, get your paints, brushes, and high-quality watercolor paper ready. Let’s explore the world of festive floral and berry patterns together!
| Watercolor Paper Weight | Recommended Paint Colors | Suggested Brush Sizes |
|---|---|---|
| 140 lb or 300 gsm |
|
|
Adding Final Details and Embellishments
Make your watercolor holiday cards pop with the right finishing touches. Add text and calligraphy for a personal touch. Then, explore various embellishments to make them shine.
Incorporating Text and Calligraphy
Adding text to your watercolor cards is a simple way to share heartfelt messages. Use a Merry Christmas stamp or try calligraphy for a unique touch. Calligraphy adds elegance and makes your cards stand out.
Finishing Touches and Special Effects
For a unique finish, consider using a wax seal on the envelope. Apply wax sticks with a glue gun for easy use. Try adding white paint for highlights or splatter techniques for a snowy effect.
Wrap the card with a delicate ribbon or include a 4×6 photo inside for a personal touch. Watercolor embellishments, calligraphy, and thoughtful card finishing techniques can turn your holiday cards into art. With creativity and attention to detail, you can make your handmade cards special.
Professional Tips for Perfect Holiday Cards
As a seasoned watercolor artist, I’ve picked up some key tips. These watercolor tips and professional art techniques will make your holiday card making a snap. From start to finish, these tips will help you create stunning cards.
- Always let your watercolor layers dry completely before adding new elements. Rushing this step can lead to unwanted bleeding or smudging.
- Use low-tack masking tape to achieve clean, crisp edges around your designs. This helps maintain the integrity of your watercolor washes.
- Experiment with different watercolor papers, including luxurious handmade options, to find the perfect texture for your holiday cards.
- Practice color mixing on scrap paper before applying your palette to the final piece. This ensures you achieve the exact hues you envision.
- For straight lines and precise shapes, lightly mark guidelines with a pencil and a ruler before painting.
- Embrace minor imperfections – they add to the charm and handmade appeal of your watercolor cards.
- Consider making extra holiday cards to have on hand for unexpected greetings or last-minute gifting.
By using these watercolor tips and professional art techniques, your holiday card making will shine. Your cards will truly stand out and show off your artistic talent.
Conclusion
Making watercolor holiday cards is a fun and affordable way to share special messages. This guide has tips for everyone, from beginners to experts. Remember, the more you practice, the better you’ll get.
Handmade watercolor holiday cards make your holiday greetings stand out. They show off your creativity and care. It’s a great way to express yourself.
Watercolor painting is perfect for making DIY Christmas gifts or just to share your artistic expression. With the techniques from this guide, you can create beautiful, unique cards. These cards will be treasured for many years.
So, get your supplies ready, be creative, and let watercolor make your holiday season unforgettable. Happy crafting!
Source Links
- https://www.watercoloraffair.com/easy-watercolor-christmas-cards-step-by-step-tutorial/
- https://www.thepigeonletters.com/blogs/1/watercolor-holiday-card-tutorial?srsltid=AfmBOoqYkKLnkQzLXtfAA0XwX8vnN7xHONOwBuMe3_WrhEvD4v_twFkj
- https://www.tidbits-cami.com/diy-watercolor-christmas-cards/
- https://altenew.com/blogs/paper-crafting-inspiration-and-tips/watercolor-ful-holidays-quick-and-easy-christmas-cards?srsltid=AfmBOoo6fgyUqlgADdkWEBbtyIIV3jTQ3vzouzUaV733Vs3YG-ubDCfU
- https://www.rosemaryandpinesfiberarts.de/easy-diy-watercolor-christmas-cards/
- https://www.projectswithkids.com/easy-watercolor-christmas-cards/
- https://thepostmansknock.com/diy-holiday-card-artistic-envelope-tutorial/?srsltid=AfmBOooOnytgDx4HLJceTqXv-v1UaraT1q-vYuRQzGe_939vOtUpD15Z
- https://byheidigrace.com/diy-watercolor-christmas-wreath-card/
- https://princetonbrush.com/blog/holiday-watercolor-card-ideas-with-kristin-van-leuven/
- https://awellpurposedwoman.com/how-to-make-watercolor-christmas-cards-easily/
- https://shop.zenartsupplies.co/blogs/inspiration/watercolor-christmas-cards
- https://watercolour-workshop.com/christmas-watercolor-painting-ideas-for-cards-and-more/
- https://urbakiart.com/how-to-paint-a-watercolor-christmas-tree-step-by-step-guide/
- https://jfcraftcorner.com/diy-easy-watercolor-christmas-cards-step-by-step-tutorial/
- https://paint9art.com/watercolor-christmas-cards-diy-ideas/
- https://lightlysketched.com/2023/12/10/watercolor-christmas-cards-diy/
- https://thepostmansknock.com/artistic-ornaments-themed-diy-christmas-card-tutorial/?srsltid=AfmBOooWzvGpo7B5hDCxhyJznZWpMiX12Vyj0bSaeE2OBTa8eLAHC4QL
- https://jennifermaker.com/winter-watercolors/
- https://altenew.com/blogs/paper-crafting-inspiration-and-tips/watercolor-ful-holidays-quick-and-easy-christmas-cards?srsltid=AfmBOopaiW9IRnV0enJcJm3fhzjE7MA08YRm6dPBHatBaVg8Zn9e2DzZ
- https://www.watercoloraffair.com/hand-painted-watercolor-christmas-cards-easy-peasy/
- https://www.craftsy.com/post/diy-watercolor-holiday-cards
- https://risewithinn.com/easy-watercolor-christmas-cards-step-by-step/
Jen is a healthcare pro by day and a DIY enthusiast by night, bringing creativity to life on JF Craft Corner! From decoupage to Cricut crafts, she’s all about making DIY magic (and a little mess). She also co-runs The Heart of Mindful Living blog and podcast, inspiring others to refresh their minds and nurture their souls. Her trusty sidekick? Fergus, her chocolate Shih Tzu and certified therapy dog, always on cuddle duty. Jen believes true leadership starts with kindness—and, of course, a little glitter!